leakin' lubricant wrote:Have just received Dr Wu Partners through the post and on opening I noticed Sparkplugs leg is broken
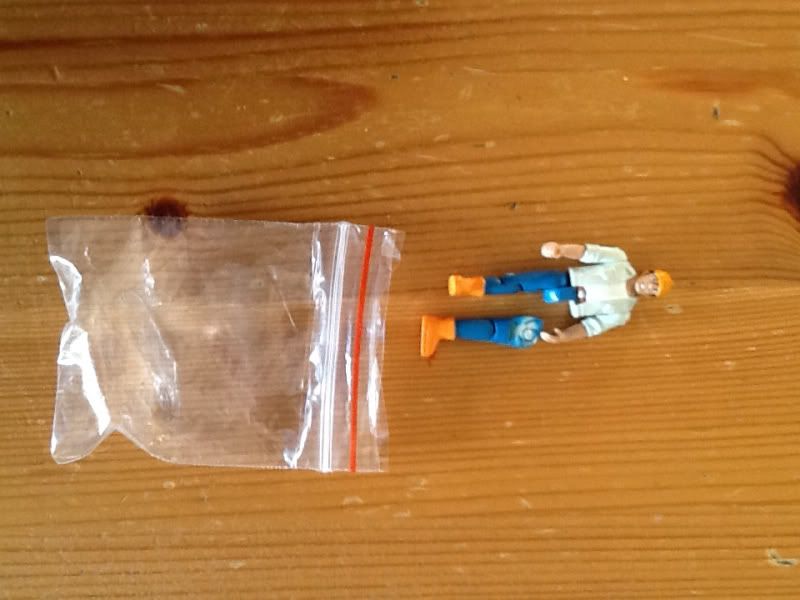
Is there any way to fixt his and keeping his articulation? I have tried popping out the snapped nub where the leg connects but it is in too tight (probably the root of the problem) any help would be appreciated.
First, see if you can send him back and get the retailer to replace him ... that is your best bet. but if you can't,, one trick I've used to make replacement joints for figs is this:
Get a piece of wire about the diameter of the peg, maybe less.
You'll kind of have to judge what gauge to use.
I don't have the Dr Wu fig in question so I don't know how little he is.
But drill out a hole in the body, as well as the replace the broken peg. Use a drill bit the same size or just a TINY bit smaller than your wire.
It is a small fig, so be careful. You can probably drill it out with just the bit, without using an actual drill.
Cut a piece of wire to replace the old peg.
Viola! New pin joint. It'll hold in place with friction.
I've often used the wire that ties the figures in the packages.
Not the new eco friendly junk, the older plastic wrapped wire.
If you need to you can glue in one end, and have at least one side solidly mounted.
So if you have old packaging laying around, you probably have wire.
I've used this trick to replace many wrist pegs as well as other simple joints on TFs, Joe scale figures and Marvel Legends.
