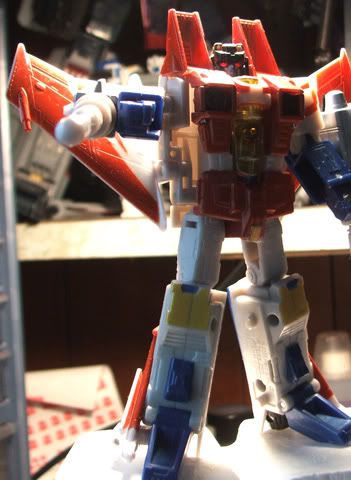
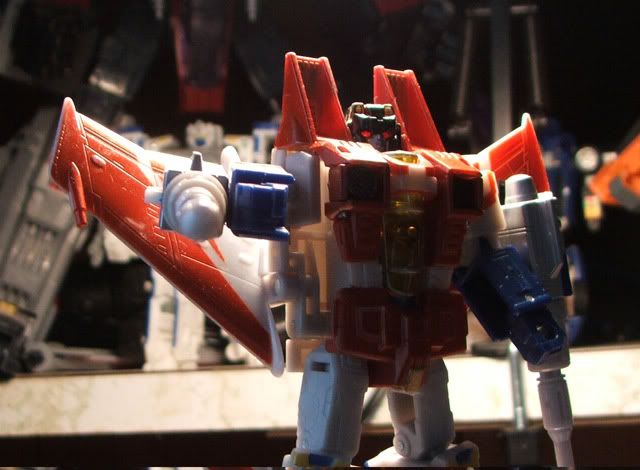
Classics Starscream - light-piping! :-D
BWAAAAHAHAHAHAHAHAHAHAHA!!!!
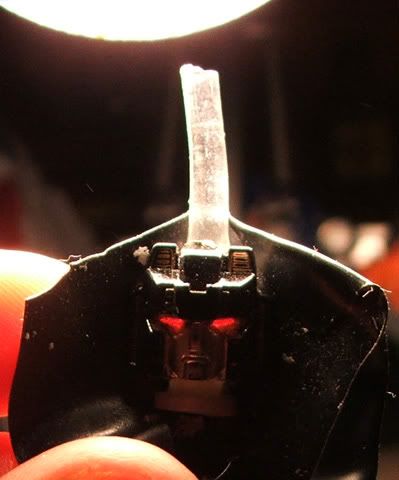
(the white bits on the black tape are debris from drilling and sanding and cutting--it's a piece of tape I was using to test the light-piping I was installing in Bumblebee's head, and discarded on the table top)
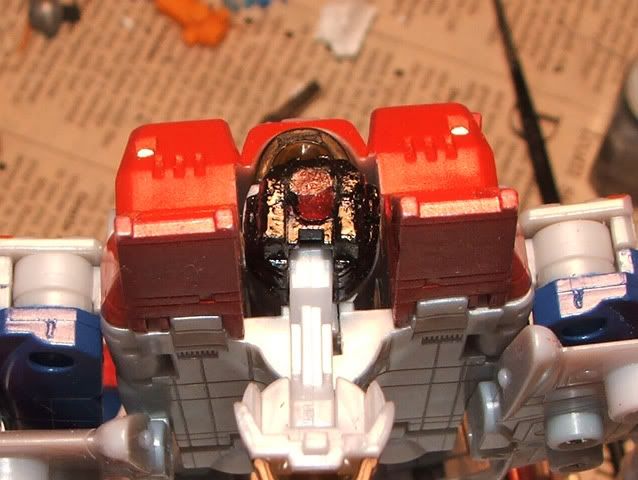
Once again, I'm using a bit of sprue from the clear-parts tree from of my model kits. I cut Starscream's head in half at the visible seam line (I'm gonna have to pad it out when I put the head back together, 'cause I ended up cutting a 1/16" space between the halves), then used a combination of my smallest precision flat-head screwdriver, a hammer, and a cylindrical engraving/shaping bit in my rotary-tool to cut out his old eyes and the triangular space behind them.
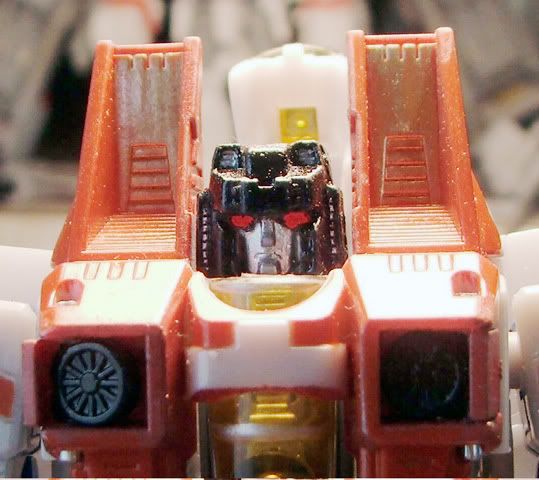
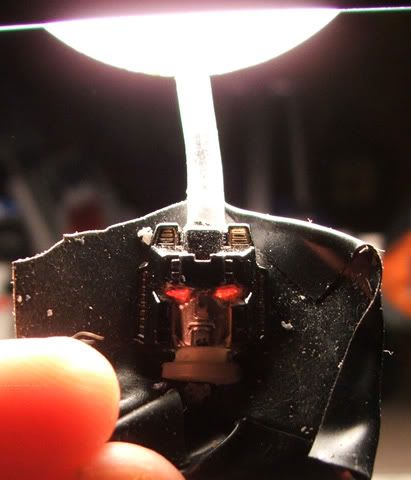
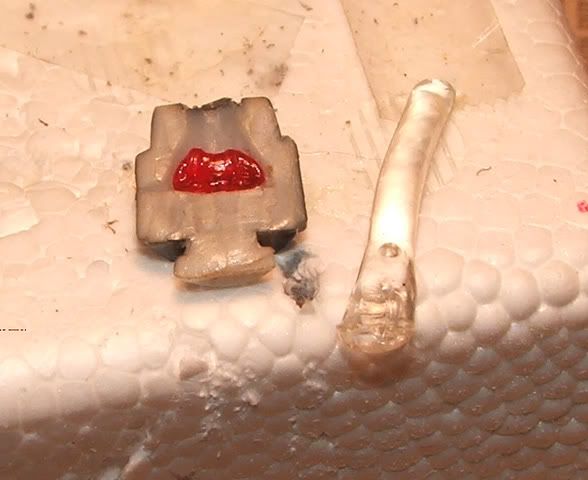
I dipped the new eye piece in a bottle of clear red model paint and brushed off the excess with a small paintbrush, dabbing the brush dry on a piece of newspaper, until the eye piece was coated nice and even.
I heated up the end of the remaining sprue and smashed it with needle-nose pliers.
I think all that's left is to finish fitting the light-pipe to the space I cut, then put the head back together and repaint.
(the white bits on the black tape are debris from drilling and sanding and cutting--it's a piece of tape I was using to test the light-piping I was installing in Bumblebee's head, and discarded on the table top)
Once again, I'm using a bit of sprue from the clear-parts tree from of my model kits. I cut Starscream's head in half at the visible seam line (I'm gonna have to pad it out when I put the head back together, 'cause I ended up cutting a 1/16" space between the halves), then used a combination of my smallest precision flat-head screwdriver, a hammer, and a cylindrical engraving/shaping bit in my rotary-tool to cut out his old eyes and the triangular space behind them.
I dipped the new eye piece in a bottle of clear red model paint and brushed off the excess with a small paintbrush, dabbing the brush dry on a piece of newspaper, until the eye piece was coated nice and even.
I heated up the end of the remaining sprue and smashed it with needle-nose pliers.
I think all that's left is to finish fitting the light-pipe to the space I cut, then put the head back together and repaint.