Universe Roadbuster Leg Swap
Got roadbuster last night and imediatly started trying to figure out how to switch his legs without making him a statue. I worked it out that now REM's hold his legs on and they can be swapped back and forth.
ok folks here is a how I got rid of hotshots shins; or how I made Super Boots RoadBuster.
Equipment needed
Super glue gell
Exacto Knife
Small rare earth magnets
file
Universe Raodbuster
Step 1 Disassemble:
the shins/feet are held on with 5 screws. Remove them and set them off to the side. Prise the two halves apart and set the missile pods off to the side. They will fall out so be ready to catch them.
Step 2
The back of each leg has a tension box in it. a little spring loaded orange square. since we are using magnest we will not need those. save them for replacement parts on other bashes.
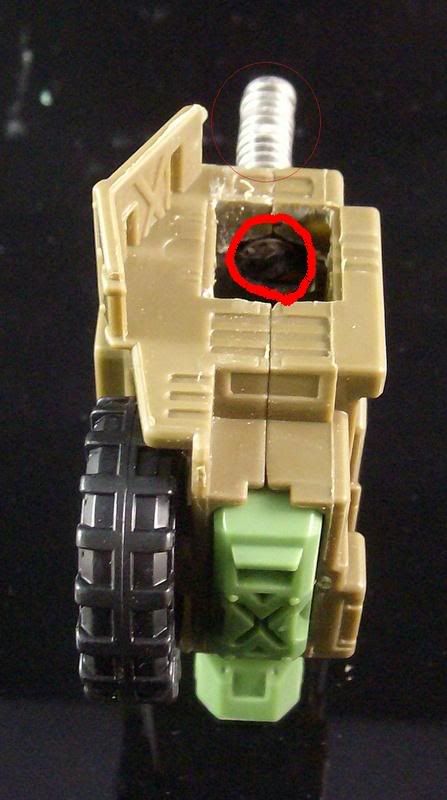
Step 3: leg manets
The front of each leg part has a seam running down the middle. this is very helpful to find center. the piece you will be drilling is just over 3/8 of an inch long so go up or down 3/16 and mark your drill point. Start small and work your way up. In my example I originally planned to put magnest on the front and the back so I went all the way through. Since front magnets alone were more than enough I scrapped that idea. so you do not have to go all the way through unless you want to.
When you have sized your hole use the superglue gel to affix teh magnet in place. tighter is better than looser.


Step 4: Shin and leg slide Prep
The new legs will slide in and out of the shins being stopped and held by the magnest. For this to happen you will need to shave off the small fins on teh sides of teh upper legs and the small overlap on the tops of the shins. I have circled them, but the lines might be too thin to see unless you blow up the pick. use your exacto to shave off all of those extra bits of plastic and a file or emory board to finish the job. Smooth sanding = smooth glide.
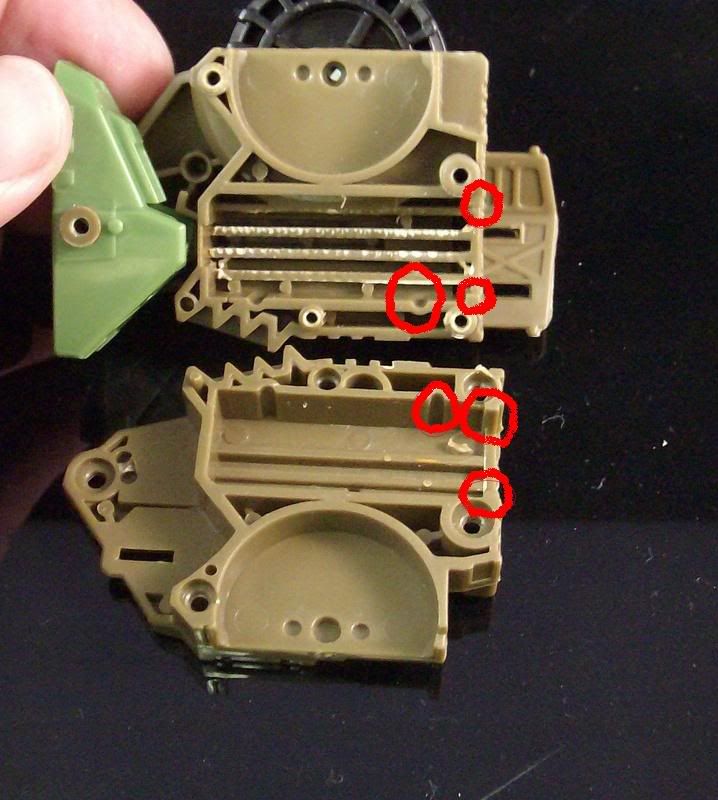

Step 5 Shin magnets
I glued a pair of magnets into the front of each shin to hodl against the upper leg magnets. If you have thicker magnets or back the one with styrene you will not have to double them up. on the edge of the two shin halves is a divit the tension block used to lock into. this is where you will cut. The magnets will eb glued to the layer behind the divit so the cut away doesnt have to be exact like the drill holes. cut away enough that your magnets can easily fit past them.
Once that is done put the legs back together and figure out what side of the magnets needs to face in. Remember like deflects like. they need to be oposites so figure this out before you glue. Apply a small amount of superglue to the outside of the magnet, put it in place, and use your extra magnets to hold it there till it's dry.
Make sure you put the missile pods back in before you glue the magnet in. if you use a lot of glue the shins will be permanently attatched and you wont be able to stick them in later if you forget them.
REpeat for leg #2.
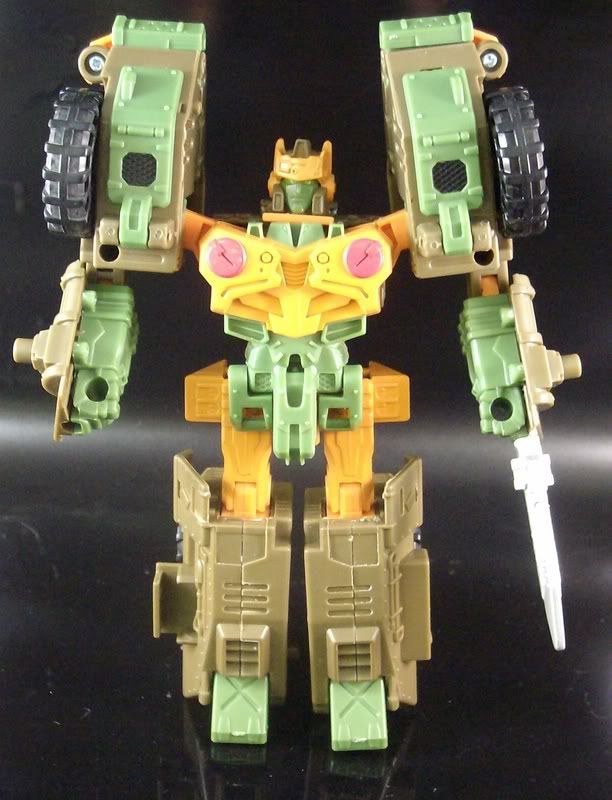
Thats it. As you can see a single magnet set is strong enough to support the entire weight of the figure, and since all fo the modifications are internal there is no need to fill holes or repaint.
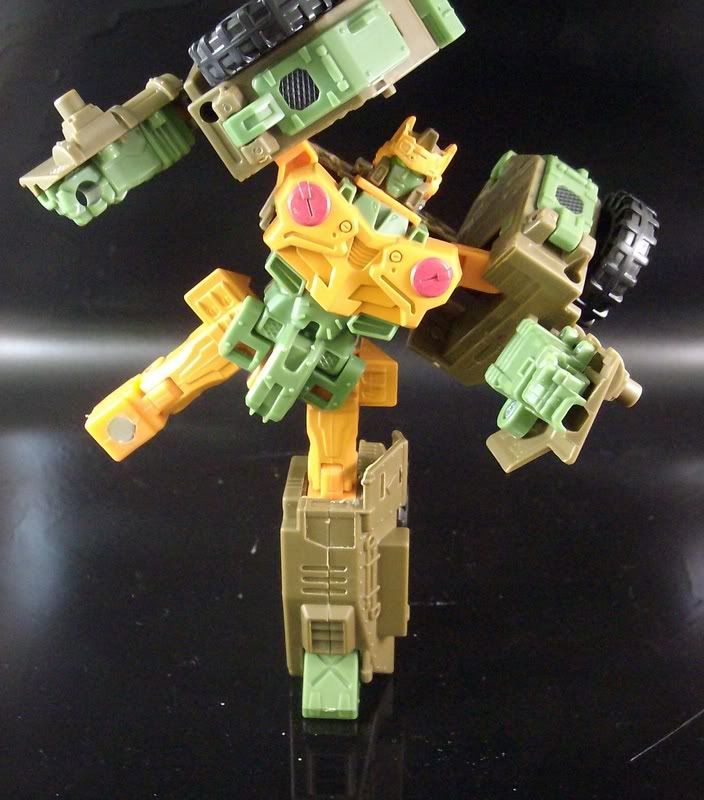
When you want to transform him just pull your legs off, swap them back and transform as usual. with the legs pushed all the way in there is no need to have and other connections.

This was my first how to so I hope it was helpful. If you have any questions please PM me.
ok folks here is a how I got rid of hotshots shins; or how I made Super Boots RoadBuster.
Equipment needed
Super glue gell
Exacto Knife
Small rare earth magnets
file
Universe Raodbuster
Step 1 Disassemble:
the shins/feet are held on with 5 screws. Remove them and set them off to the side. Prise the two halves apart and set the missile pods off to the side. They will fall out so be ready to catch them.
Step 2
The back of each leg has a tension box in it. a little spring loaded orange square. since we are using magnest we will not need those. save them for replacement parts on other bashes.
Step 3: leg manets
The front of each leg part has a seam running down the middle. this is very helpful to find center. the piece you will be drilling is just over 3/8 of an inch long so go up or down 3/16 and mark your drill point. Start small and work your way up. In my example I originally planned to put magnest on the front and the back so I went all the way through. Since front magnets alone were more than enough I scrapped that idea. so you do not have to go all the way through unless you want to.
When you have sized your hole use the superglue gel to affix teh magnet in place. tighter is better than looser.
Step 4: Shin and leg slide Prep
The new legs will slide in and out of the shins being stopped and held by the magnest. For this to happen you will need to shave off the small fins on teh sides of teh upper legs and the small overlap on the tops of the shins. I have circled them, but the lines might be too thin to see unless you blow up the pick. use your exacto to shave off all of those extra bits of plastic and a file or emory board to finish the job. Smooth sanding = smooth glide.
Step 5 Shin magnets
I glued a pair of magnets into the front of each shin to hodl against the upper leg magnets. If you have thicker magnets or back the one with styrene you will not have to double them up. on the edge of the two shin halves is a divit the tension block used to lock into. this is where you will cut. The magnets will eb glued to the layer behind the divit so the cut away doesnt have to be exact like the drill holes. cut away enough that your magnets can easily fit past them.
Once that is done put the legs back together and figure out what side of the magnets needs to face in. Remember like deflects like. they need to be oposites so figure this out before you glue. Apply a small amount of superglue to the outside of the magnet, put it in place, and use your extra magnets to hold it there till it's dry.
Make sure you put the missile pods back in before you glue the magnet in. if you use a lot of glue the shins will be permanently attatched and you wont be able to stick them in later if you forget them.
REpeat for leg #2.
Thats it. As you can see a single magnet set is strong enough to support the entire weight of the figure, and since all fo the modifications are internal there is no need to fill holes or repaint.
When you want to transform him just pull your legs off, swap them back and transform as usual. with the legs pushed all the way in there is no need to have and other connections.
This was my first how to so I hope it was helpful. If you have any questions please PM me.