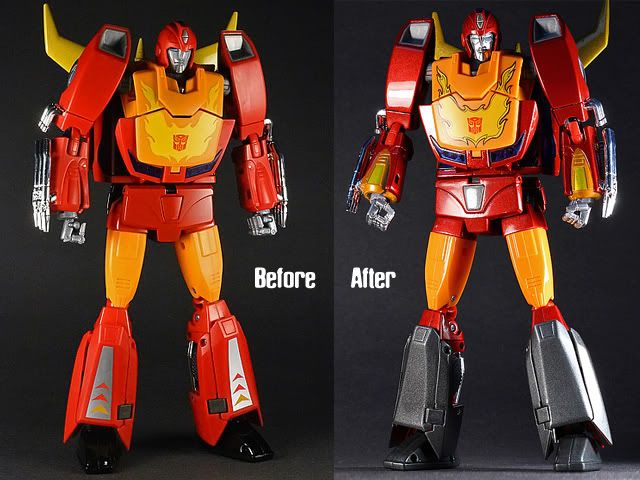
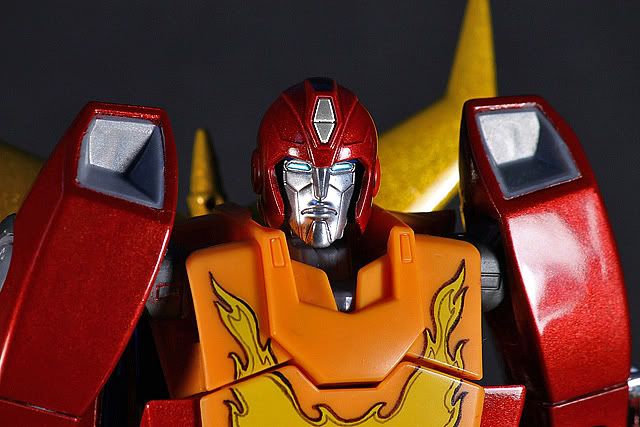
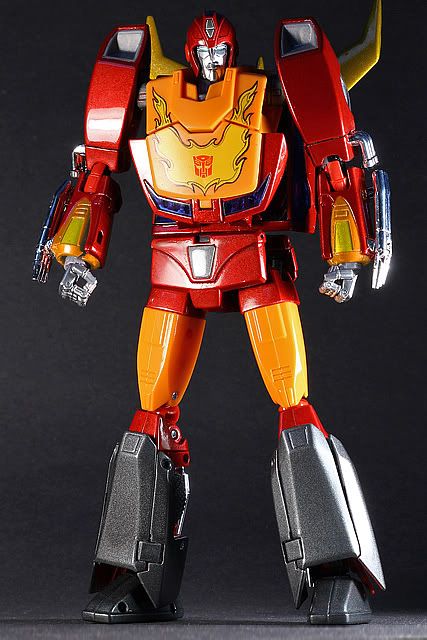
Repainted Hasbro Rodimus Prime
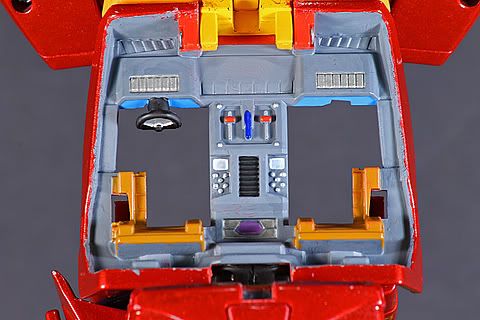
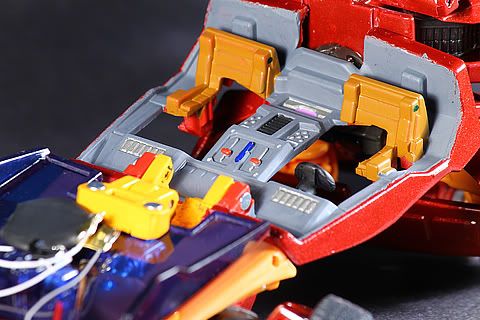
Just wanted to share this with you guys, I was not feeling the plasticky look of either Rodimus Prime version, so I decided to take a chance at painting mine. Lots of painting, wet-sanding and polishing. I used what I learned painting cars to finish it. Still got a few details to finish, like the cockpit and stuff. It's also got a working removeable light-up Matrix. Already thinking about doing a second one although it was tons of labor and time.
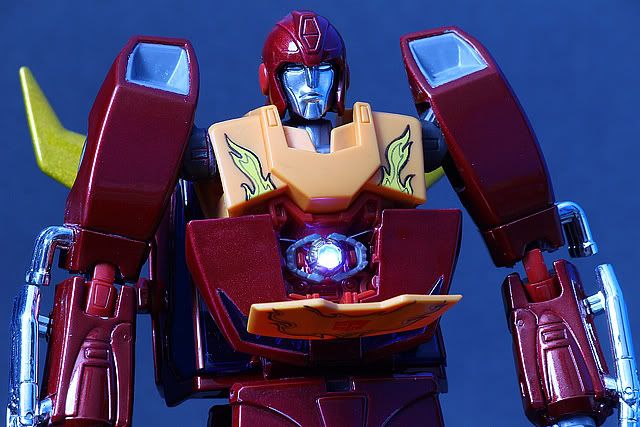
Matrix
There's more pictures and info on the build in my blog http://www.rocketpuncharmy.com
Matrix
There's more pictures and info on the build in my blog http://www.rocketpuncharmy.com