Custom Classics Devastator.
Hi all, this is a custom I've been thinking of doing since I bought this figure, the reason it's taken me so long is that I figured they seeing as FansProject brought out addon kits for Superion and Bruticus good old Devy would be next, WRONG! Then Hercules and Yellow/Green Giant were released which are fine looking figures but too expensive for my wallet. So my only option was to have a go myself.
8dda51b69992d6dd62f6786346c79494_zps2c87c95e by dannythejedi, on Flickr
What I Used:
-1 Classics Devastator.
-1 Junkion Blacksmith G1 Devy upgrade Kit
-1 KO FansProject Crossfire Arial Appendage Upgrade kit.
-Lego connectors
-Magnetic tape
So working from the head down, this is what I did, I used a craft knife to shave away the front of Classics Devys face, making sure it was as level as possible.
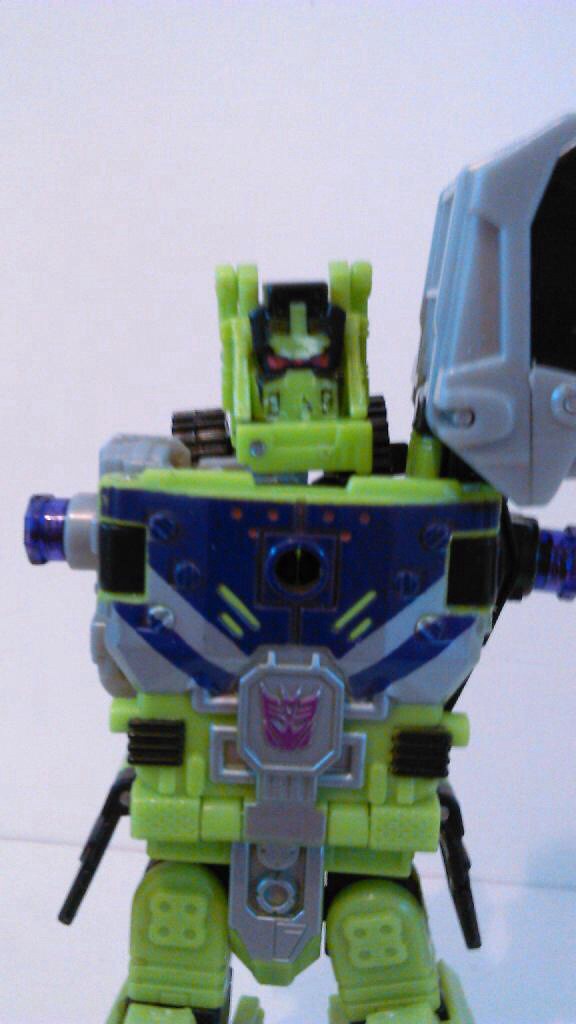
image by dannythejedi, on Flickr
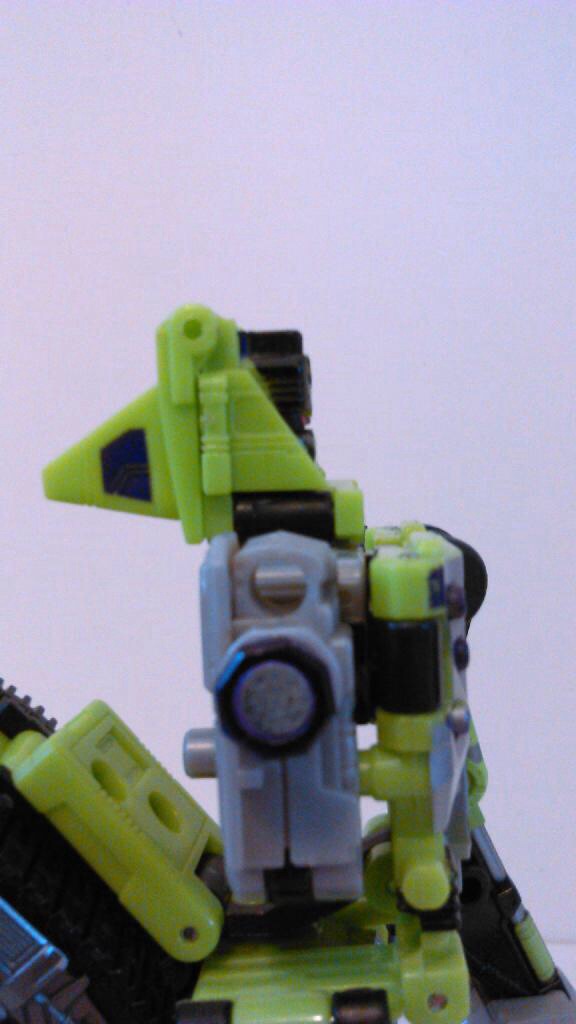
image by dannythejedi, on Flickr
I then applied magnetic tape to Devys f'd up face.

image by dannythejedi, on Flickr
The reason for shaving back the face was so that the panel covering the face in alt mode can still close with the magnet applied.
I then took the Junkion Blacksmith head and cut a section from the lower rear of the piece.
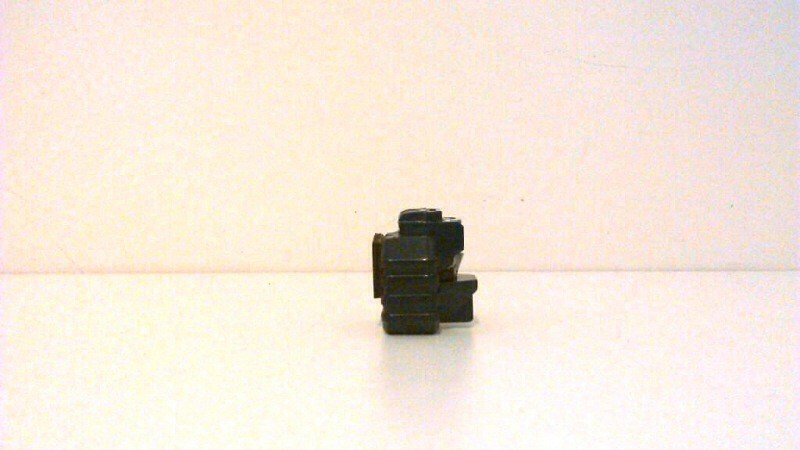
image by dannythejedi, on Flickr
Cutting this section out allows for full range of movement when turning Devys head.
I then added more magnetic tape to the back of Devys head.
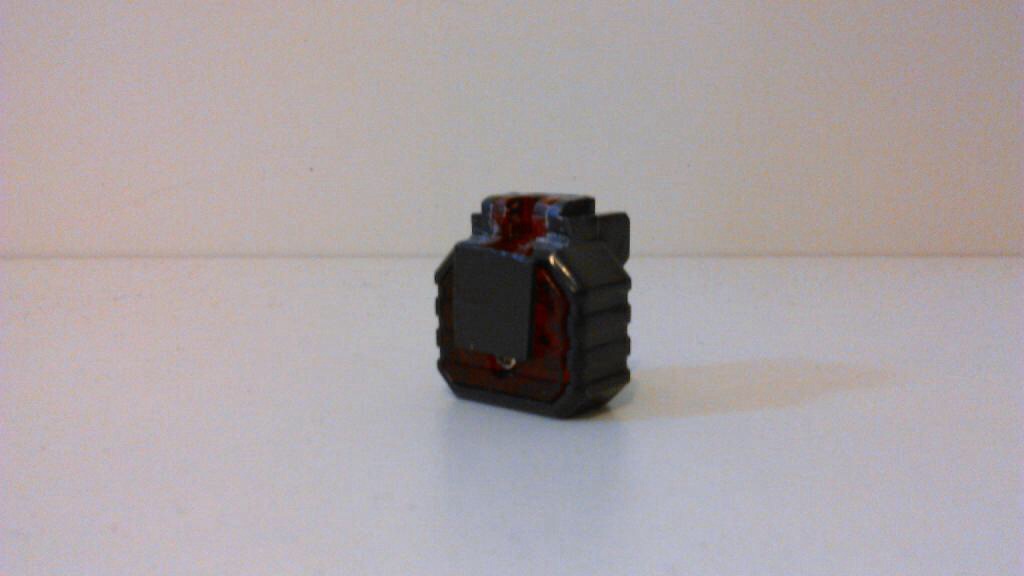
image by dannythejedi, on Flickr
So face done I moved on to the arms, which were quite tricky, first off I scrabbled together some lego pieces that would maximise his articulation.
These guys work great, however they need cutting down so they look like this.
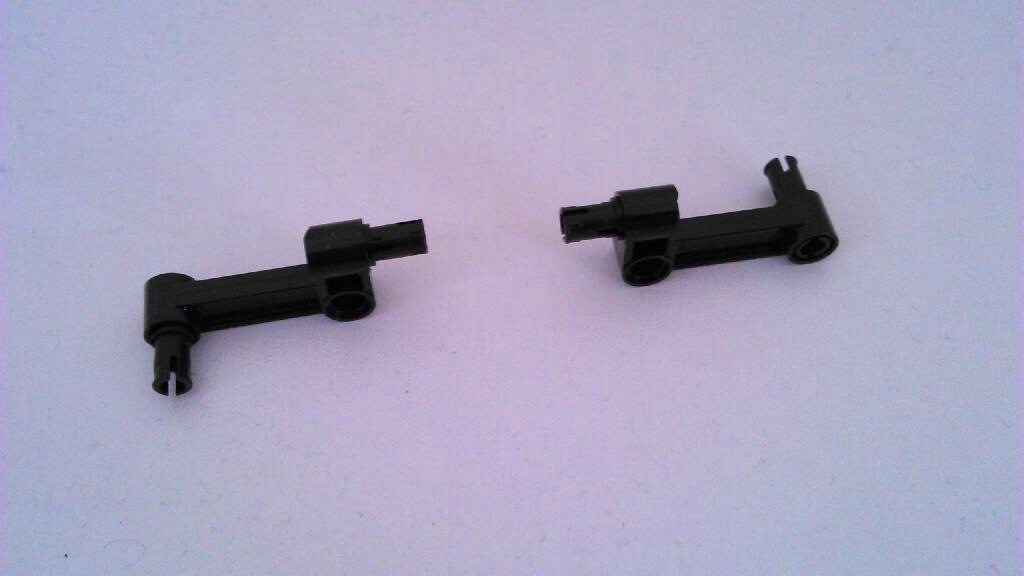
image by dannythejedi, on Flickr
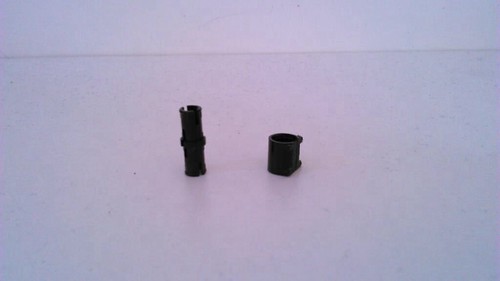
image by dannythejedi, on Flickr
This is the piece that will attach to Wideload/Hightower limb. Before you do this you will have to carve out a sizable chunk of plastic from the back of thier groins (ouch!), so they look like this.
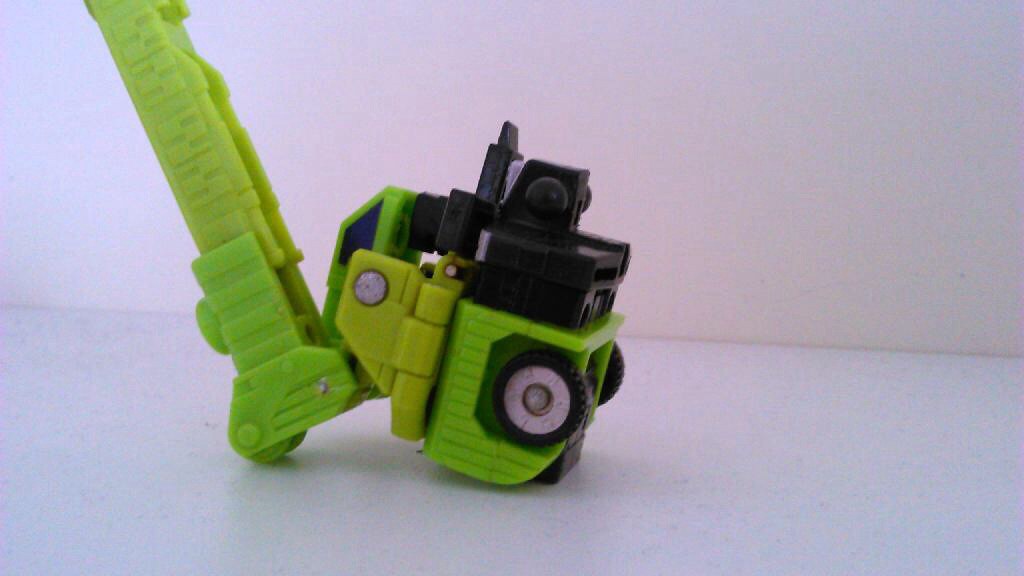
image by dannythejedi, on Flickr
And for comparison purposes.
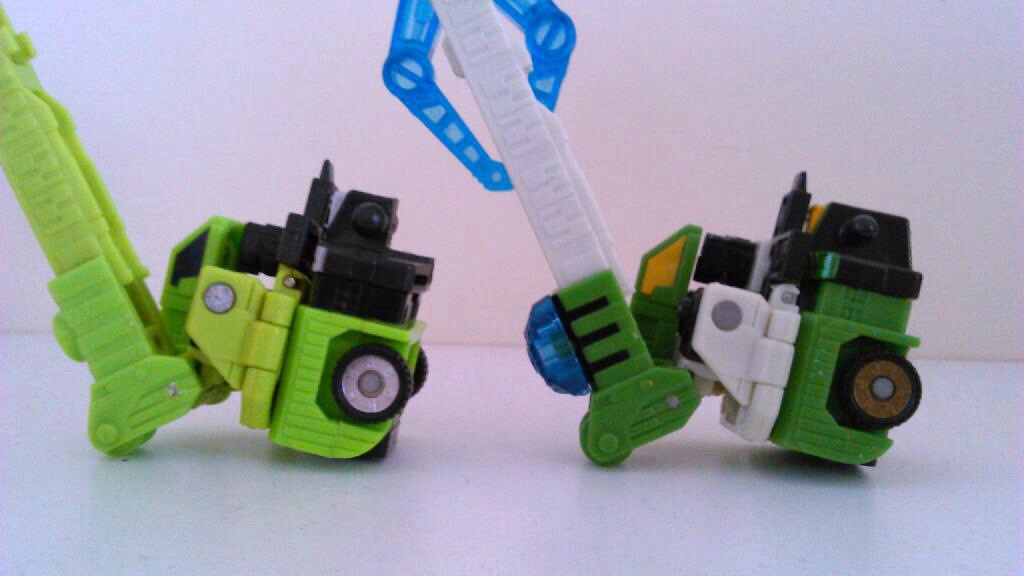
image by dannythejedi, on Flickr
With this done I superglued the lego connector in place.
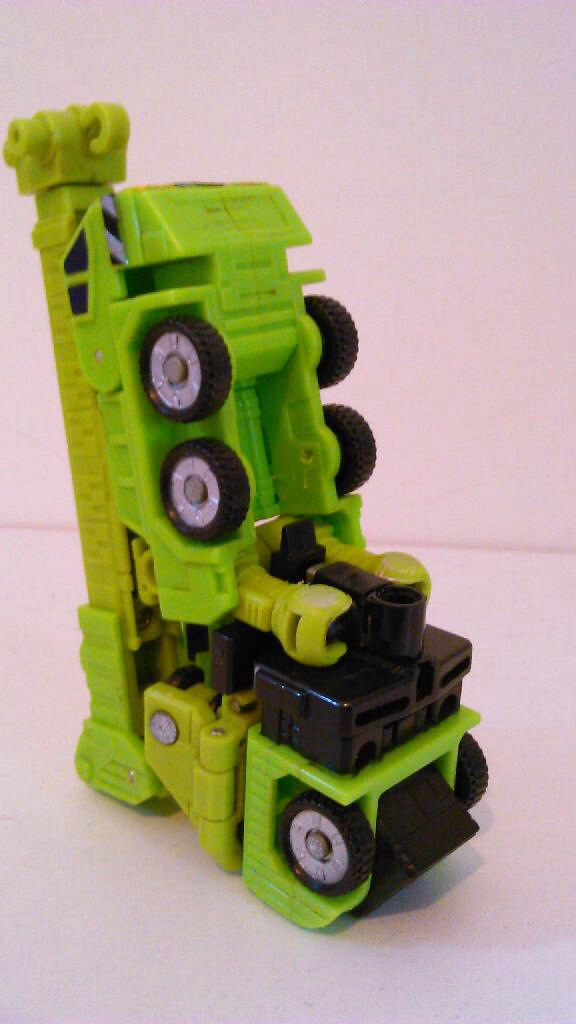
image by dannythejedi, on Flickr
If you look close you will see I have also hade to shave/sand his thigh and groin section level with the lego connector, this is to allow full range of movement once the forearms are connected.
On to the forearms, first of you will need more of those lego connectors and you will need to cut them down till they look like this.
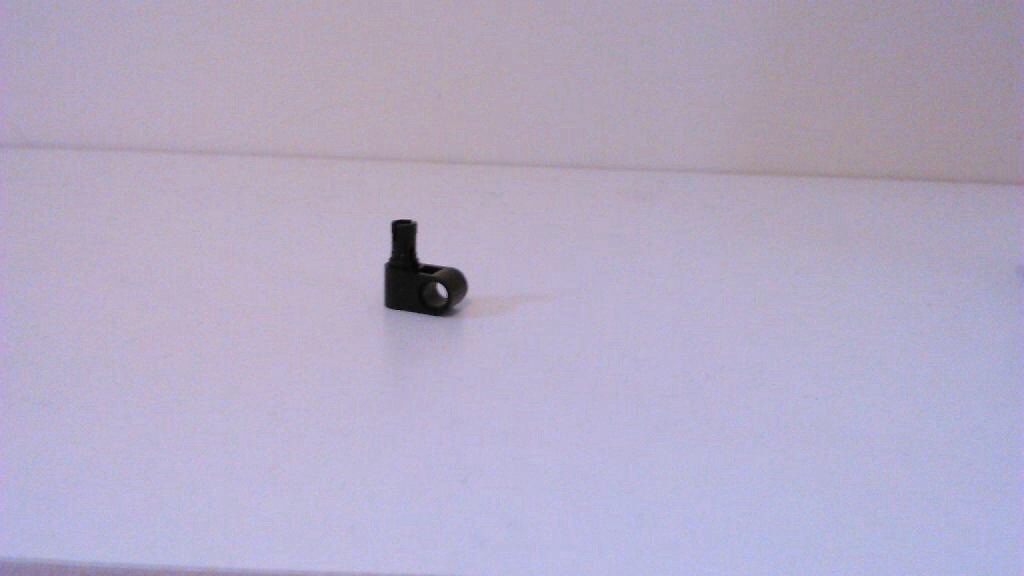
image by dannythejedi, on Flickr
Then you take the Junkion Blacksmith arms and superglue yet another lego connector in the 5mm hole like so.
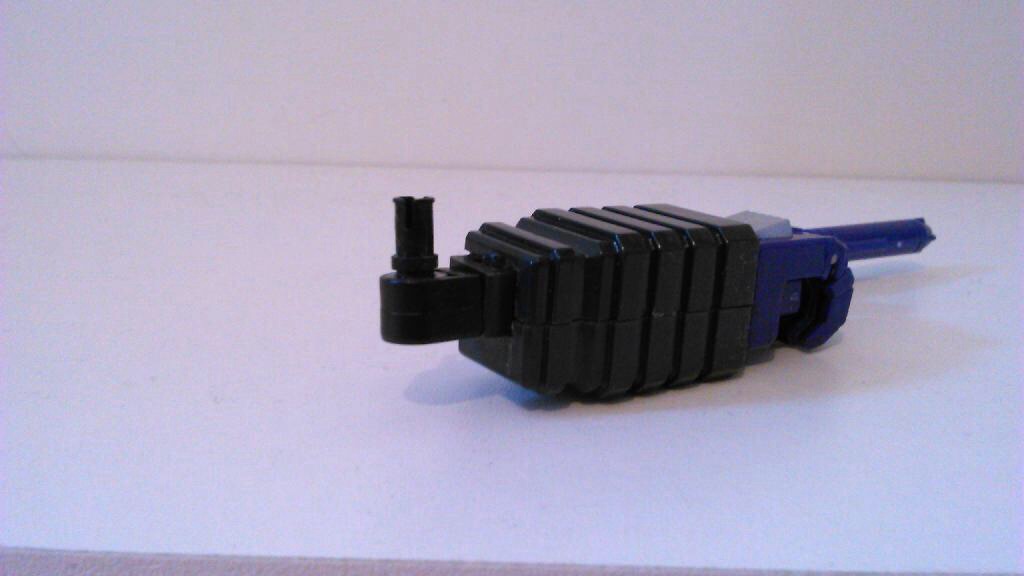
image by dannythejedi, on Flickr
With all this in place the arms connect together like so.
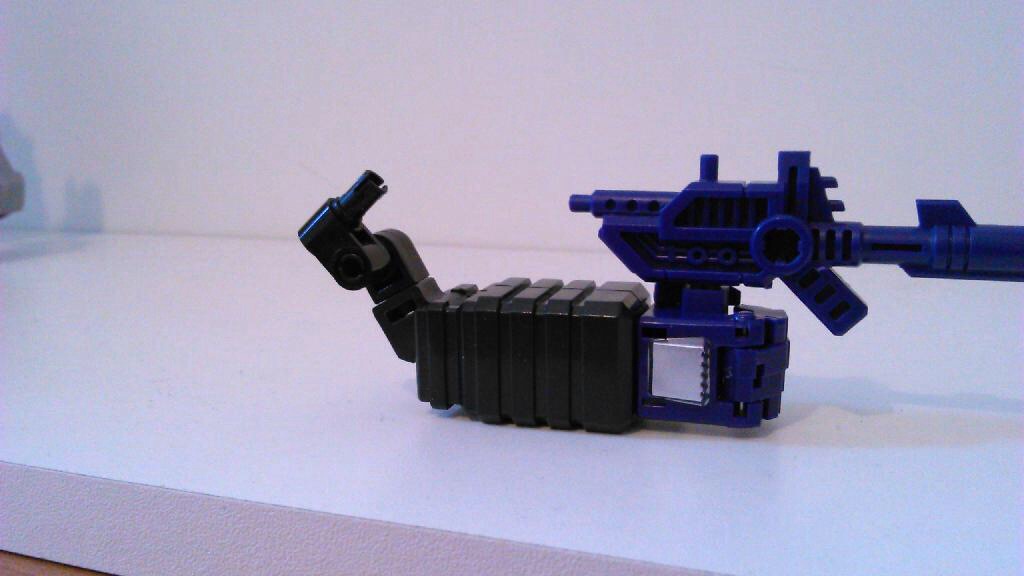
image by dannythejedi, on Flickr
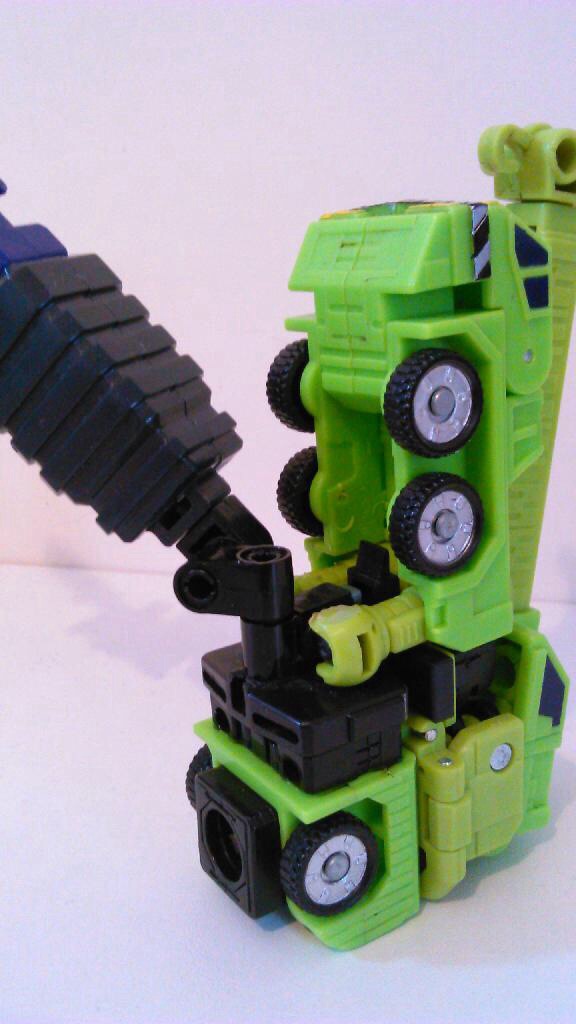
image by dannythejedi, on Flickr
Now on to the legs, Devys legs were actually not bad to begin with so all I did was add feet, first off you take his original energon feet and remove his heel section, then take the FansProject feet, remove the rear section, cut of the 5mm connectors as they are not needed then cut the piece to match the energon molding like so.
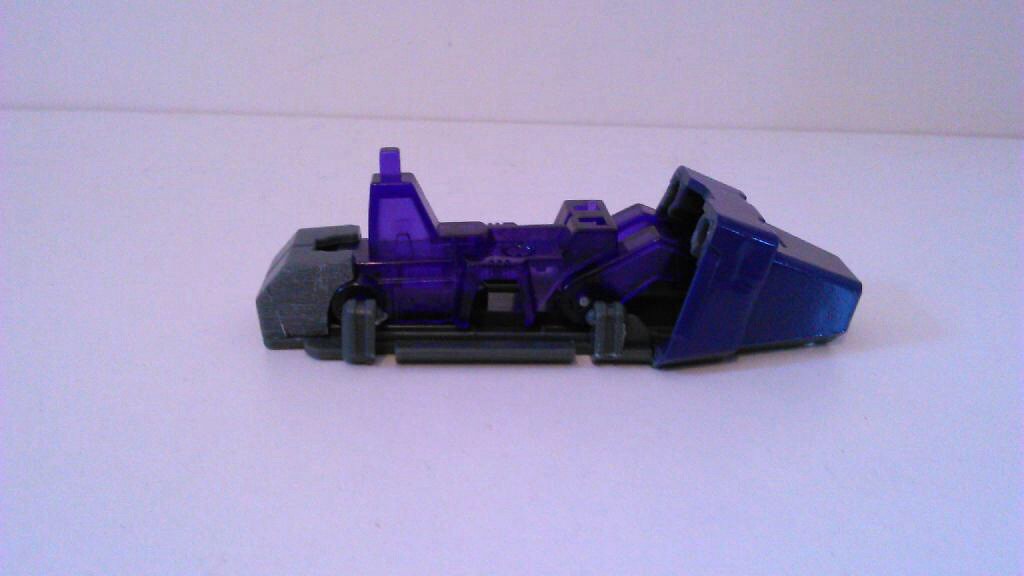
image by dannythejedi, on Flickr
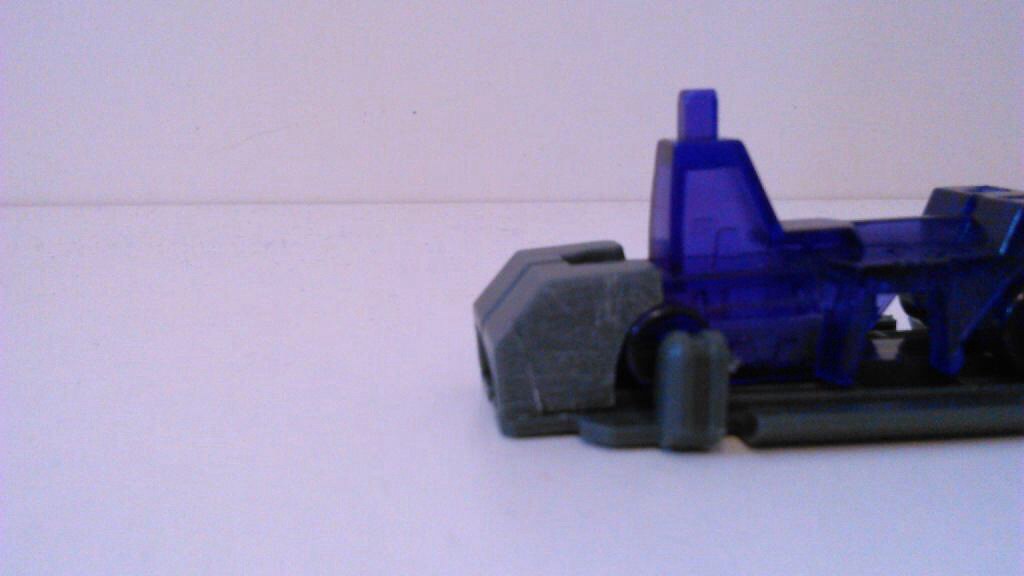
image by dannythejedi, on Flickr
I also removed the front pieces and spray painted them purple.
The other thing I did was modify the Junkion Blacksmith chestplate, I did this by taking this piece from the FansProject set.
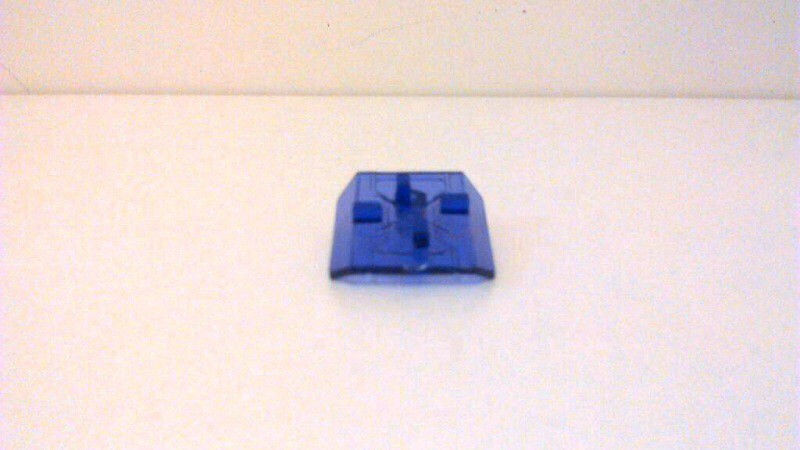
image by dannythejedi, on Flickr
I cut down the 4 tabs and sanded the front level, I then sanded the back of the chestplate level and superglued them together so that the piece sat on the figure covering the original Con logo, doing this also allows for grater arm articulation without the chestplate getting in the way.
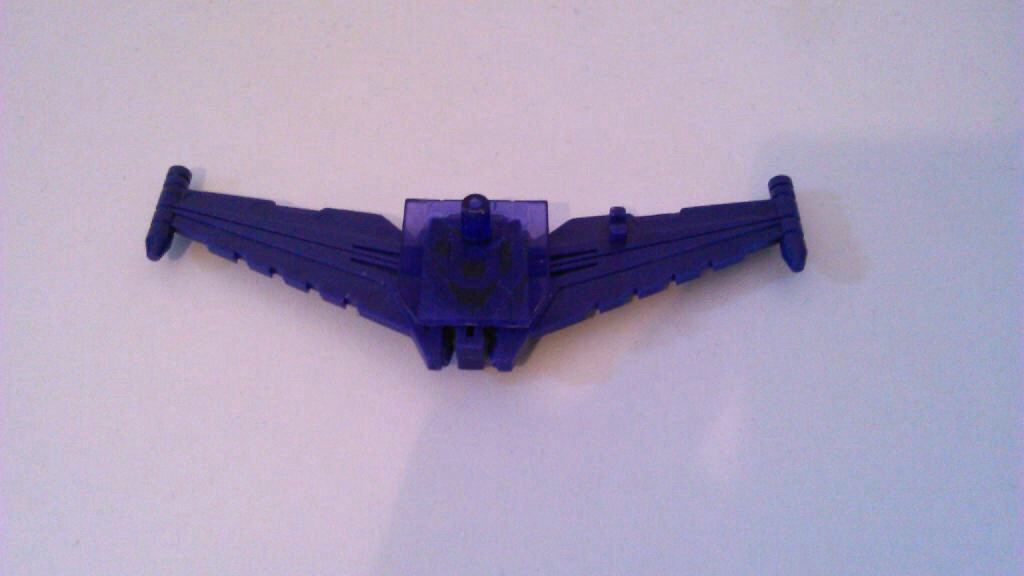
image by dannythejedi, on Flickr

image by dannythejedi, on Flickr
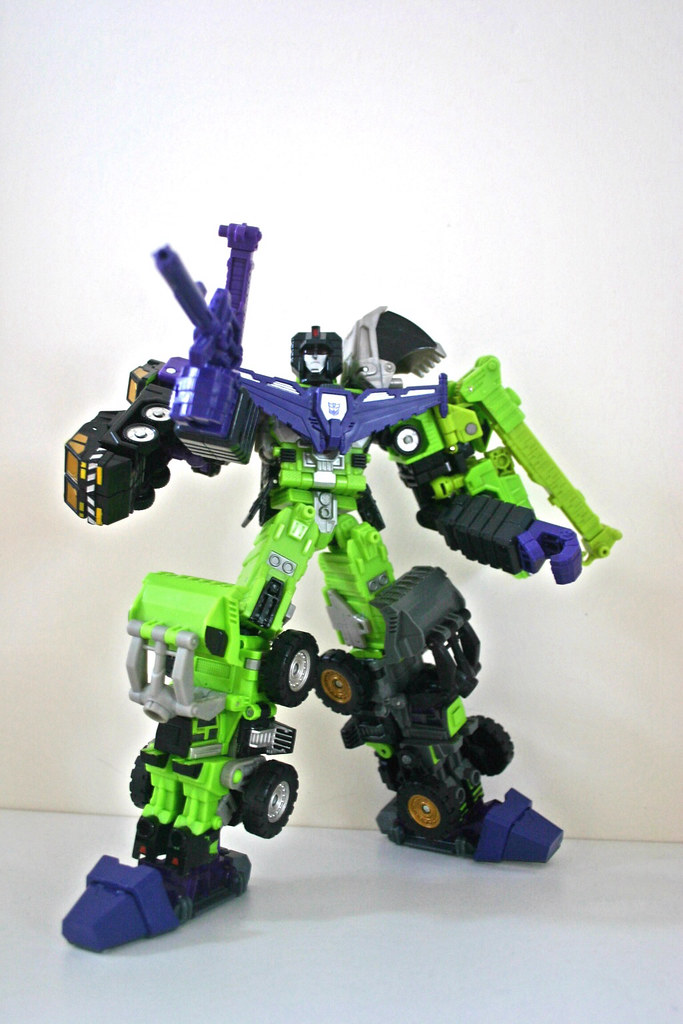
I think that's about it, hope you like him, here are a few more photos.

image by dannythejedi, on Flickr

image by dannythejedi, on Flickr
He also scales pretty well with Superion.
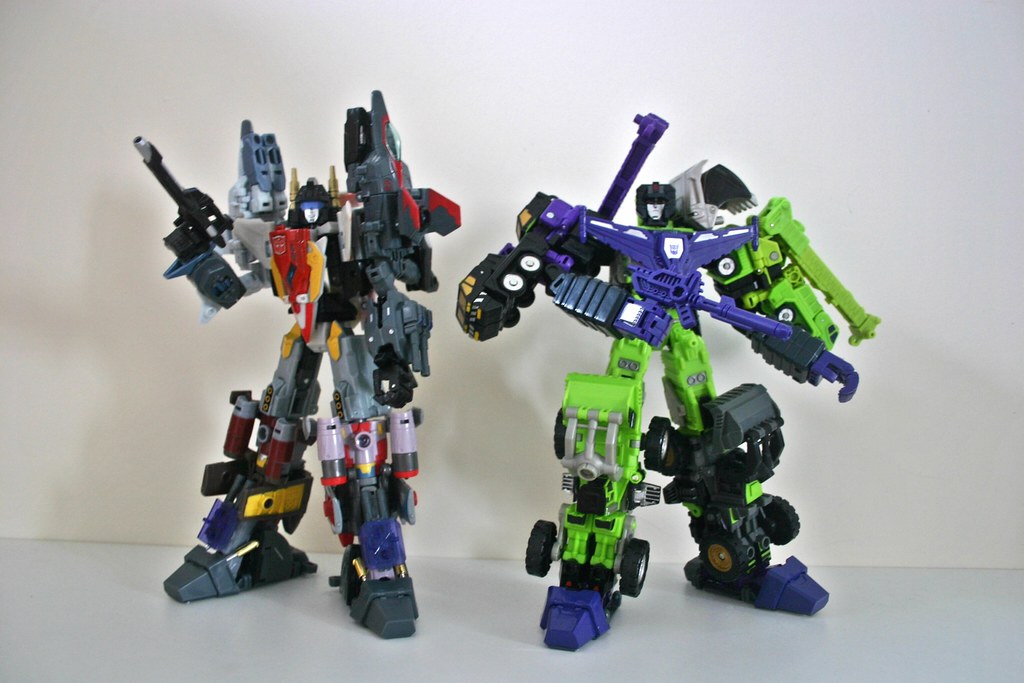
image by dannythejedi, on Flickr
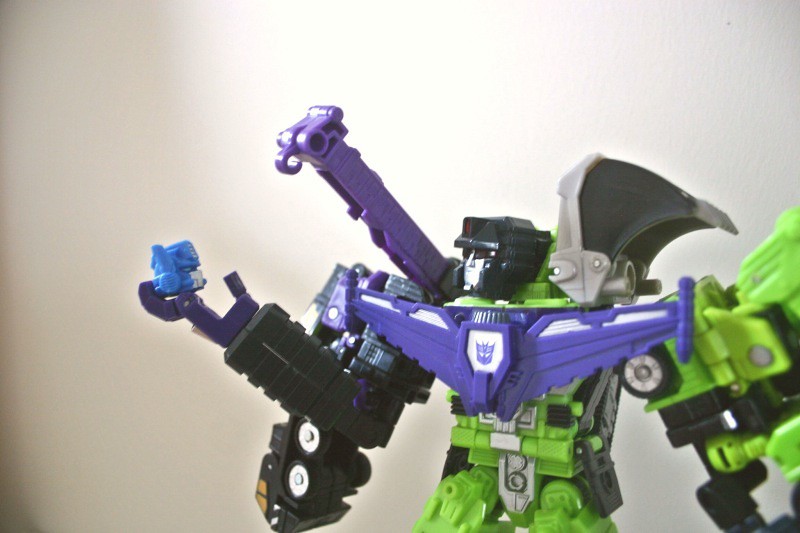
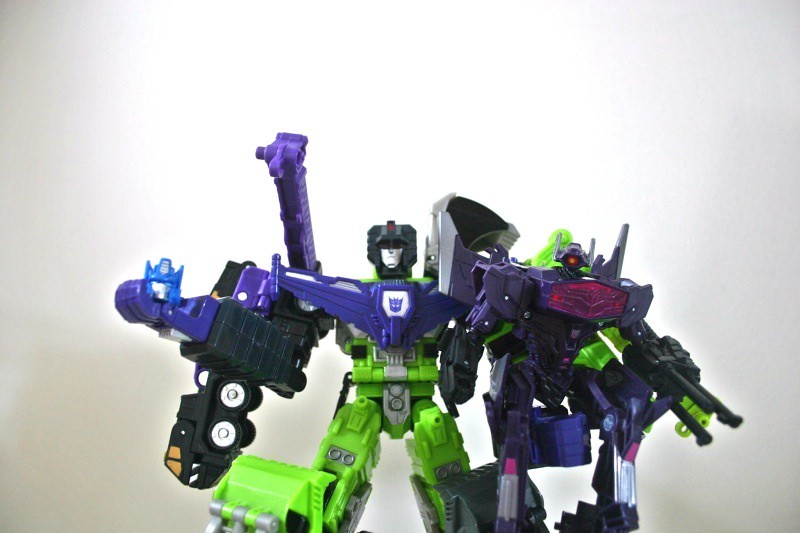
And I used some left over FansProject pieces to give the Constucticons some weaponry.
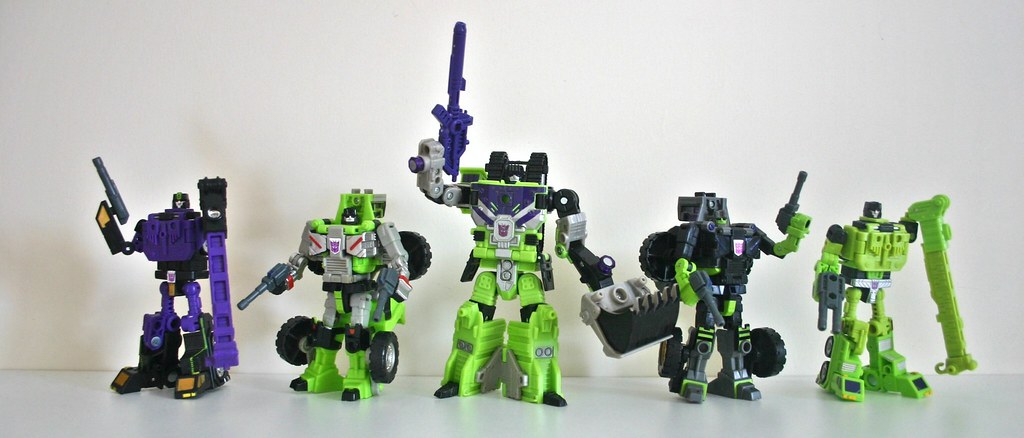
image by dannythejedi, on Flickr
8dda51b69992d6dd62f6786346c79494_zps2c87c95e by dannythejedi, on Flickr
What I Used:
-1 Classics Devastator.
-1 Junkion Blacksmith G1 Devy upgrade Kit
-1 KO FansProject Crossfire Arial Appendage Upgrade kit.
-Lego connectors
-Magnetic tape
So working from the head down, this is what I did, I used a craft knife to shave away the front of Classics Devys face, making sure it was as level as possible.
image by dannythejedi, on Flickr
image by dannythejedi, on Flickr
I then applied magnetic tape to Devys f'd up face.
image by dannythejedi, on Flickr
The reason for shaving back the face was so that the panel covering the face in alt mode can still close with the magnet applied.
I then took the Junkion Blacksmith head and cut a section from the lower rear of the piece.
image by dannythejedi, on Flickr
Cutting this section out allows for full range of movement when turning Devys head.
I then added more magnetic tape to the back of Devys head.
image by dannythejedi, on Flickr
So face done I moved on to the arms, which were quite tricky, first off I scrabbled together some lego pieces that would maximise his articulation.
These guys work great, however they need cutting down so they look like this.
image by dannythejedi, on Flickr
image by dannythejedi, on Flickr
This is the piece that will attach to Wideload/Hightower limb. Before you do this you will have to carve out a sizable chunk of plastic from the back of thier groins (ouch!), so they look like this.
image by dannythejedi, on Flickr
And for comparison purposes.
image by dannythejedi, on Flickr
With this done I superglued the lego connector in place.
image by dannythejedi, on Flickr
If you look close you will see I have also hade to shave/sand his thigh and groin section level with the lego connector, this is to allow full range of movement once the forearms are connected.
On to the forearms, first of you will need more of those lego connectors and you will need to cut them down till they look like this.
image by dannythejedi, on Flickr
Then you take the Junkion Blacksmith arms and superglue yet another lego connector in the 5mm hole like so.
image by dannythejedi, on Flickr
With all this in place the arms connect together like so.
image by dannythejedi, on Flickr
image by dannythejedi, on Flickr
Now on to the legs, Devys legs were actually not bad to begin with so all I did was add feet, first off you take his original energon feet and remove his heel section, then take the FansProject feet, remove the rear section, cut of the 5mm connectors as they are not needed then cut the piece to match the energon molding like so.
image by dannythejedi, on Flickr
image by dannythejedi, on Flickr
I also removed the front pieces and spray painted them purple.
The other thing I did was modify the Junkion Blacksmith chestplate, I did this by taking this piece from the FansProject set.
image by dannythejedi, on Flickr
I cut down the 4 tabs and sanded the front level, I then sanded the back of the chestplate level and superglued them together so that the piece sat on the figure covering the original Con logo, doing this also allows for grater arm articulation without the chestplate getting in the way.
image by dannythejedi, on Flickr
image by dannythejedi, on Flickr
I think that's about it, hope you like him, here are a few more photos.
image by dannythejedi, on Flickr
image by dannythejedi, on Flickr
He also scales pretty well with Superion.
image by dannythejedi, on Flickr
And I used some left over FansProject pieces to give the Constucticons some weaponry.
image by dannythejedi, on Flickr