A slightly different look at Maketoys Bulldozer + Excavator
Ok, as promised in another post, (though a few days late) here are the pictures! There are a lot of them, so I apologize for that.
Now this isn’t going to be a typical review type thing as you’ve all seen the photos of the figures in their different modes and looking cool in action packed poses. I’m going to be focusing on things like how the instructions are good, but not as clear as you’d like on things, and the workaround’s I’ve found to rectify these problems. There will be some standard size comparisons, as well as some slightly different ones.
Now you may wonder why I don't just post a youtube video review. Two reasons: 1. I did actually have 45 mins of footage, but it was mostly me just droning on and on (I like to talk about things I like) and fumbled around with kind of a poor setup that was kind of embarassing. 2. I can't find my editing software discs, and my last laptop died and took it with it.
So without further rambling, here we go:
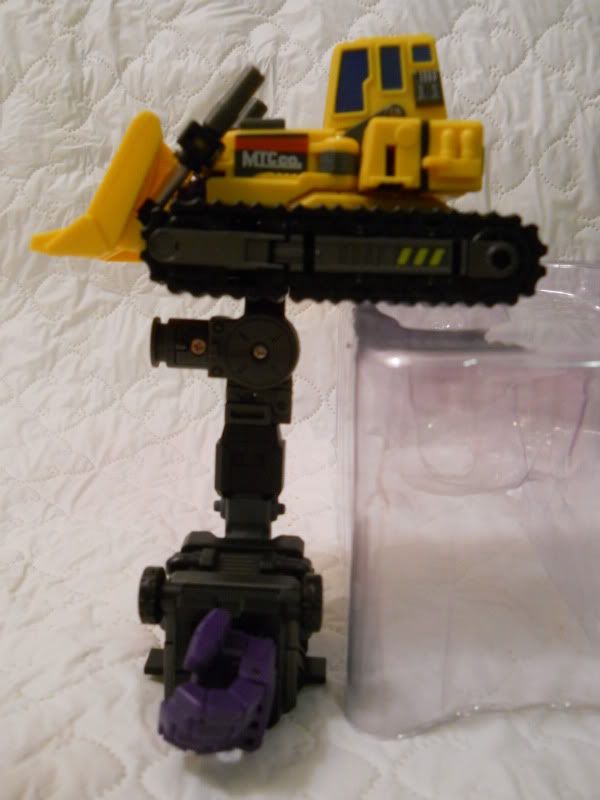
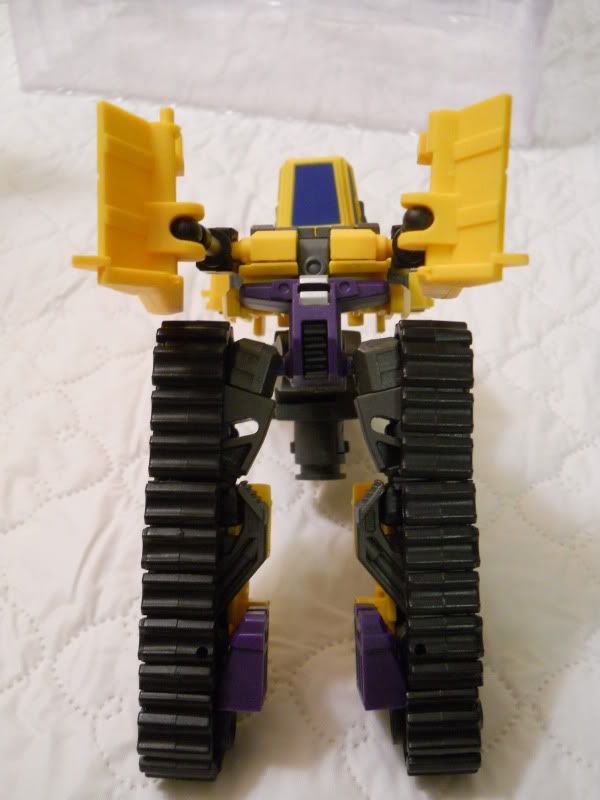
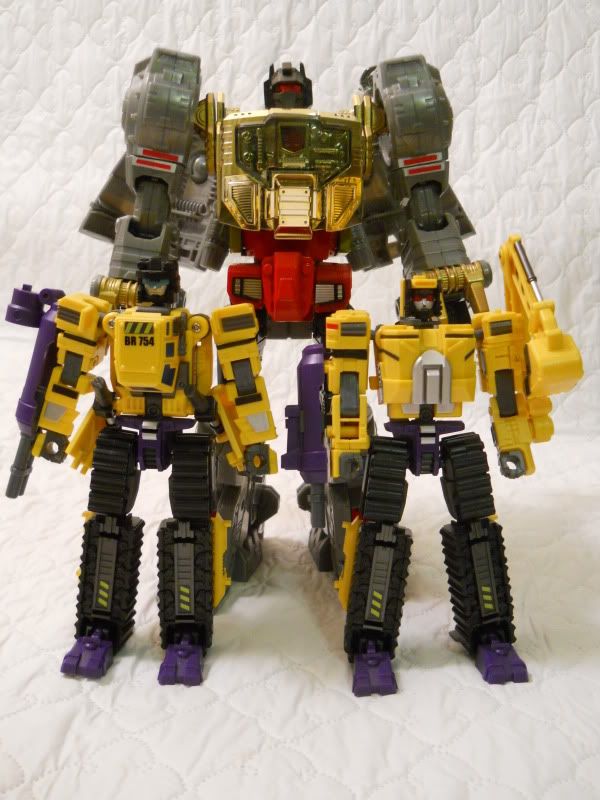
So here they are, in glorious yellow construction vehicle mode
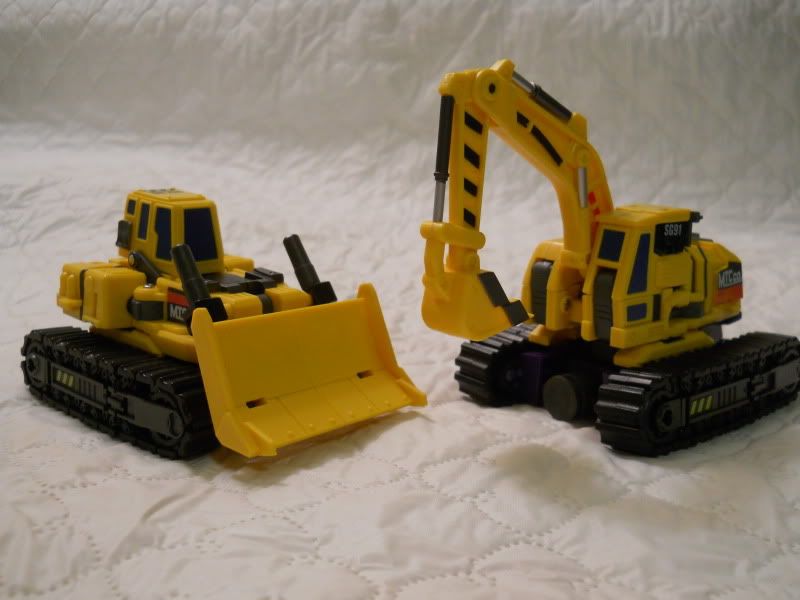
One thing to note, they do not have wheels on the treads, so they do not roll. This may be a sour point for some, but it means in robot mode, they do not have little wheels poking about.
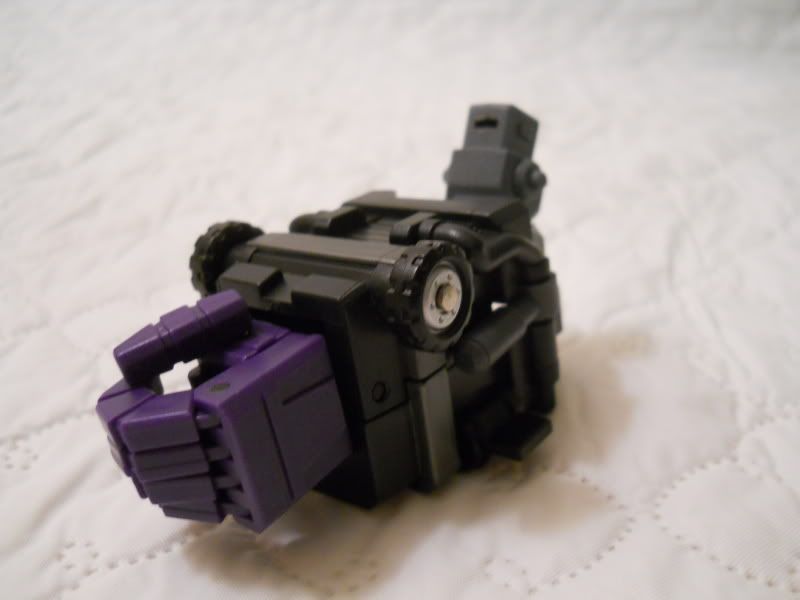
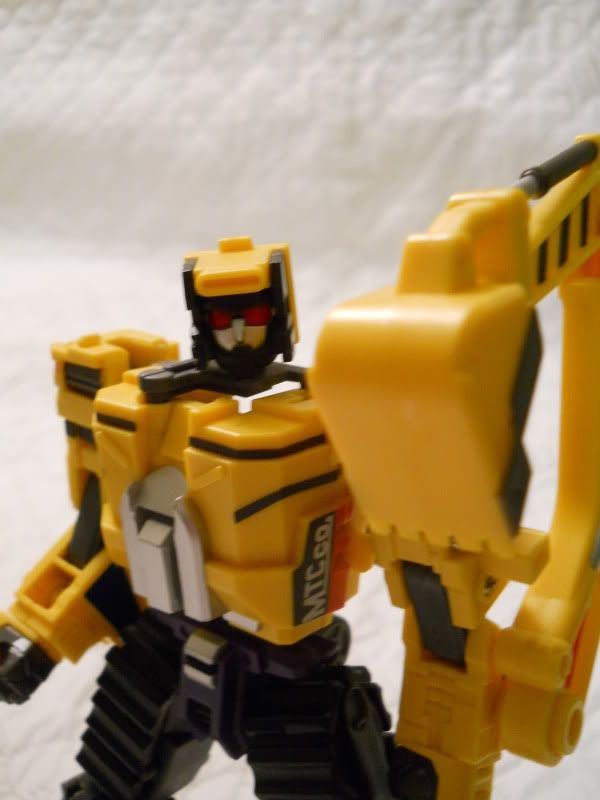
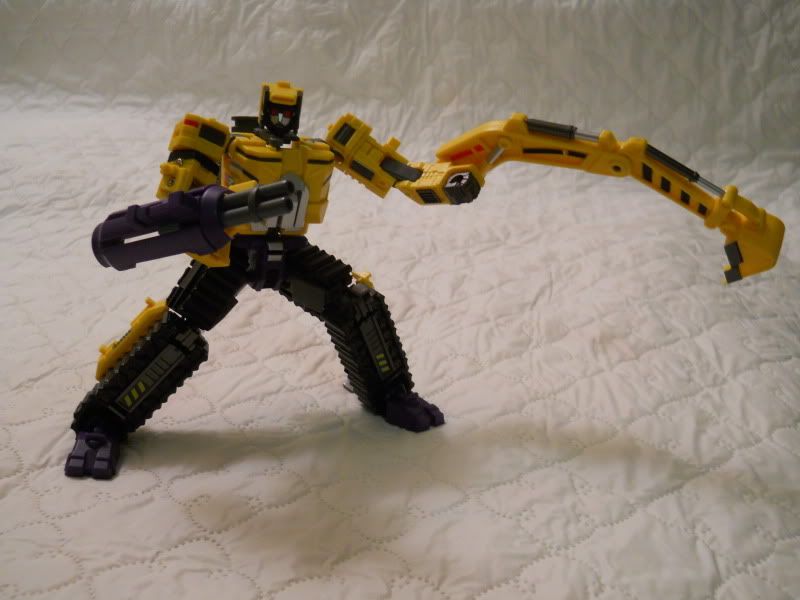
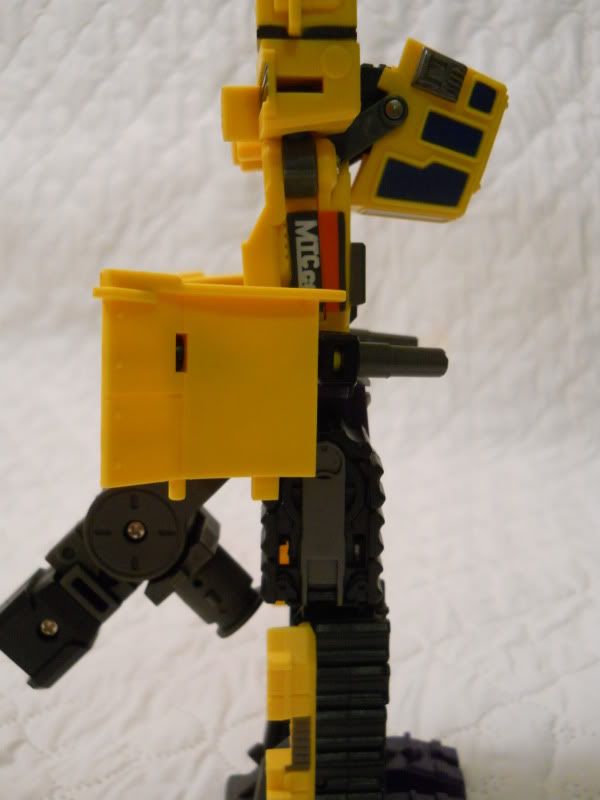
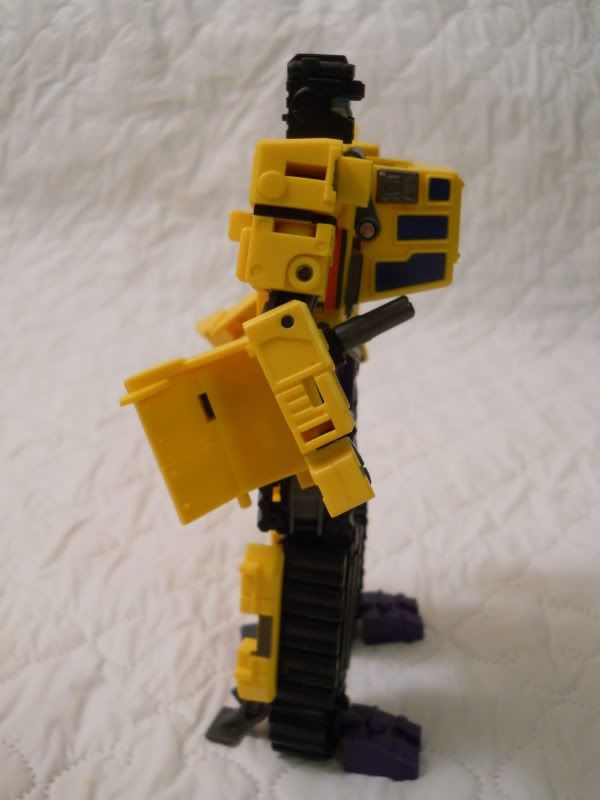
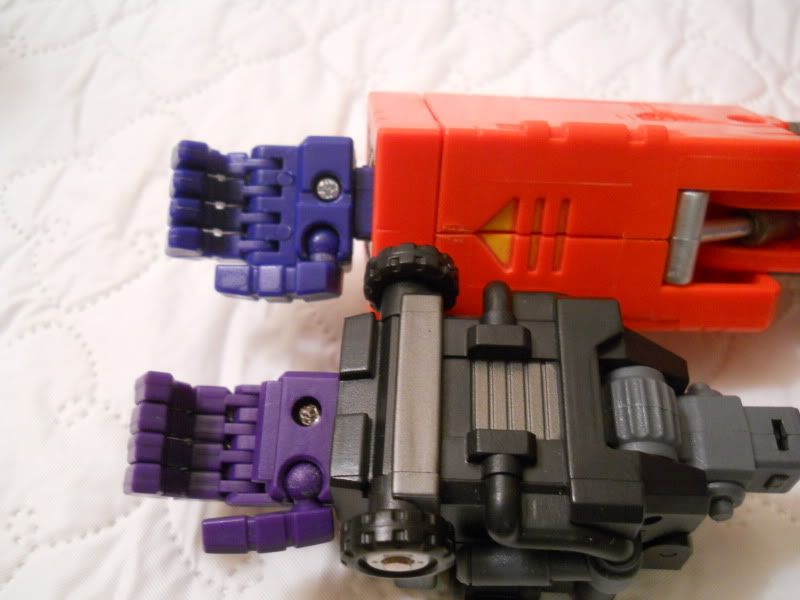
The forearm attachments.
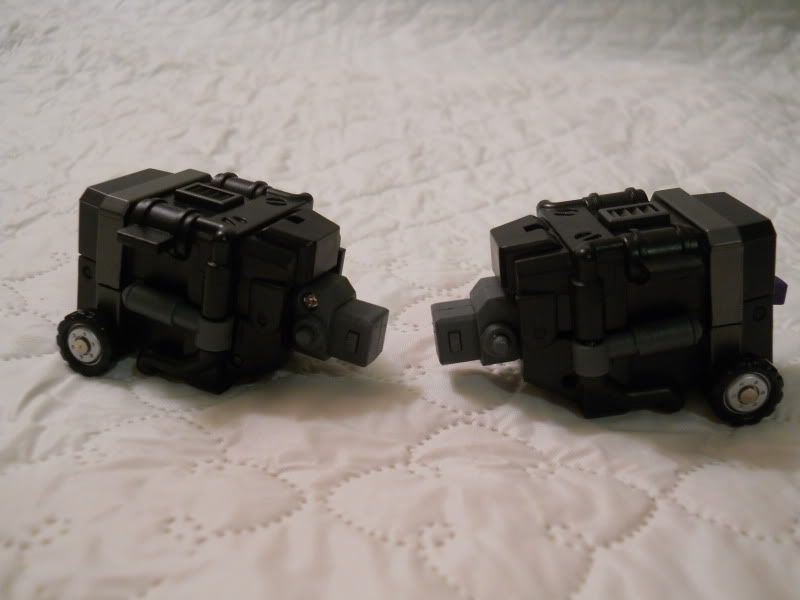
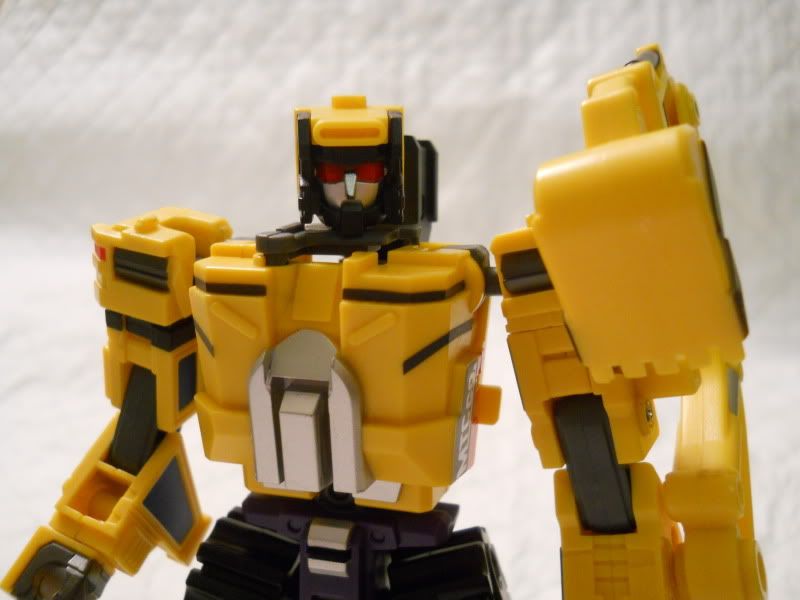
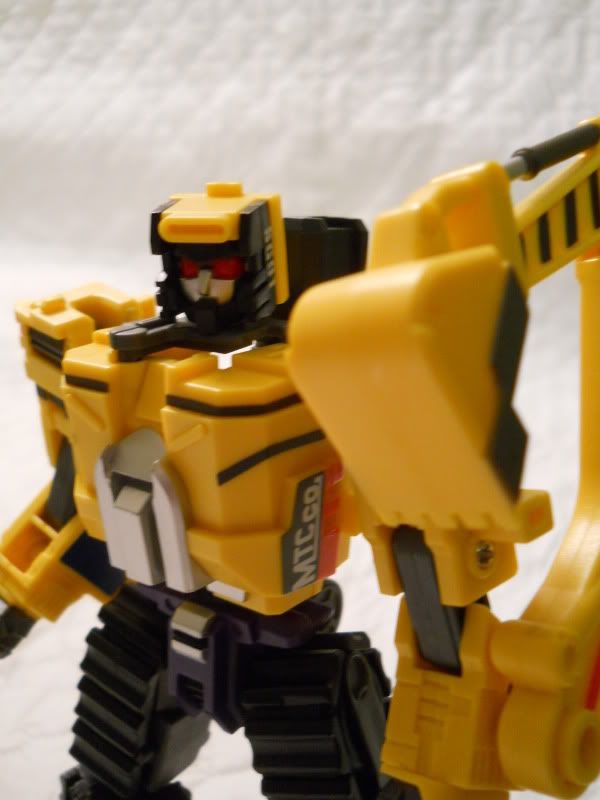
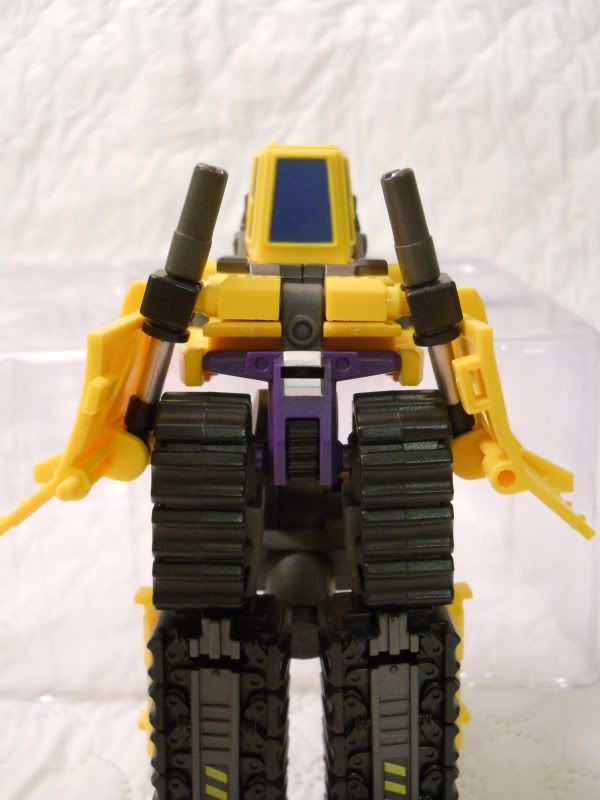
Some close up detail.
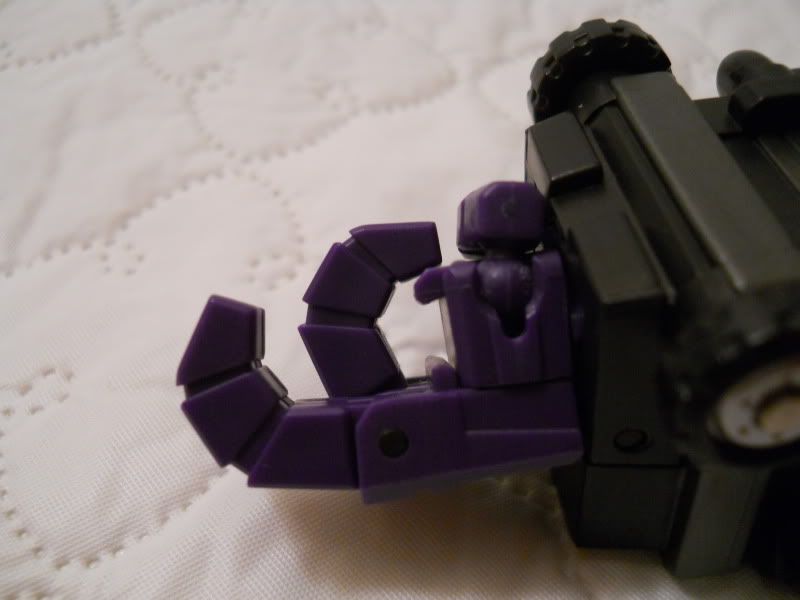
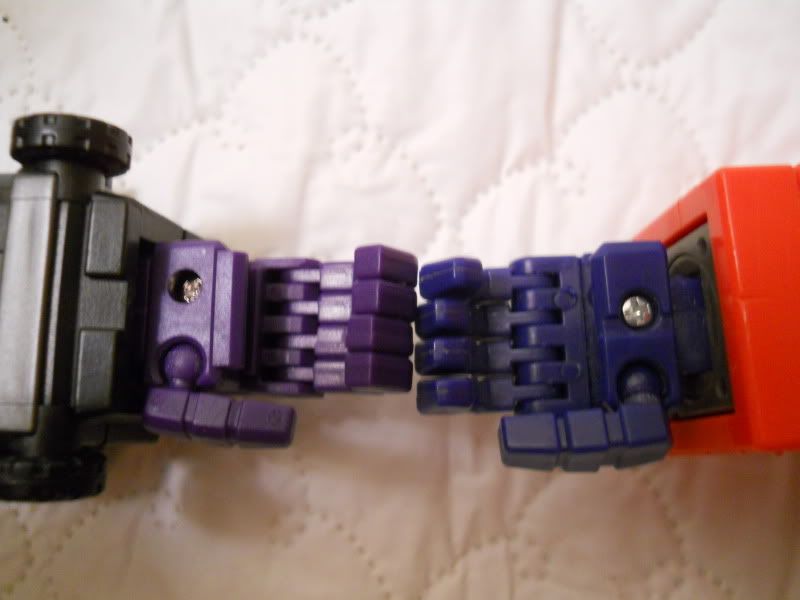
A closer look at the hands.

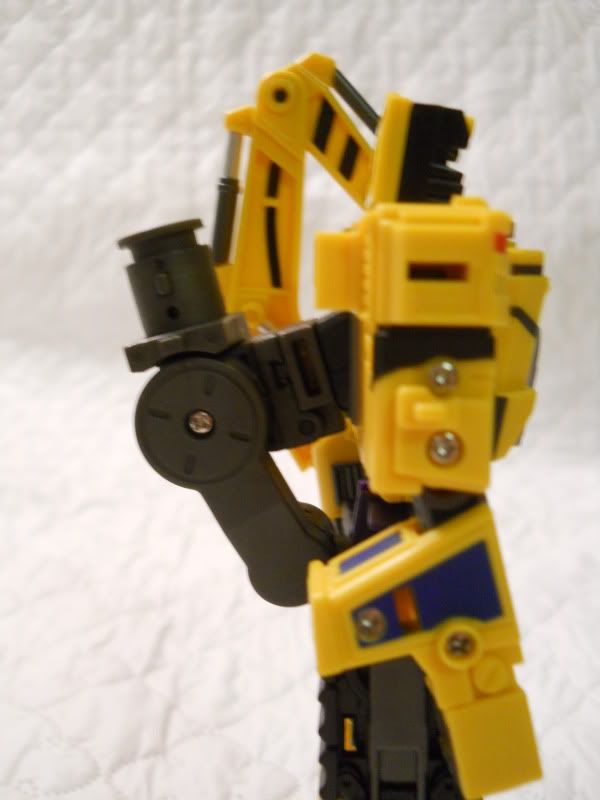
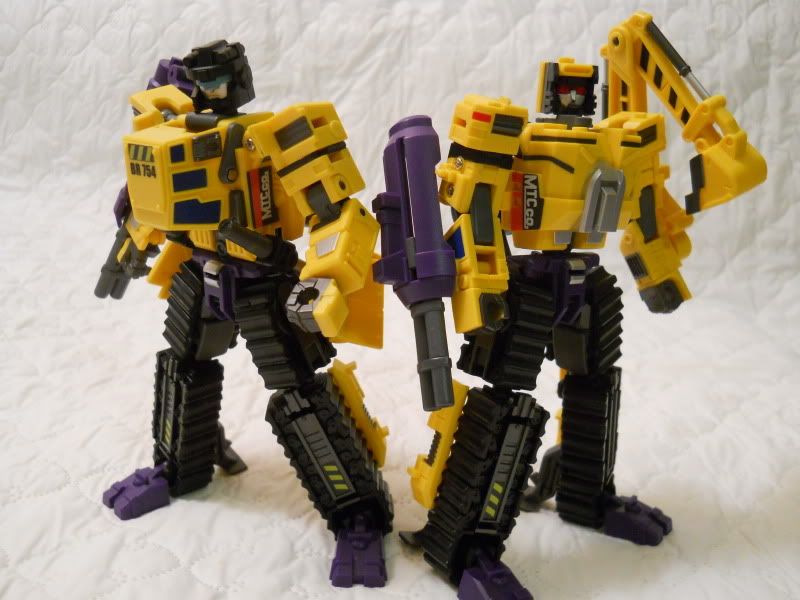
Here’s where the shoulder articulation *may* be better than Hercules. When the arm is in the “default” position.

You don’t really get much movement, only 2 clicks, which puts it at roughly the same angle as Herc.
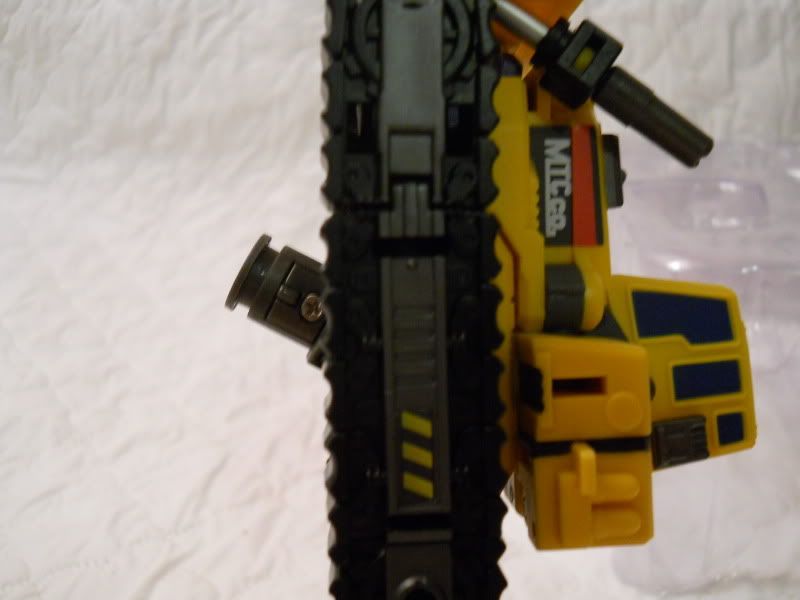
Where the shoulder mechanism attaches to the figure though.
You can move the whole “shoulder pad” separately.

Which depending on how much room you’ll have to work with on the combined Giant, you could almost get a straight out pose.

Next up, some points that I feel aren’t crystal clear in the instructions/ things I found slightly better ways of doing.
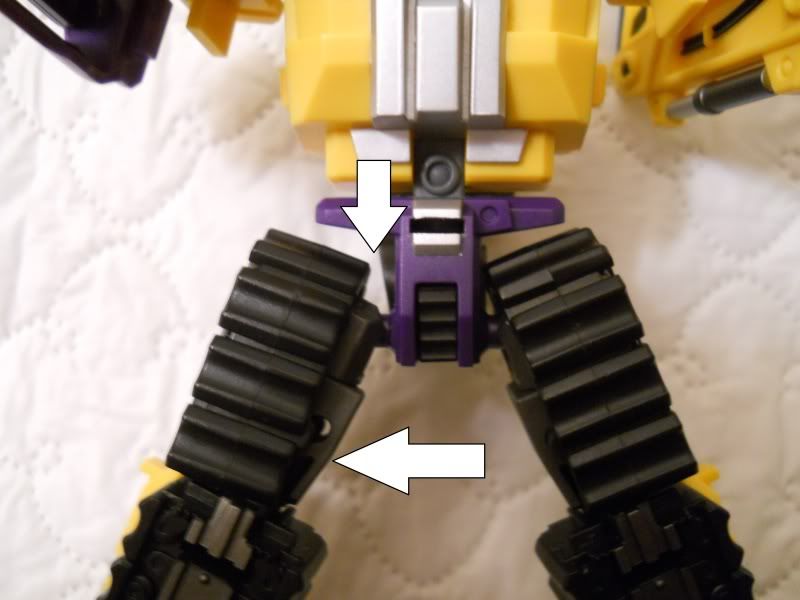
With Giant’s shoulder connections, they don’t specify that to snap this into place,

You need a fair bit of firm, but steady pressure. I suggest holding it like this
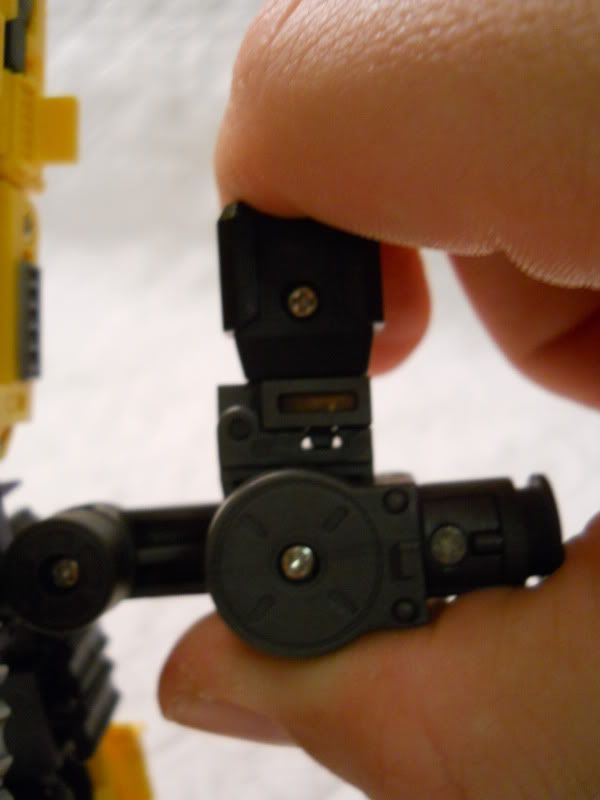
And squeezing like you’re holding a pair of scissors, applying the pressure where the arrows are here,

It will make a really sharp click (freaked me right out) but as you play with it, it does get easier.
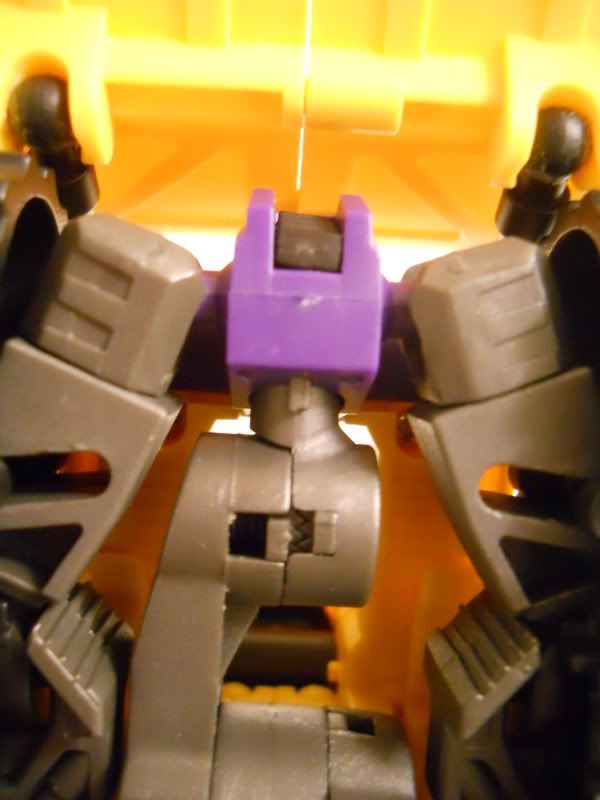
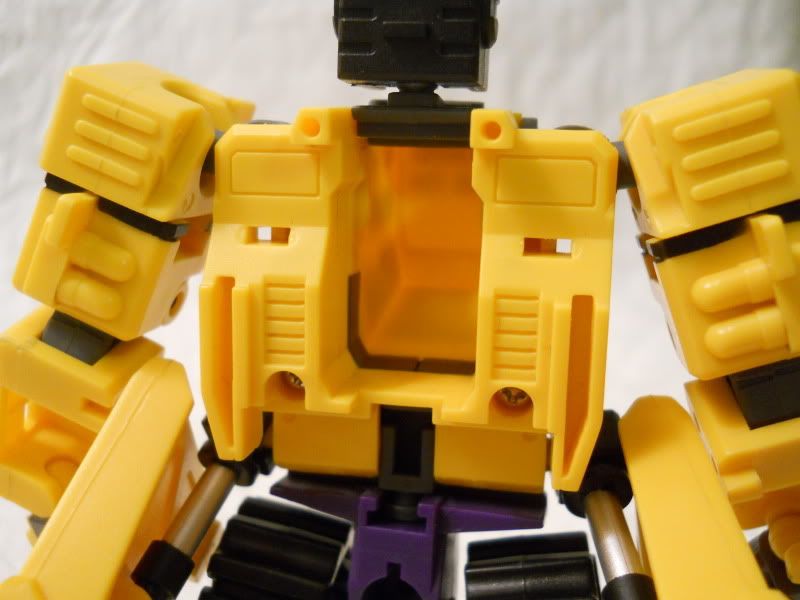
As for Excavator’s head, it’s on an arm that swings around, from being off center and forward, into centered between his shoulders. The instructions don’t tell you that you need to put a little pressure underneath ,
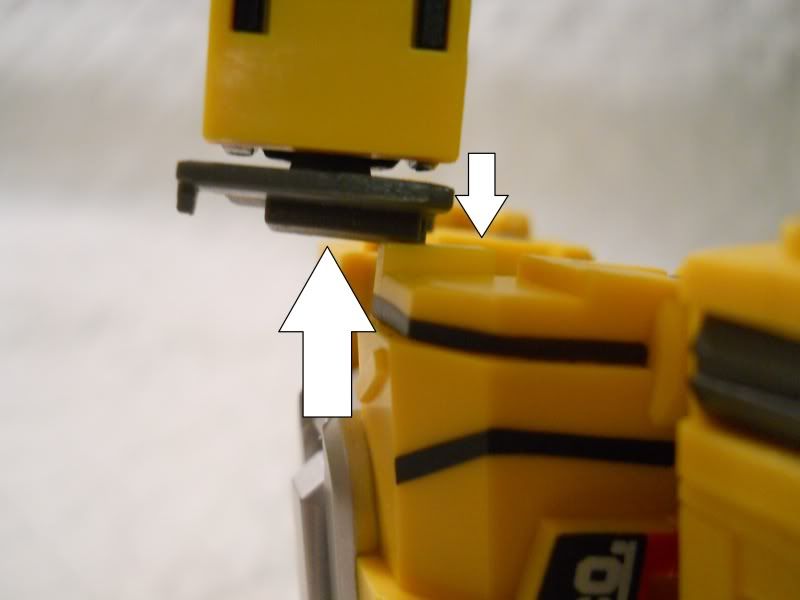
To clear that little yellow protrusion.
Another thing that the instructions say is that Giant’s arm connection should be folded up like so
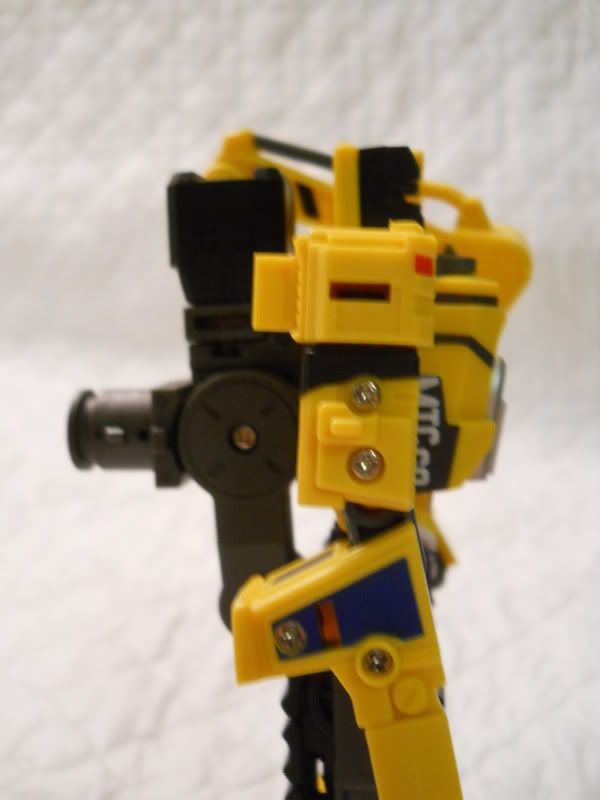
But that leaves you with the point where the forearms connect poking up behind their heads
Kinda fugly, but if you fold it up and tuck the connector like this (which all Maketoys’ promo pics do it)
You don’t see it from the front
No matter what, people aren’t going to like this aspect of the figures, which I agree is a downside as they do have waist articulation and this hampers it. Though they are quite articulated everywhere else, and you can hide it! (if you plan on buying 2 sets, as to display Giant in combined and individual modes, I explain a very simple way to remove them in a fix later on)


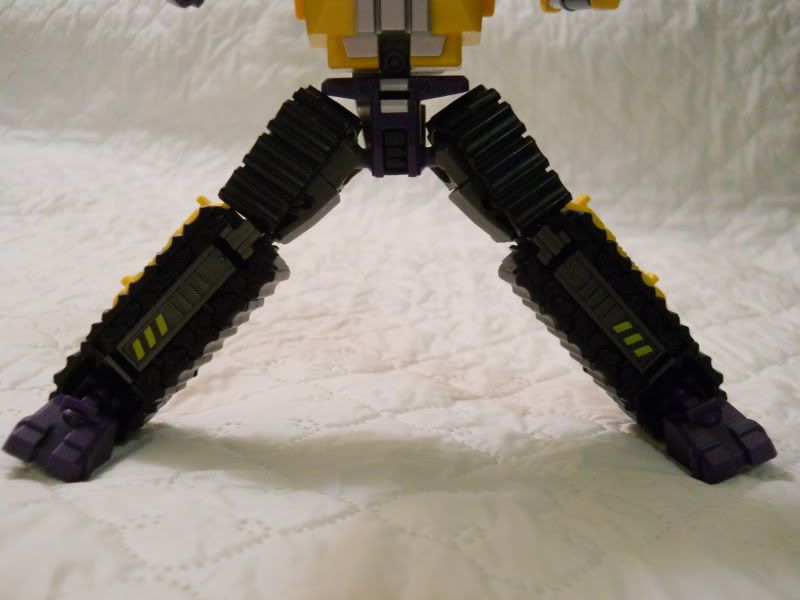
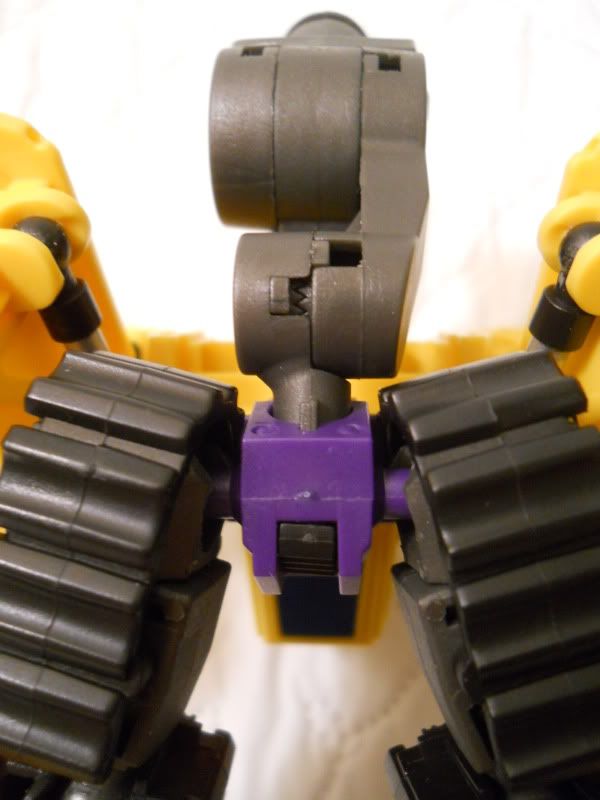
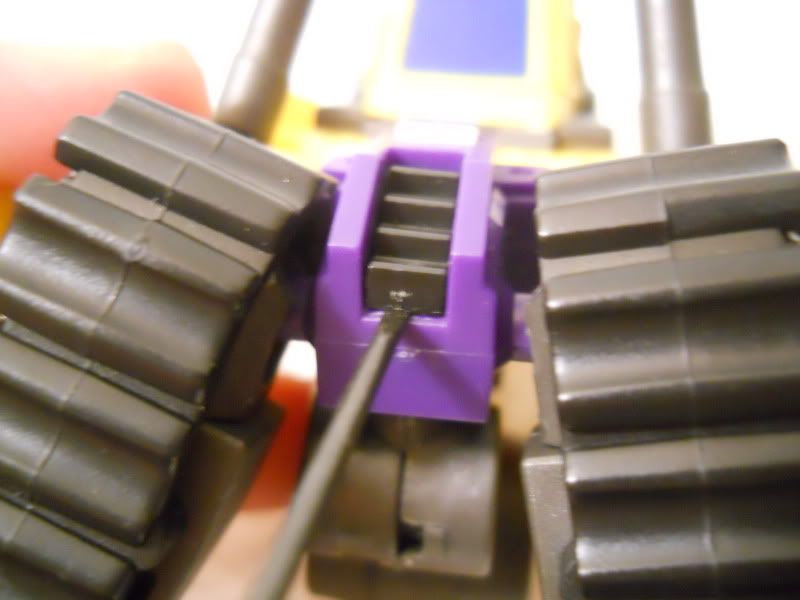
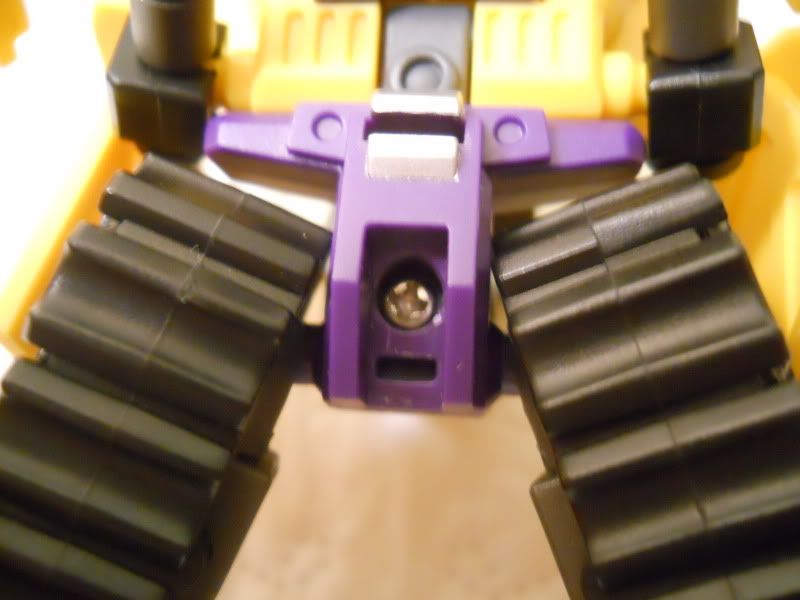
Hip articulation is generally not that great side split ways
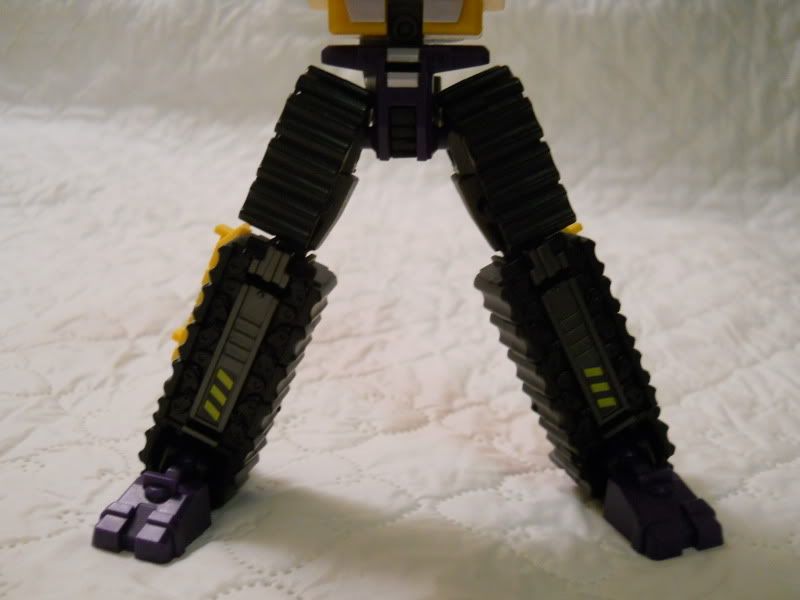
But you can improve it by unpegging/unclipping the thigh tread pieces (that you push into place during transformation)
So that you can add a little more width between their feet
As for Bulldozer, the only thing that I found really needed clarification is how to get his Bulldozer scoop around his hips during transformation.
The instructions say to transform his legs like Excavator, then split the scoop, turn the halves and sweep it back all simple like this,
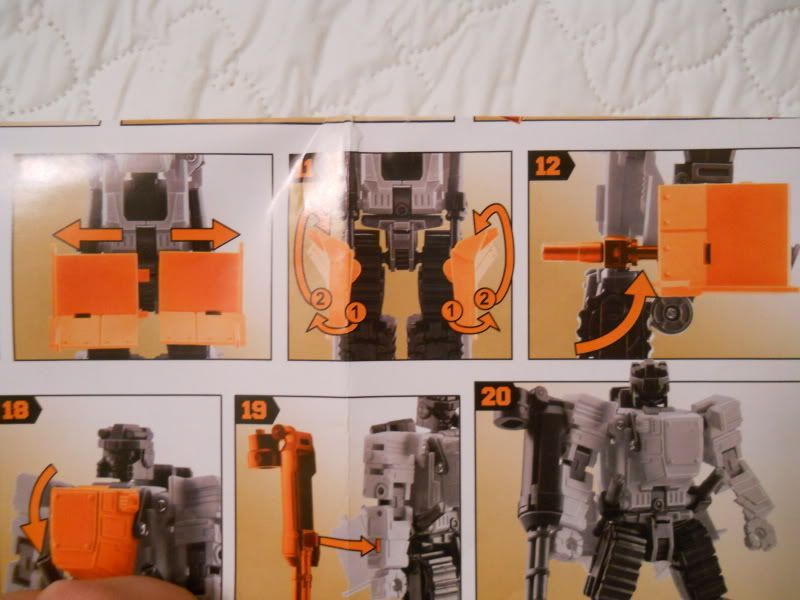
Except that is isn’t simple and you risk snapping off the ball joints holding the halves on because you have to force them past his hips and the piston parts are hampered by his chest. So I found this easier
Swing the treads down on the hip ball joint and split the scoop like so
Then transform his legs and straighten them up like this

Then swing the scoop halves down past his hips
Then straighten him up
The rest you follow the instructions for.
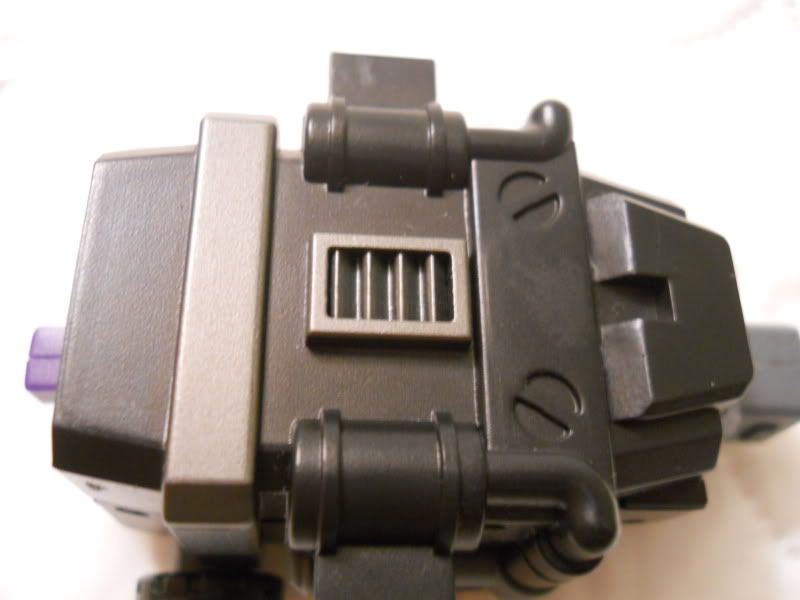
Another thing to note is that out of the box, I noticed that Giant’s arm connection was loose on Bulldozer where it connects to his butt
I noticed the figures have lots of nice little screws, and not a lot of glue, holding them together and took a little gamble. I figured this little black piece was covering the screw.

So I grabbed my little 1.0 mm screwdriver
and pried it off exposing the screw
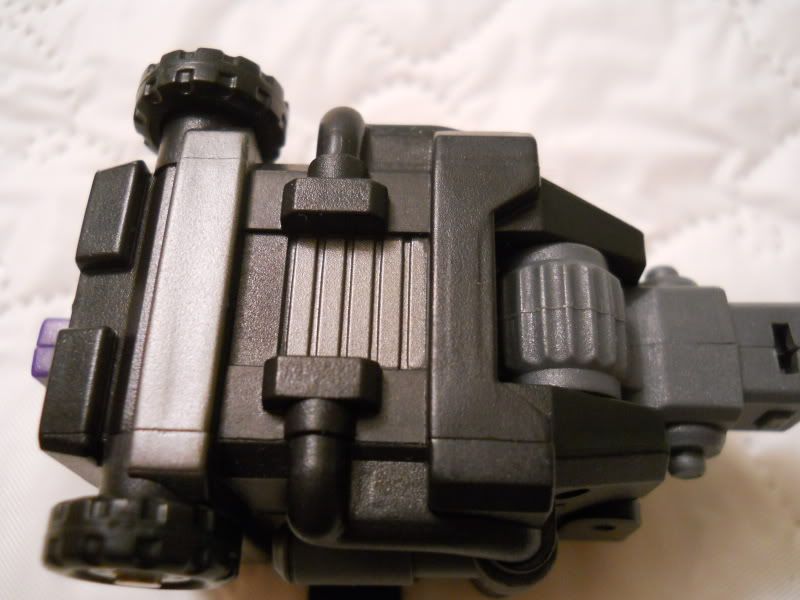
Now I unscrewed it all the way off, using a 3.0 mm screwdriver, as to make sure I didn’t strip the hole by trying to tighten it too much. I then took the connector off lined it back up and made sure it was sitting flush back in its spot.
Now this is where you can leave it off if you really hate the way it looks hanging on their backs and you get this look
But you also have a gaping hole in their backs, as this is where the arm connector folds into in vehicle mode
Also, I personally wouldn’t suggest constantly screwing it on and off as you may find you strip the hole or cross thread the screw, so do this at your own risk.
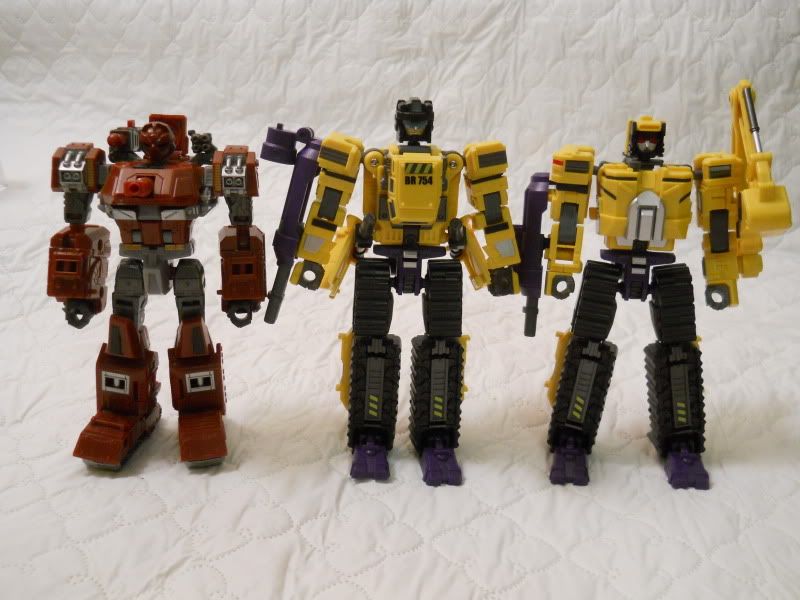
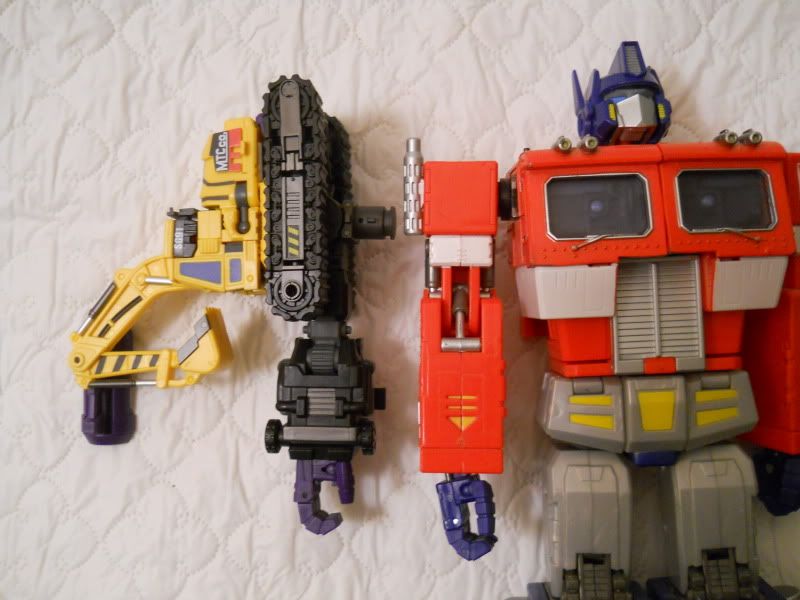
Some size comparisons with deluxe Warpath
Alongside Rodimus in FansProject Protector armor

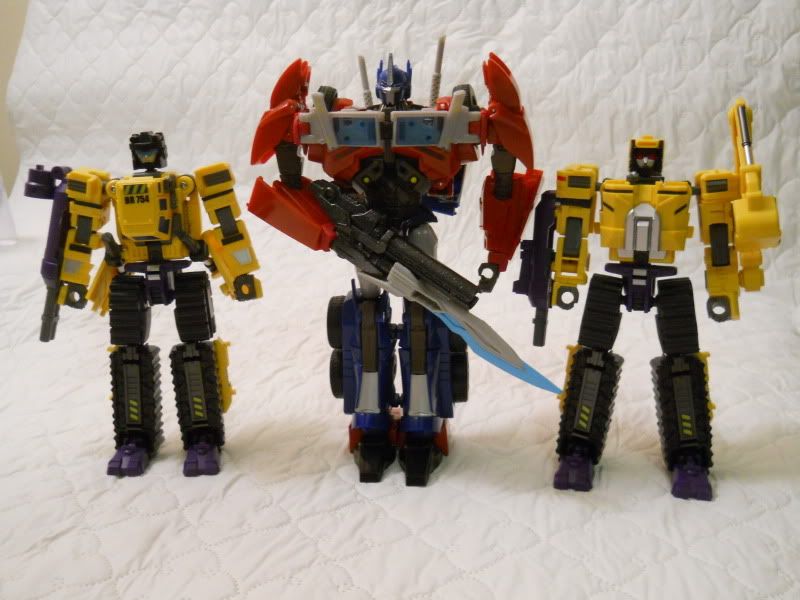
TF Prime Voyager Prime
MP Grimlock
And MP01 Prime

An interesting thing to note, Giant’s hands are barely smaller than Prime’s and have the same articulation
And compared to Primes arm, Giant’s is a little shorter from the shoulder connection, but sticks up a little higher on top
Anyway, sorry that was so image heavy, I just wanted to show a slightly different view on things other than just the transformation and cool poses. The figures are fantastic, the plastic feels great and as I’d said in my other post, nothing feels brittle. The biggest downside is the instructions leaving you hanging in some parts. Giant’s arm connection hanging out the butts of the figures will bug some people, but you can work around it. Hopefully this is helpful to people once their figures start showing up, and I’ll gladly answer any questions you folks have. Want a closer look at something specific? Let me know and I’ll snap a shot.
Thanks for reading!
Now this isn’t going to be a typical review type thing as you’ve all seen the photos of the figures in their different modes and looking cool in action packed poses. I’m going to be focusing on things like how the instructions are good, but not as clear as you’d like on things, and the workaround’s I’ve found to rectify these problems. There will be some standard size comparisons, as well as some slightly different ones.
Now you may wonder why I don't just post a youtube video review. Two reasons: 1. I did actually have 45 mins of footage, but it was mostly me just droning on and on (I like to talk about things I like) and fumbled around with kind of a poor setup that was kind of embarassing. 2. I can't find my editing software discs, and my last laptop died and took it with it.
So without further rambling, here we go:
So here they are, in glorious yellow construction vehicle mode
One thing to note, they do not have wheels on the treads, so they do not roll. This may be a sour point for some, but it means in robot mode, they do not have little wheels poking about.
The forearm attachments.
Some close up detail.
A closer look at the hands.
Here’s where the shoulder articulation *may* be better than Hercules. When the arm is in the “default” position.
You don’t really get much movement, only 2 clicks, which puts it at roughly the same angle as Herc.
Where the shoulder mechanism attaches to the figure though.
You can move the whole “shoulder pad” separately.
Which depending on how much room you’ll have to work with on the combined Giant, you could almost get a straight out pose.
Next up, some points that I feel aren’t crystal clear in the instructions/ things I found slightly better ways of doing.
With Giant’s shoulder connections, they don’t specify that to snap this into place,
You need a fair bit of firm, but steady pressure. I suggest holding it like this
And squeezing like you’re holding a pair of scissors, applying the pressure where the arrows are here,
It will make a really sharp click (freaked me right out) but as you play with it, it does get easier.
As for Excavator’s head, it’s on an arm that swings around, from being off center and forward, into centered between his shoulders. The instructions don’t tell you that you need to put a little pressure underneath ,
To clear that little yellow protrusion.
Another thing that the instructions say is that Giant’s arm connection should be folded up like so
But that leaves you with the point where the forearms connect poking up behind their heads
Kinda fugly, but if you fold it up and tuck the connector like this (which all Maketoys’ promo pics do it)
You don’t see it from the front
No matter what, people aren’t going to like this aspect of the figures, which I agree is a downside as they do have waist articulation and this hampers it. Though they are quite articulated everywhere else, and you can hide it! (if you plan on buying 2 sets, as to display Giant in combined and individual modes, I explain a very simple way to remove them in a fix later on)
Hip articulation is generally not that great side split ways
But you can improve it by unpegging/unclipping the thigh tread pieces (that you push into place during transformation)
So that you can add a little more width between their feet
As for Bulldozer, the only thing that I found really needed clarification is how to get his Bulldozer scoop around his hips during transformation.
The instructions say to transform his legs like Excavator, then split the scoop, turn the halves and sweep it back all simple like this,
Except that is isn’t simple and you risk snapping off the ball joints holding the halves on because you have to force them past his hips and the piston parts are hampered by his chest. So I found this easier
Swing the treads down on the hip ball joint and split the scoop like so
Then transform his legs and straighten them up like this
Then swing the scoop halves down past his hips
Then straighten him up
The rest you follow the instructions for.
Another thing to note is that out of the box, I noticed that Giant’s arm connection was loose on Bulldozer where it connects to his butt
I noticed the figures have lots of nice little screws, and not a lot of glue, holding them together and took a little gamble. I figured this little black piece was covering the screw.
So I grabbed my little 1.0 mm screwdriver
and pried it off exposing the screw
Now I unscrewed it all the way off, using a 3.0 mm screwdriver, as to make sure I didn’t strip the hole by trying to tighten it too much. I then took the connector off lined it back up and made sure it was sitting flush back in its spot.
Now this is where you can leave it off if you really hate the way it looks hanging on their backs and you get this look
But you also have a gaping hole in their backs, as this is where the arm connector folds into in vehicle mode
Also, I personally wouldn’t suggest constantly screwing it on and off as you may find you strip the hole or cross thread the screw, so do this at your own risk.
Some size comparisons with deluxe Warpath
Alongside Rodimus in FansProject Protector armor
TF Prime Voyager Prime
MP Grimlock
And MP01 Prime
An interesting thing to note, Giant’s hands are barely smaller than Prime’s and have the same articulation
And compared to Primes arm, Giant’s is a little shorter from the shoulder connection, but sticks up a little higher on top
Anyway, sorry that was so image heavy, I just wanted to show a slightly different view on things other than just the transformation and cool poses. The figures are fantastic, the plastic feels great and as I’d said in my other post, nothing feels brittle. The biggest downside is the instructions leaving you hanging in some parts. Giant’s arm connection hanging out the butts of the figures will bug some people, but you can work around it. Hopefully this is helpful to people once their figures start showing up, and I’ll gladly answer any questions you folks have. Want a closer look at something specific? Let me know and I’ll snap a shot.
Thanks for reading!
