With this in mind, we bring to you a tutorial from Seibertronian Qwan, who has an awesome picture heavy procedure for how you can prevent your Trypticon from losing his hips! Check it out below, and let us know if this was useful.
Qwan wrote:Okay, so! I've finally gotten around to doing this thing. Time to run through the process of making your very own Trypticon not destroy itself within 48 hours!
---
Before I start the 'tutorial', so to speak, perhaps a little background is in order. Titans Return Trypticon's hip ratchets are, thanks to the incredible size and strength of the ratchets within, self-destructively strong (such that the inner mechanisms of the ratchet will wreck themselves beyond repair if the hips are left unmodded, and moved back and forth even a few times). One way to remedy this is to take apart the hips and simply remove the springs from the ratchets, leaving them as friction joints. If you're like me though and feel the need to still have ratchets to some degree, I'll be running you through the process of cutting the springs down to size - that way the hips can still ratchet softly (and hold the figure up perfectly well!) without being nearly strong enough to pose any danger to the integrity of their own inner workings.
---
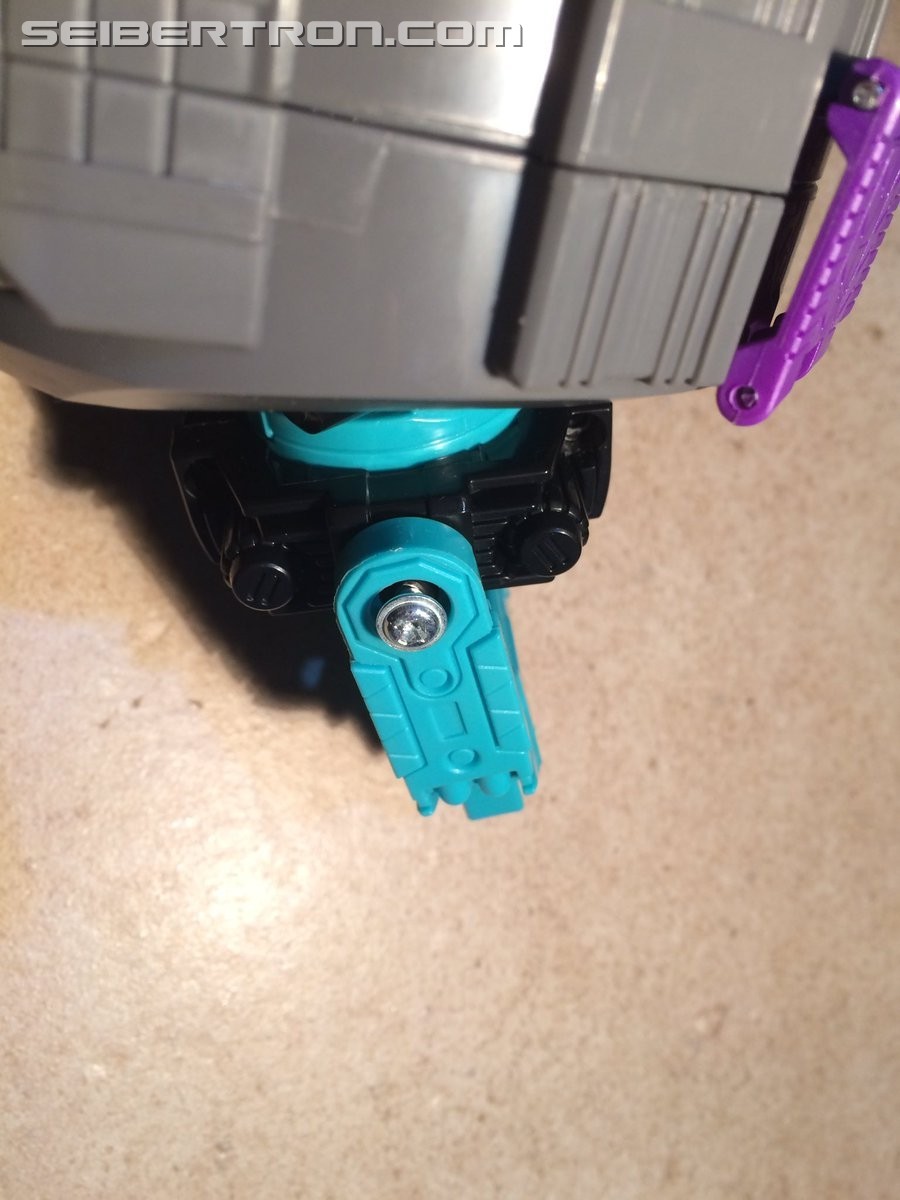
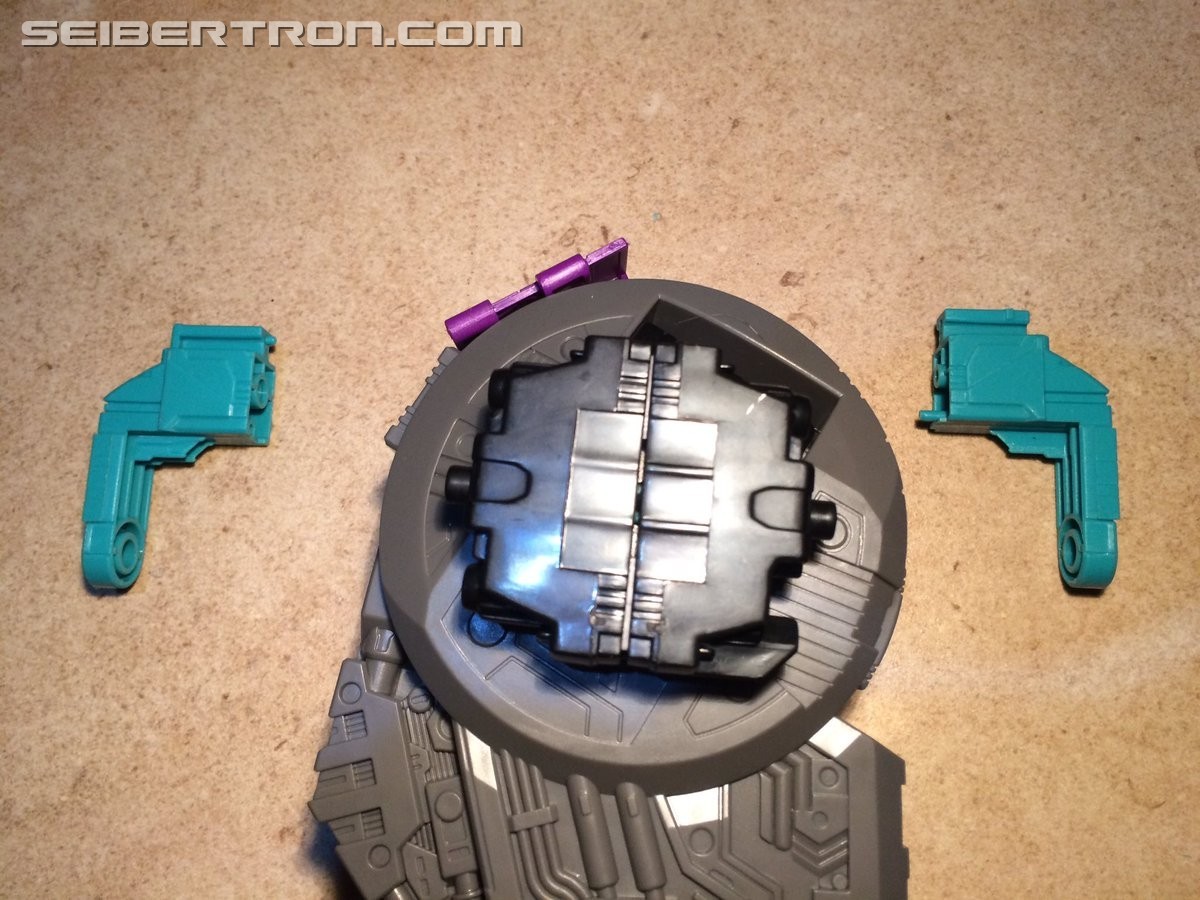
Stage 1 of the repair is just opening up the hips. The first thing you'll want to do is take each of Trypticon's legs back out of the locking point on his body that you would have put them in when you first 'assembled' him out of the package. (Or, if you're doing this straight away out of the box, no need! They're already pre-detached for you.)
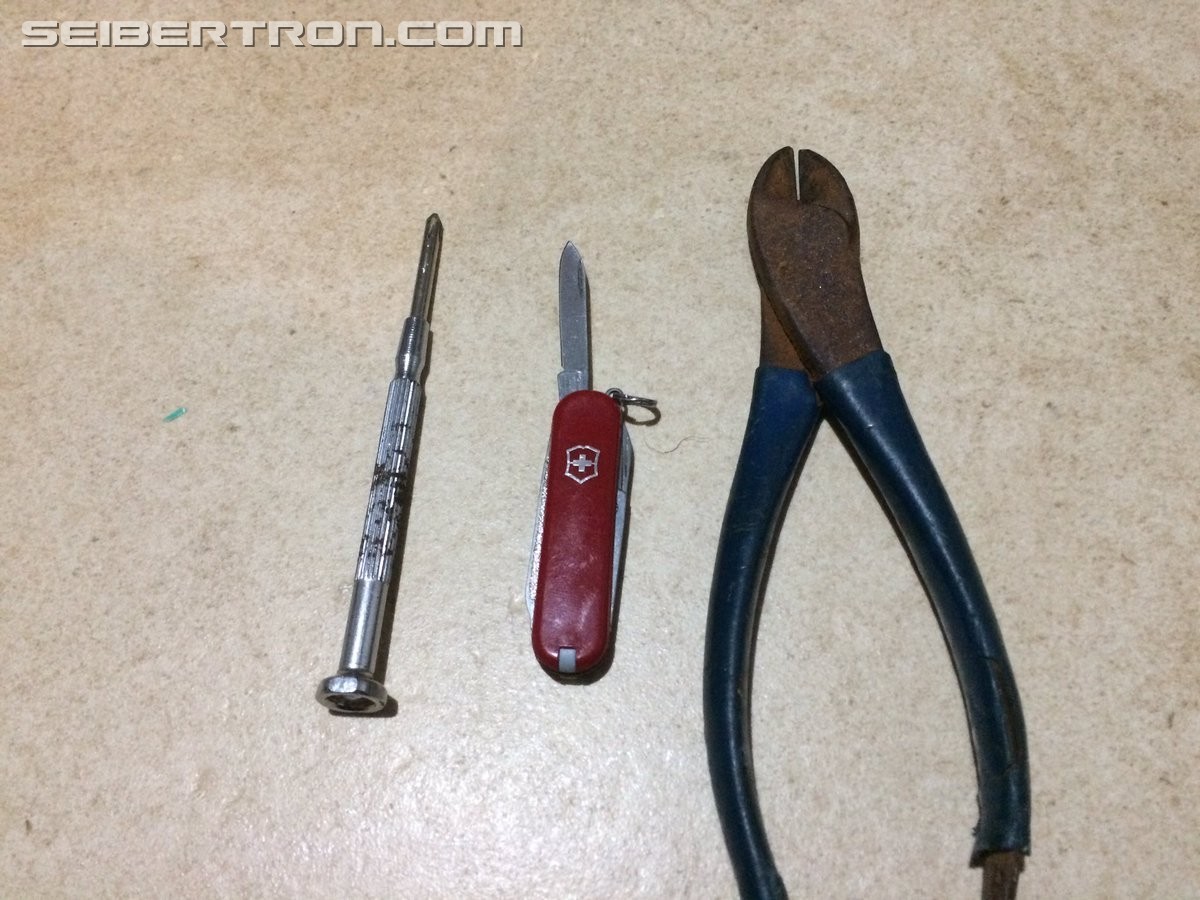
These are all the tools you should need for this modification. One screwdriver (#1 or #2 seems to work well for all screws involved in this mod, whatever those numbers mean for screwdriver size); one small knife of any kind (I just used my trusty pocket-knife, but anything sharper than 'blunt' will work well enough); and one pair of wire cutters (preferably not as rusty as mine are, though again it's not like you need uber-professional tools).
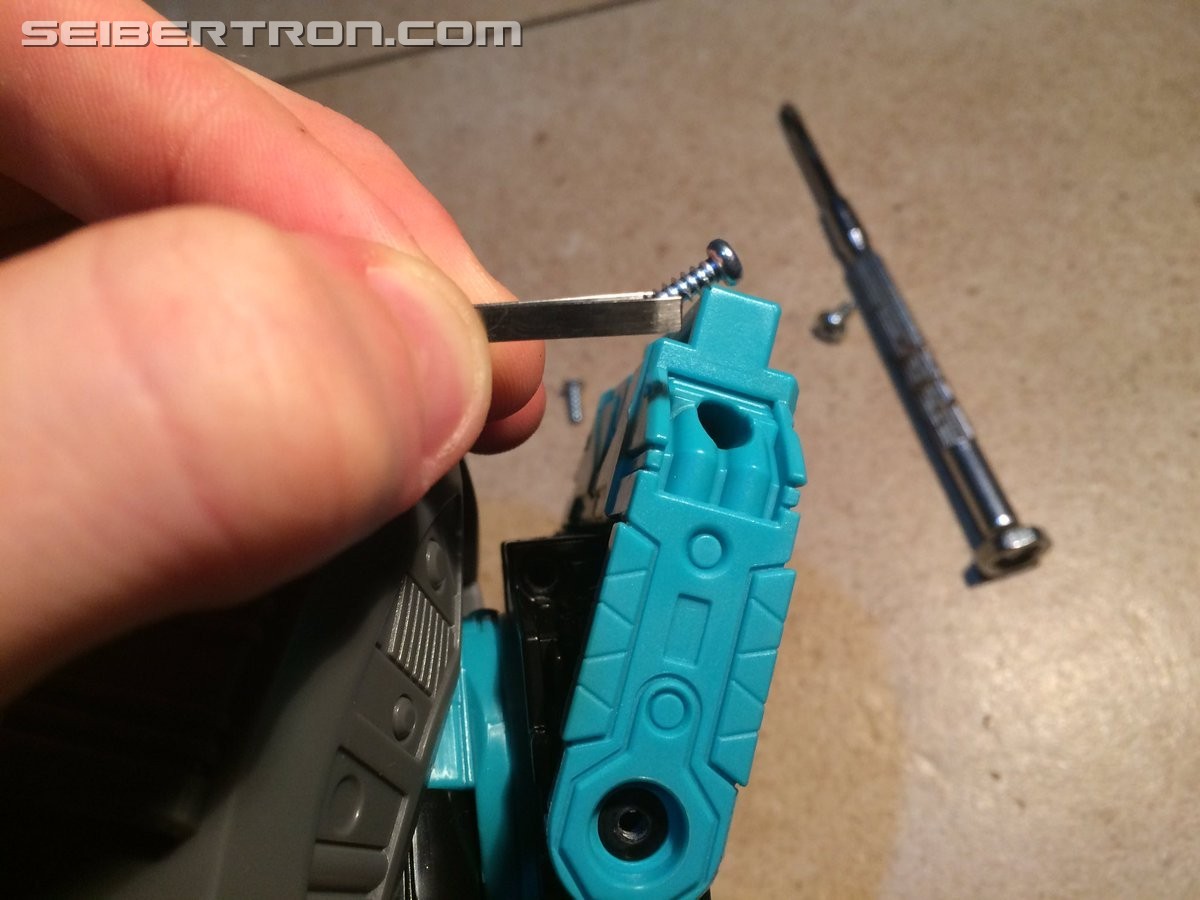
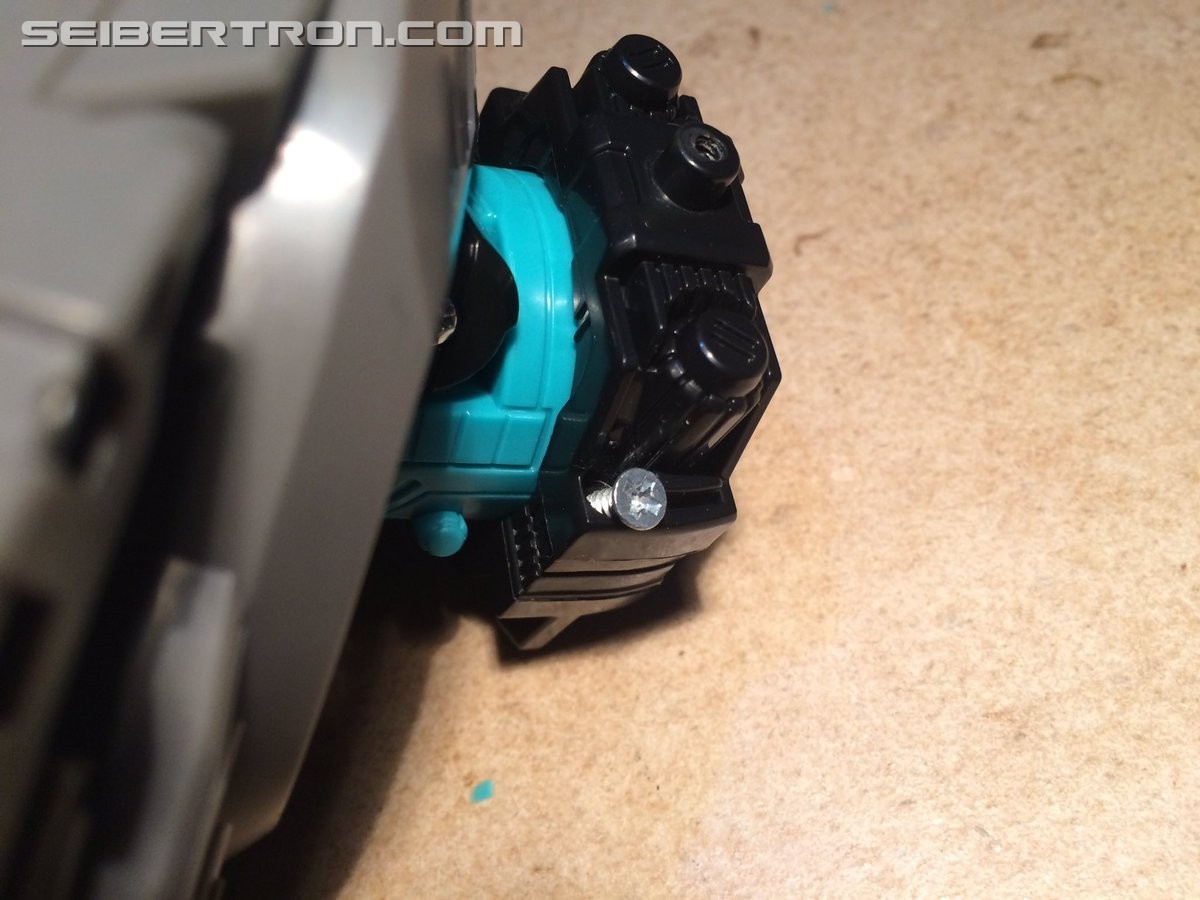
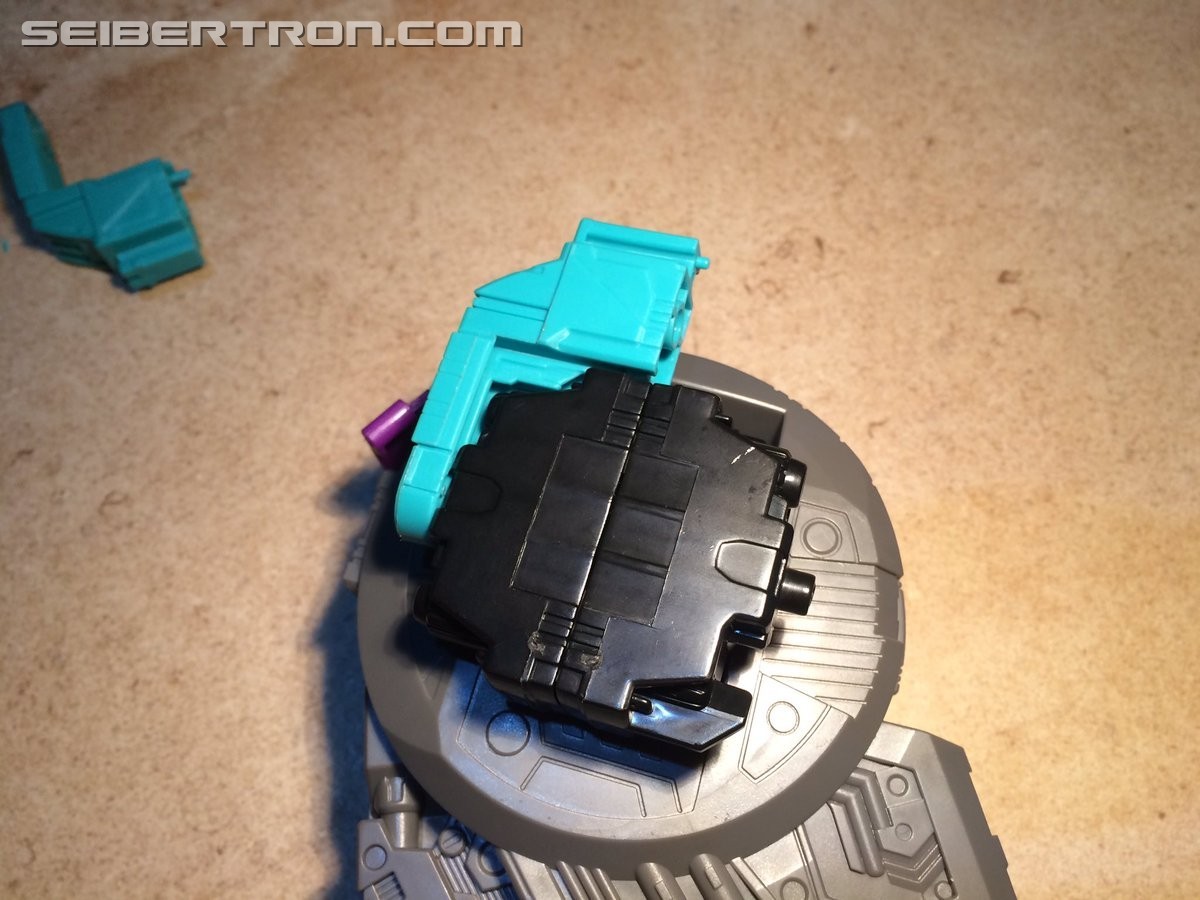
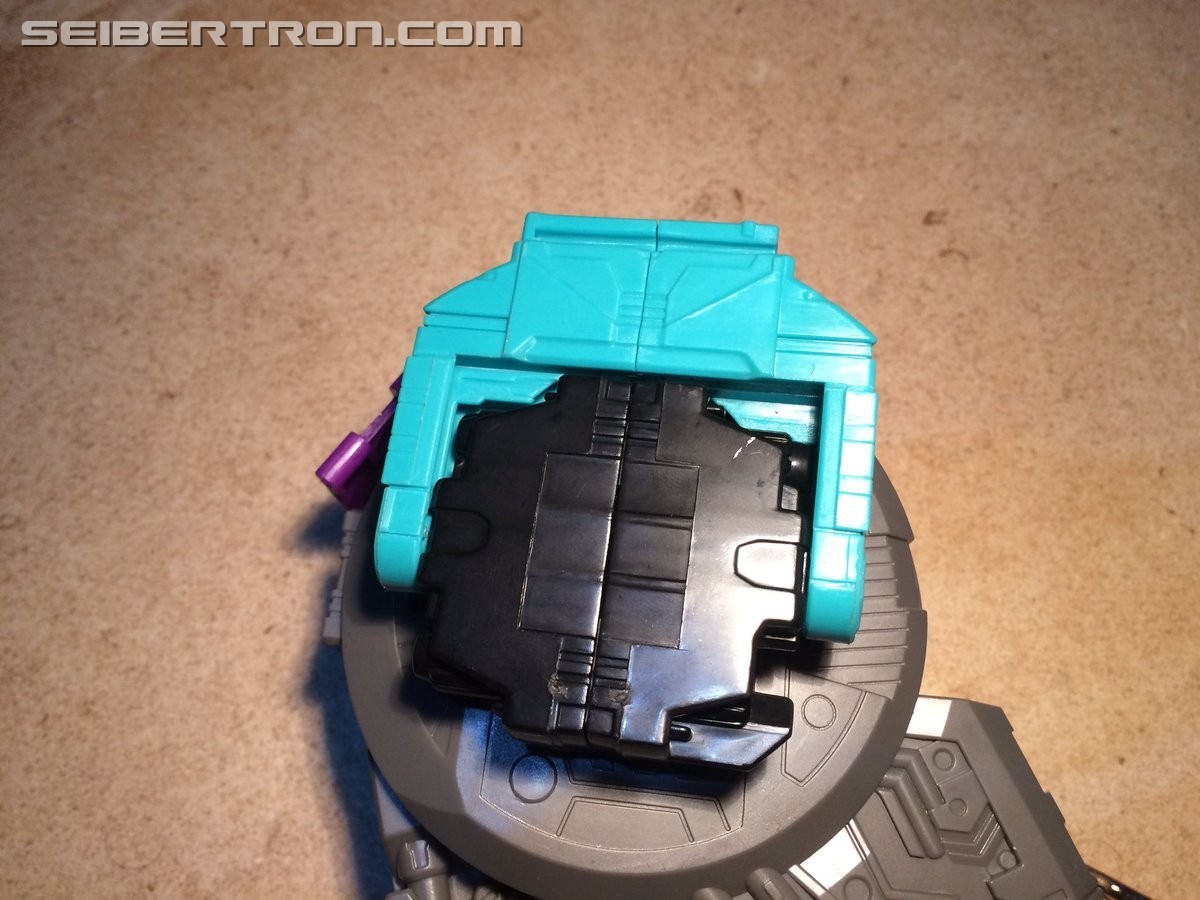
Unscrew the two screws (one on each side) holding the teal 'bracket' to the black plastic chunk of the hip.
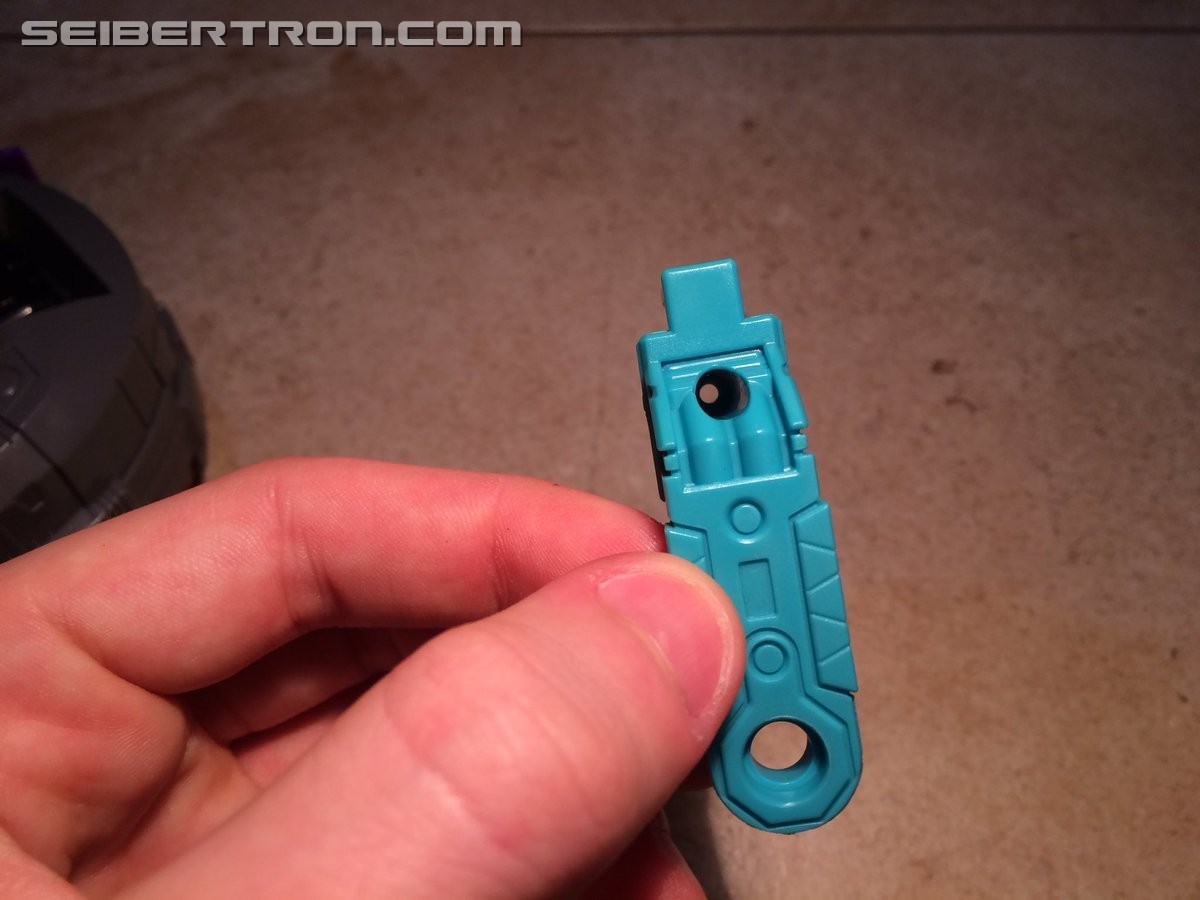
Unscrew the third, sunken screw holding the two halves of the teal bracket together.
And, split the two halves apart and remove them.
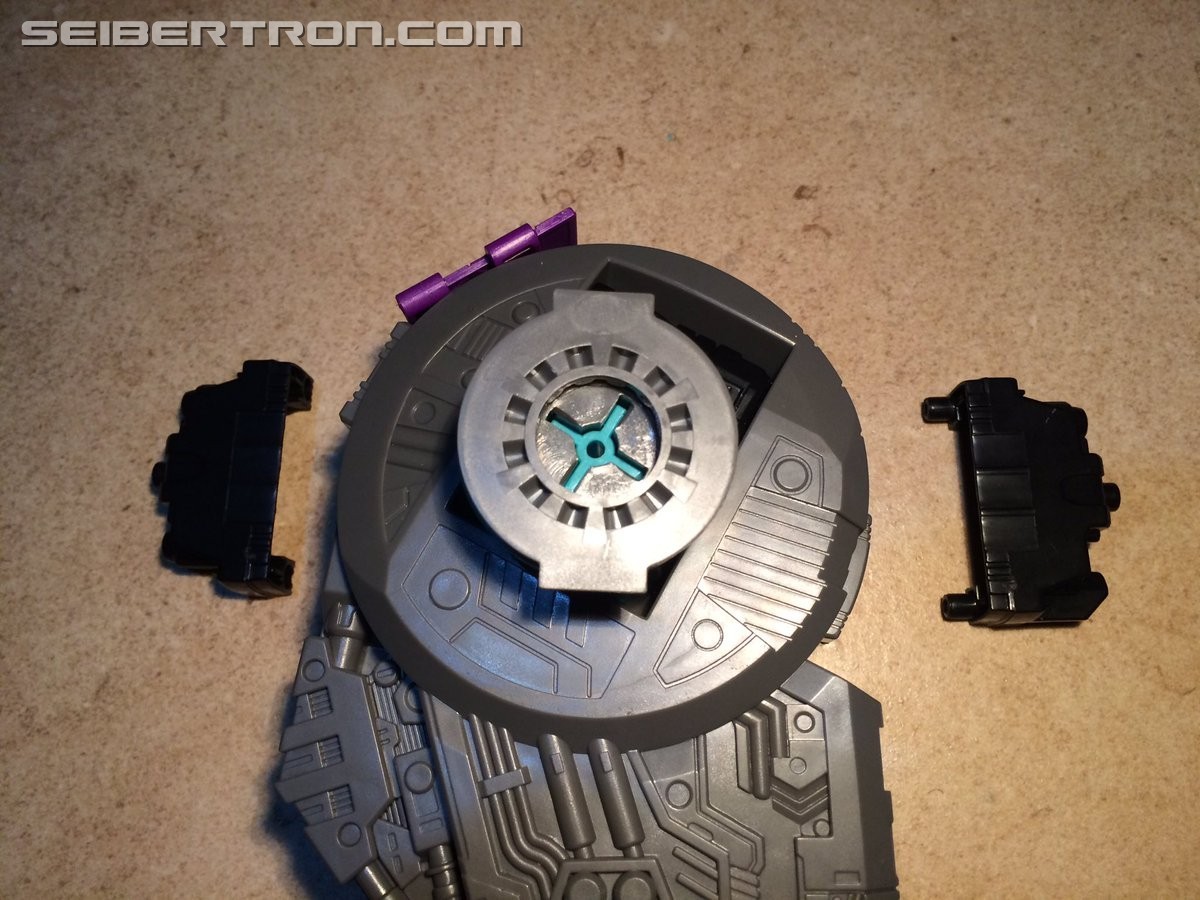
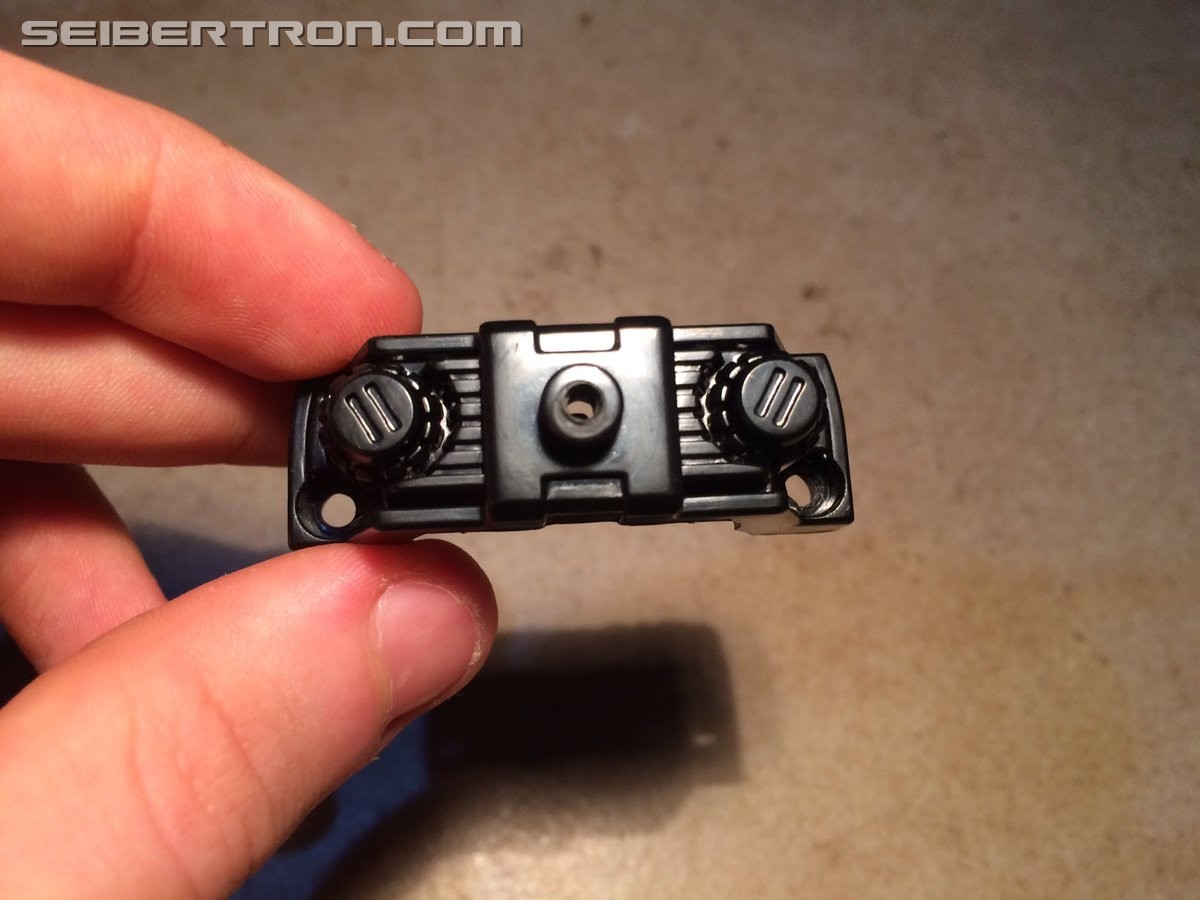
Unscrew the two screws (one on top, one on the bottom, both on the same side) holding the two halves of black plastic chunk together.
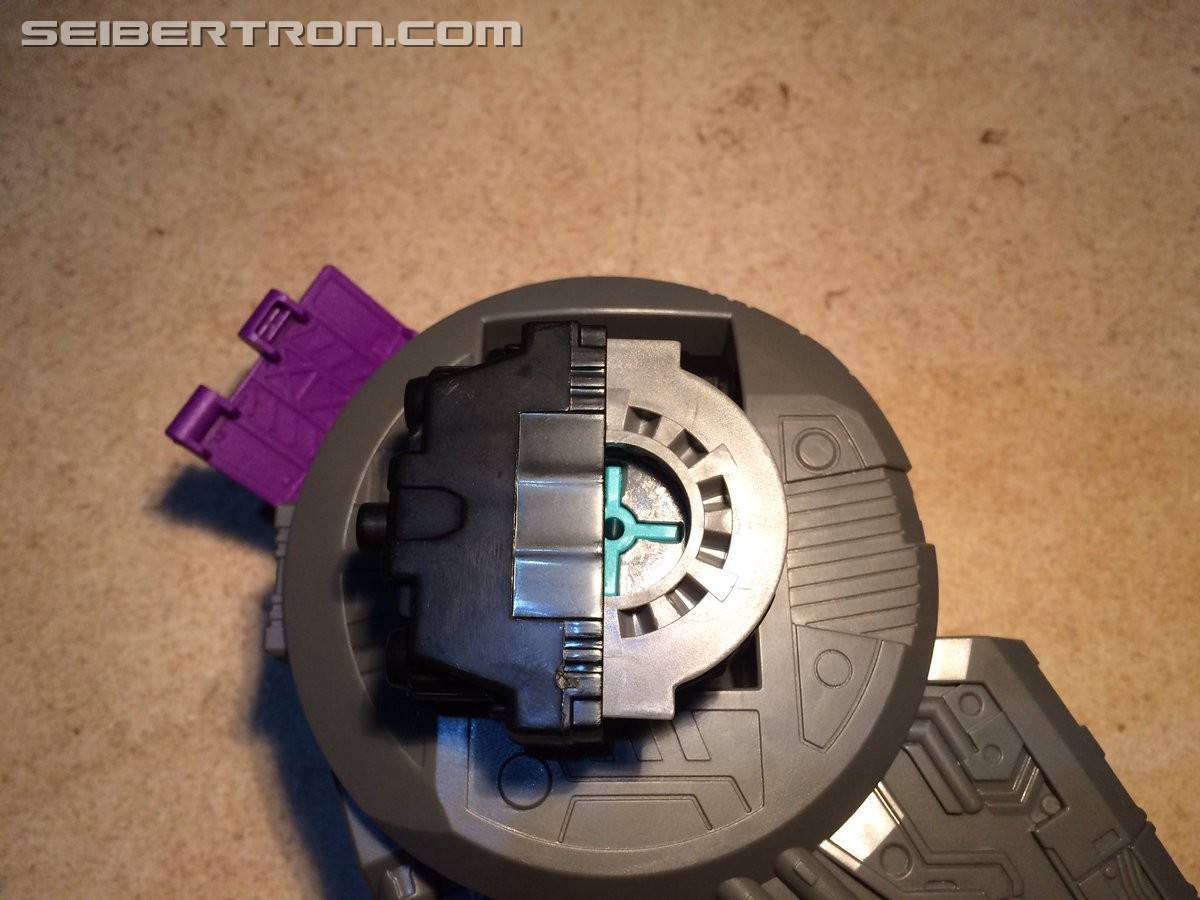
Split the two halves and remove them. When you're doing this initially, be aware that the springwill launch out at you and the two other pieces of the ratchet will attempt to fly away. Pry these black plastic pieces apart with caution, preferably holding down the inner ratchet mechanism after you remove one half, and gently releasing your hold once you've removed the other.
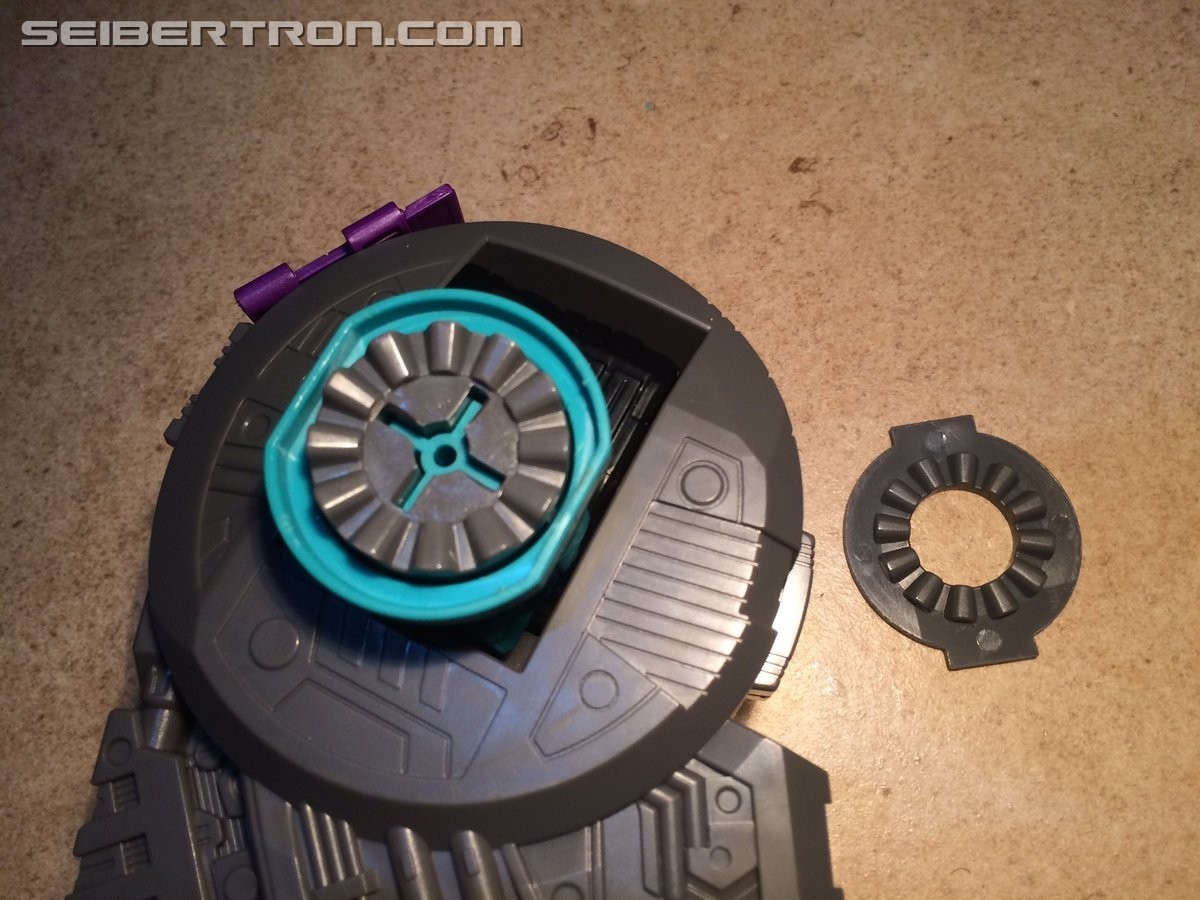
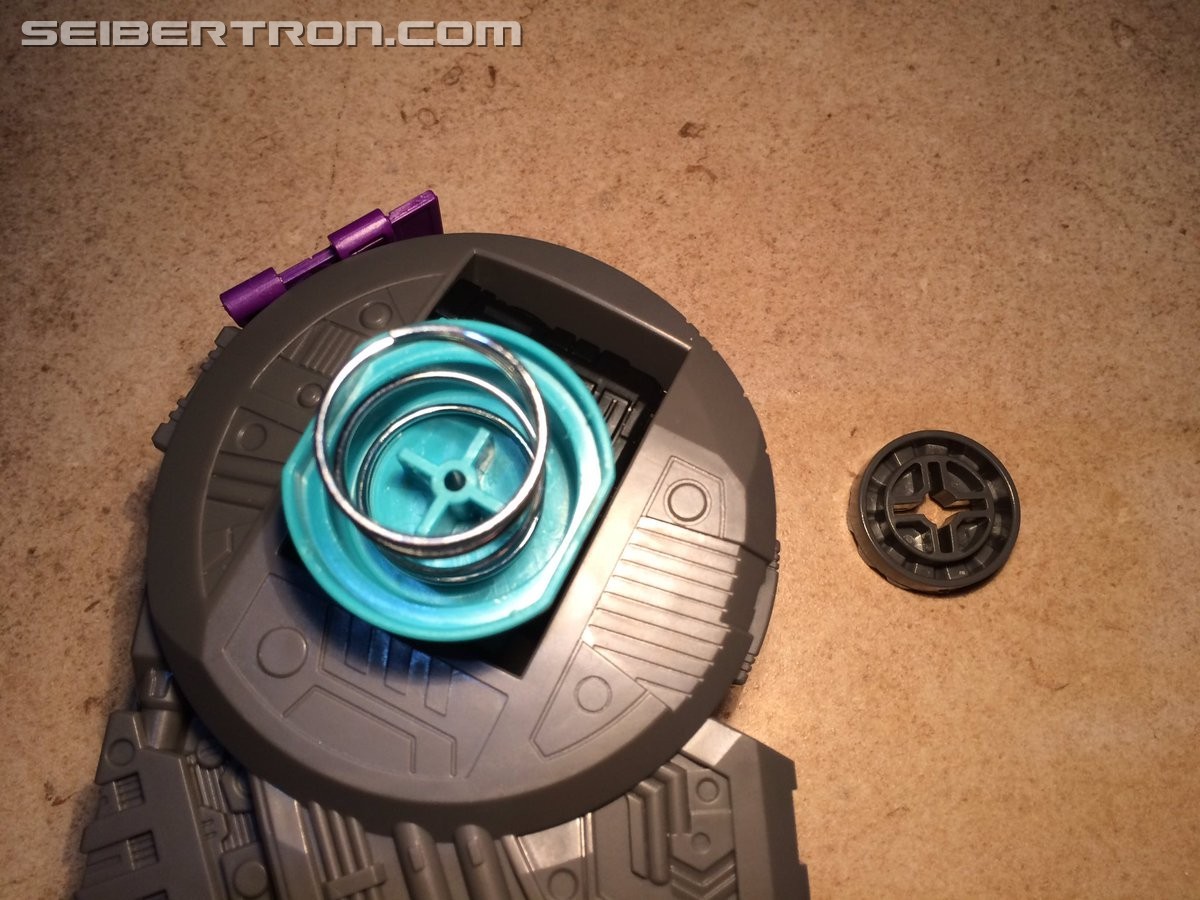
Remove the top half of the ratchet, then the bottom half. Remove the spring from the ratchet housing.
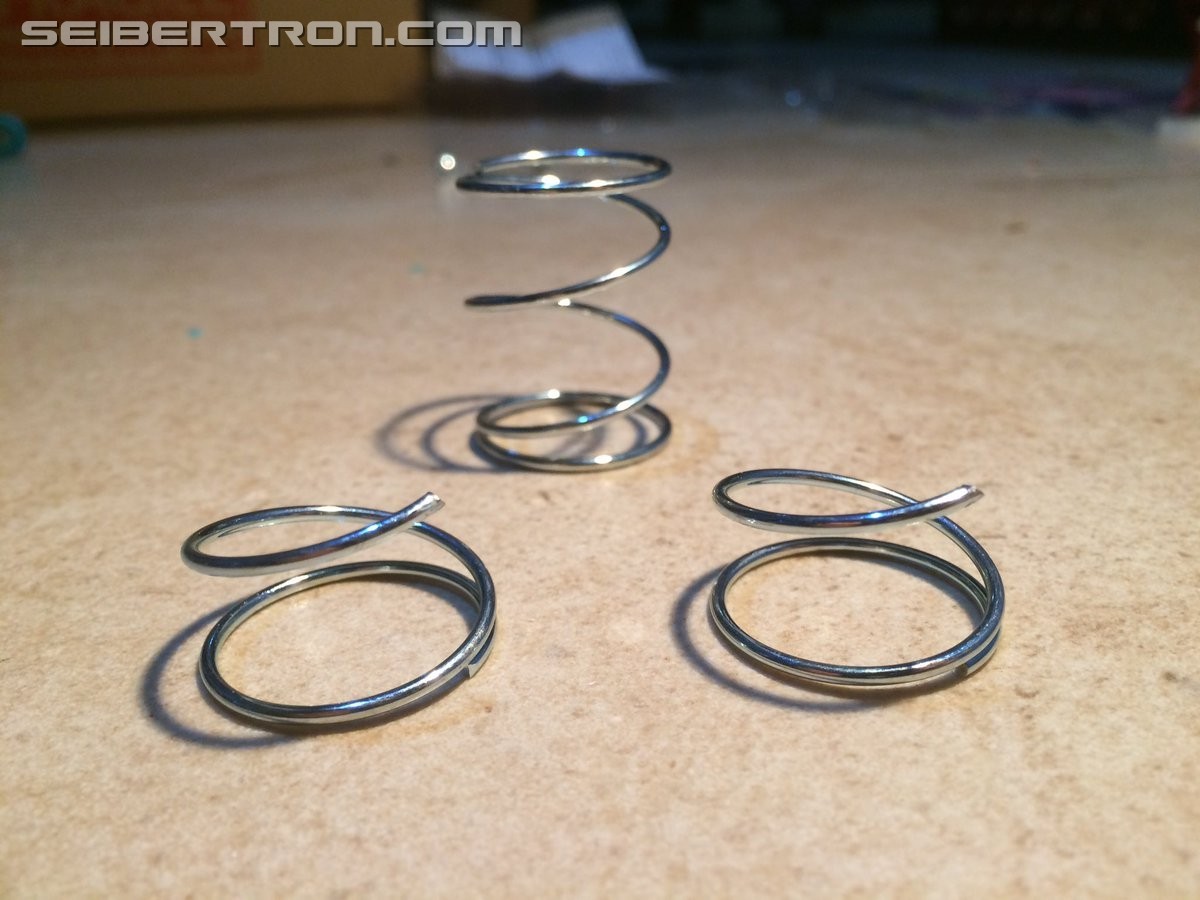
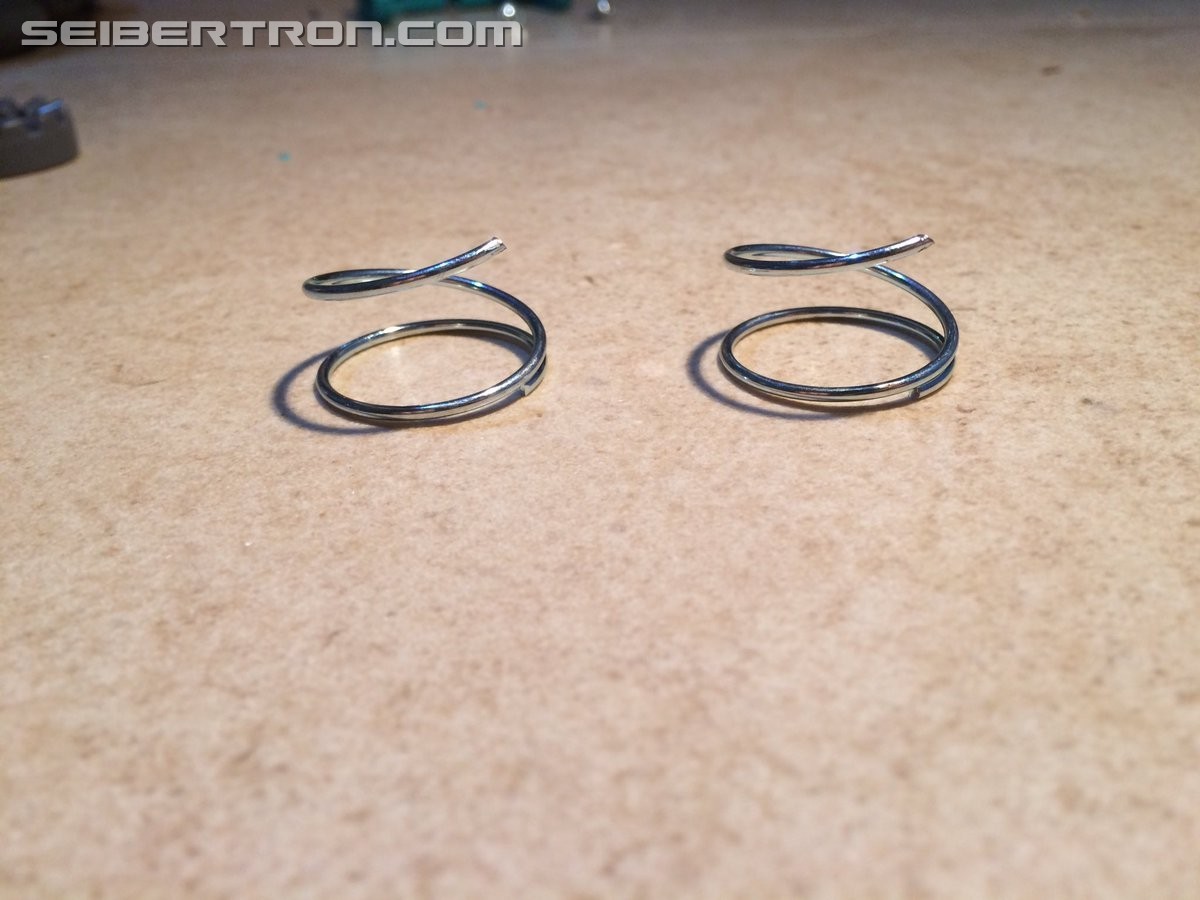
Use the wire-cutters to cut one of the springs exactly in half. The halfway point on the spring lines up vertically with both 'ends' of the spring, so you can tell pretty easily where to cut.
(You should only need to modify one of Trypticon's springs in order to get his hips functioning well, and you can just leave the other off to the side. Though if you desire slightly more pressure on the ratchets than half a spring would provide, you can of course cut each spring just past halfway and use those pieces instead.)
---
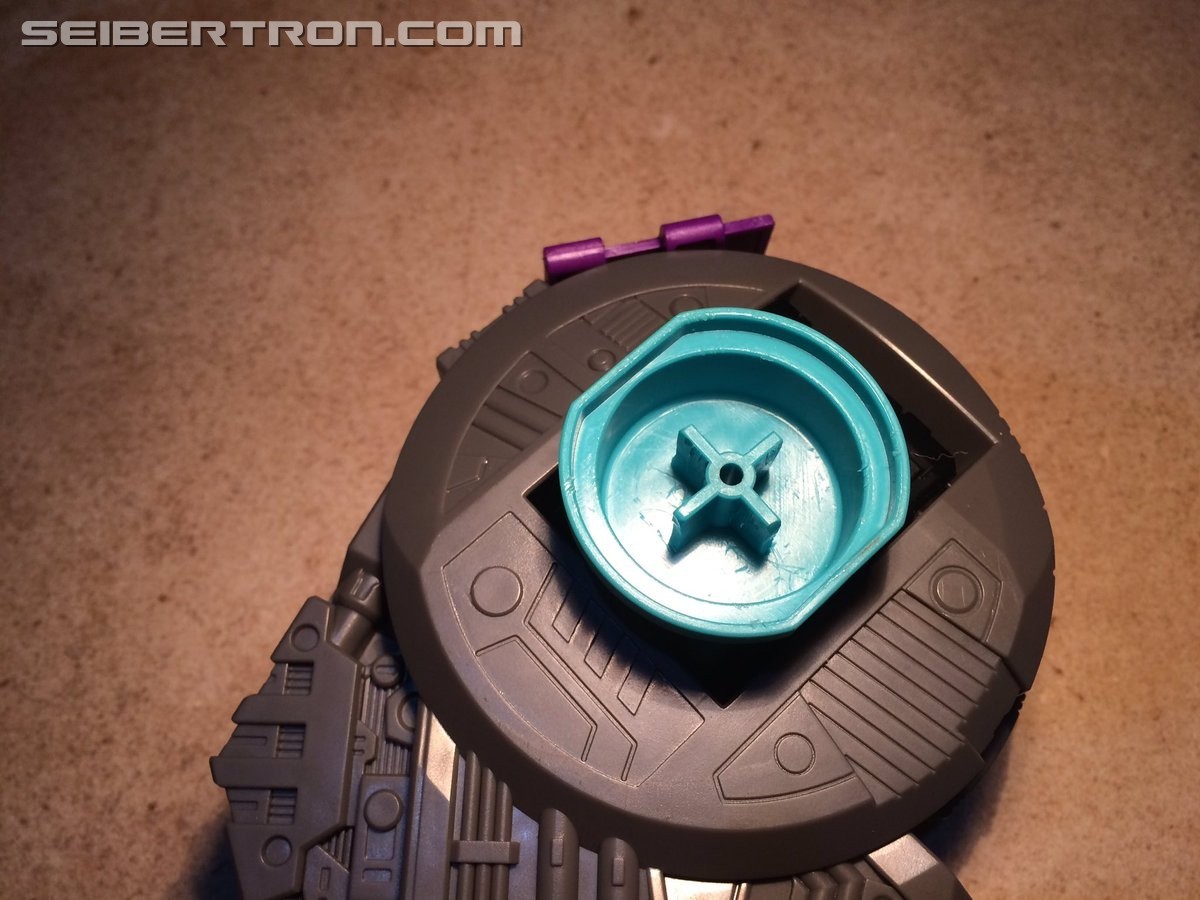
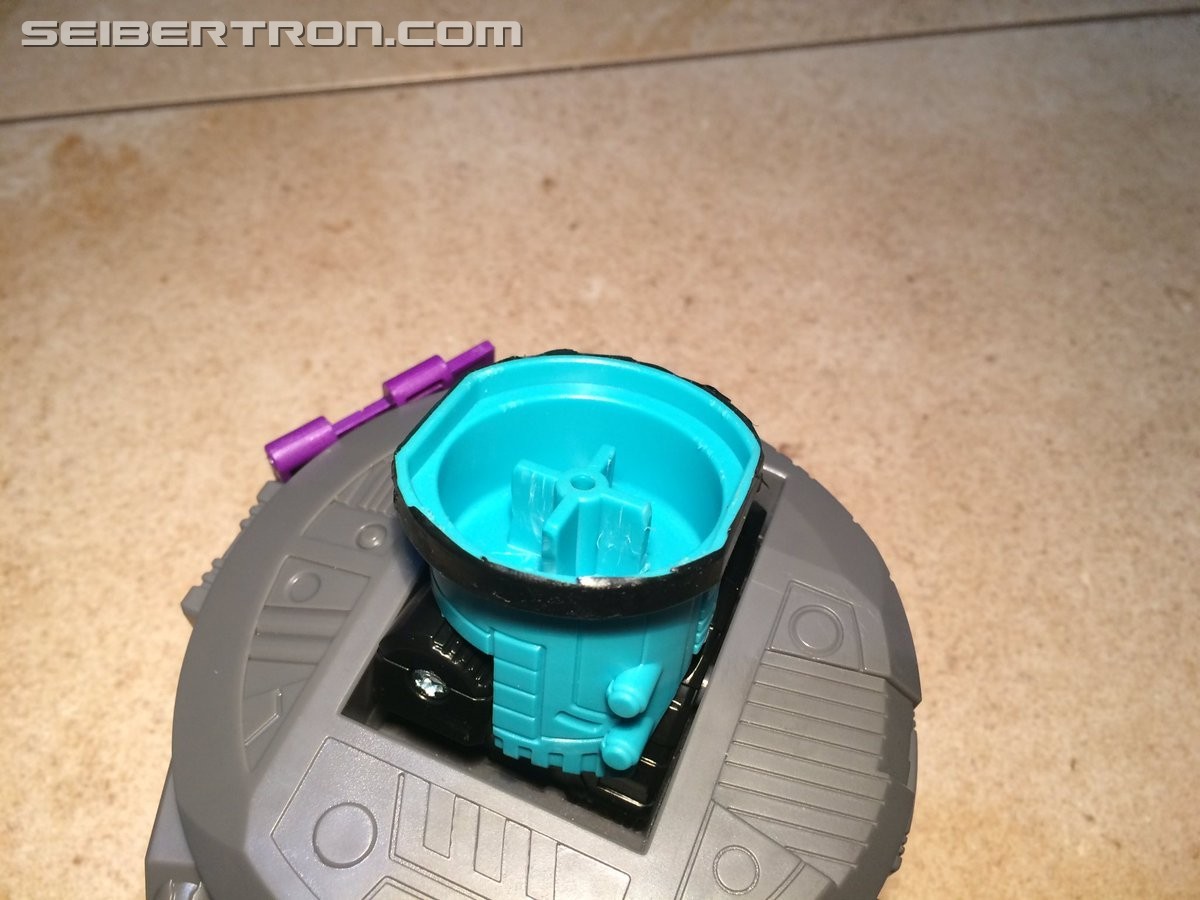
Now, let's take a break from the spring and deal with the other half of the issue here! The little cross-shaped piece of plastic, that's meant to keep the inner half of the ratchet mechanism from rotating, actually is the cause of another connected issue that I've identified. See, that ratchet piece is meant to be able to slide up and down easily on that cross, but it's just a tiny bit too thick, which adds even more difficulty to turning the ratchet.
Since we've cut down the spring, that's not going to be an issue any more, but it still causes a different problem - now that the pressure from the spring is much weaker, it's unable to overcome the friction against this cross piece and the inner ratchet-piece will get stuck inside its housing, making the ratchet hard to use. So, what to do then except shave it down?
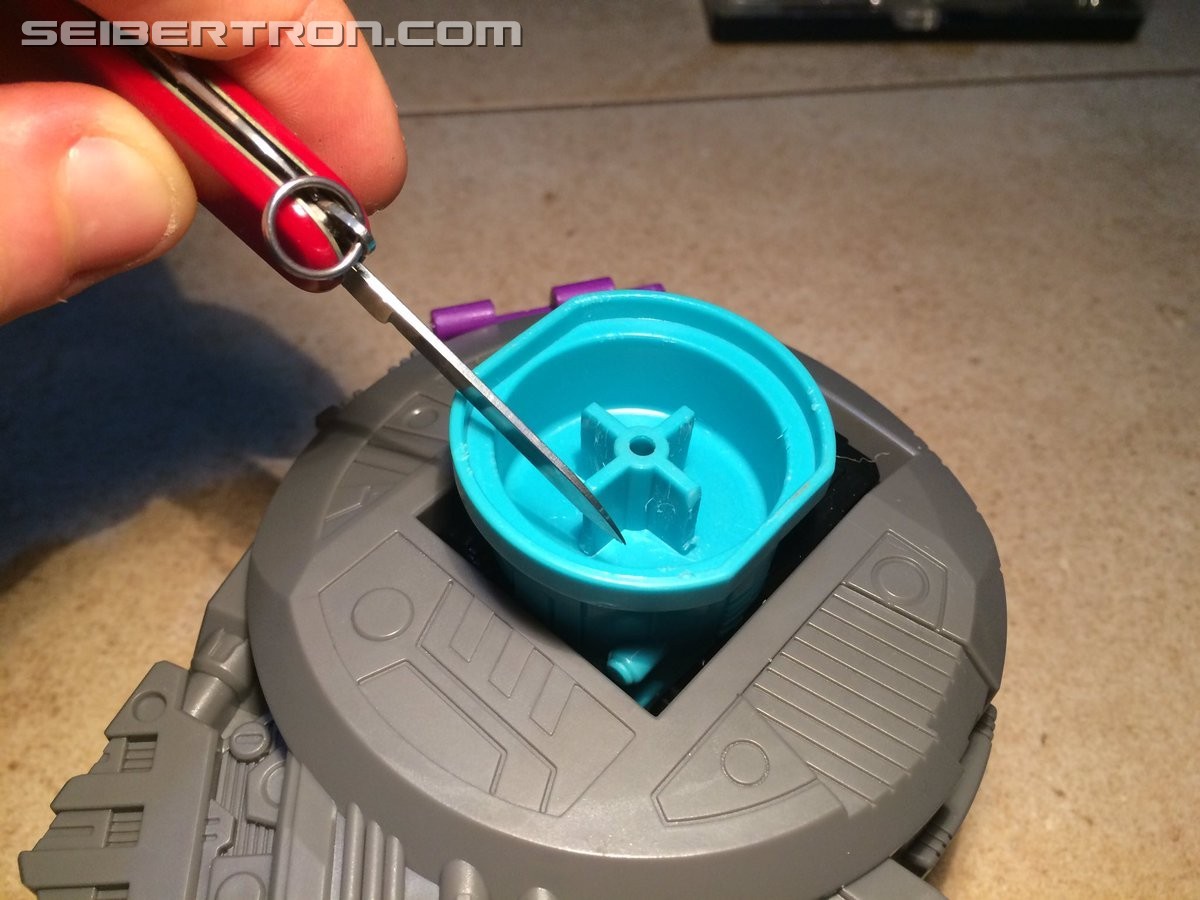
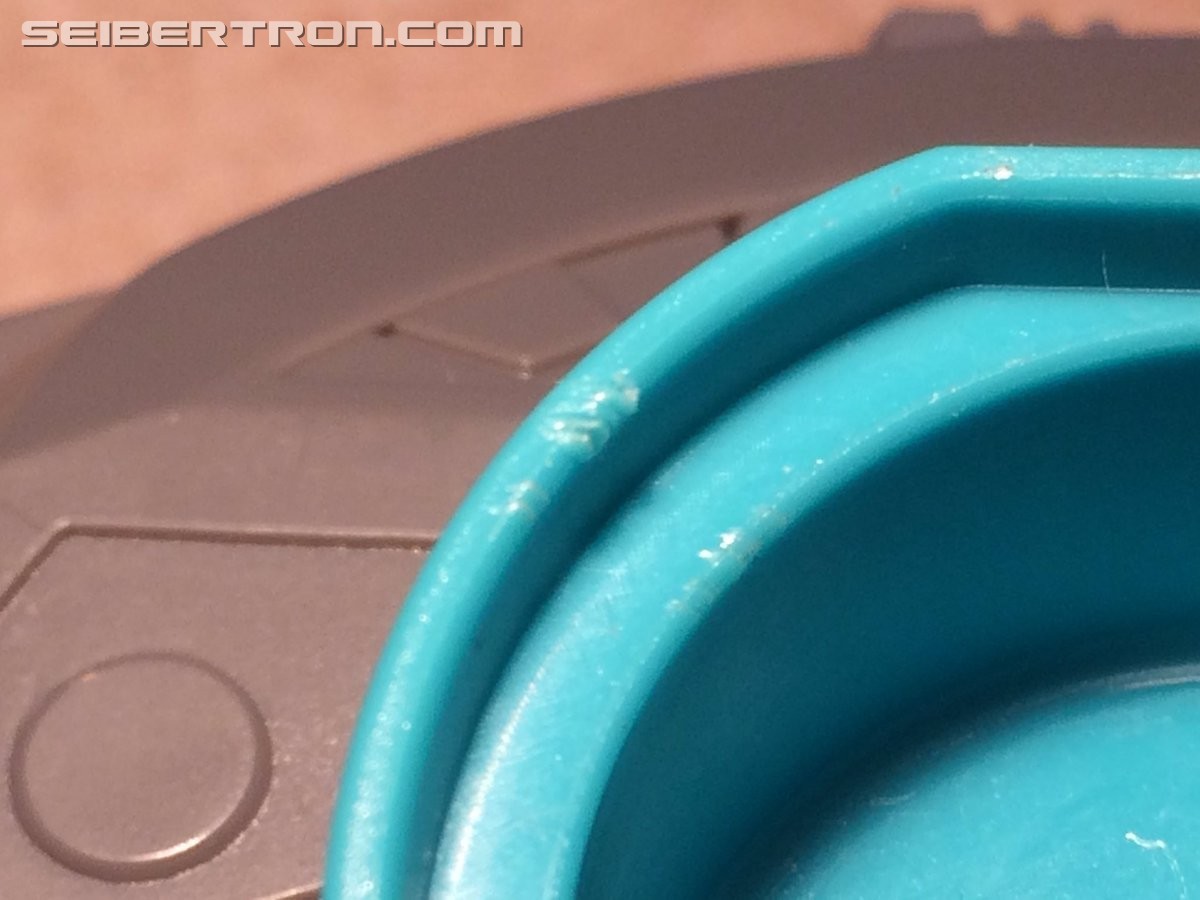
Take your knife and shave down every surface on the cross (except the top surface), just a little. Now luckily the plastic it's made of is super soft (which of course, is part of the cause of this whole problem in the first place), so it's really easy to cut and/or shave. To test and make sure it works, push the inner ratchet piece (and the newly-cut spring inside) into its housing and push it down, just a little bit - if it springs back into place, you've shaved it down enough; if not, pull it back out with some pliers or something and shave that cross down a little more!
(Just to show you how soft the plastic is on this part, these marks were made just by holding the pocket-knife in place to take that photo. So, yeah.)
---
Additionally, if you want to add some more strength to the newly-weakened joint (though these half-strength ratchets will hold well enough to keep Trypticon standing and posed), you have two options:
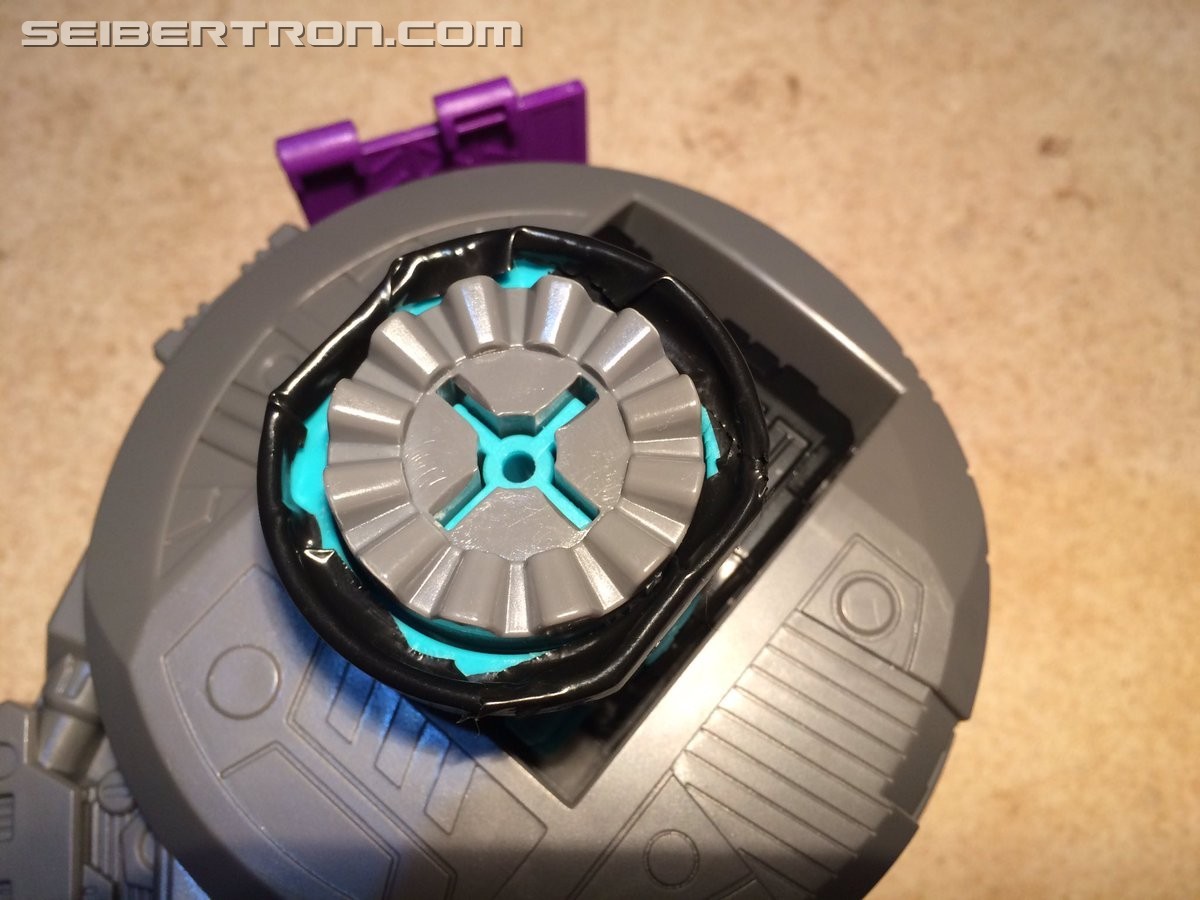
1. Add a little bit of thickening to the contact points of the hip-joint's swivel. In this image I've just put a layer of electrical tape around the contact point, which does add quite a lot more friction! (In fact, it does so to the point where it pretty much overpowers the new weaker ratchet, so I personally chose not to use this. However if it's still up your alley, that's all good for you!)
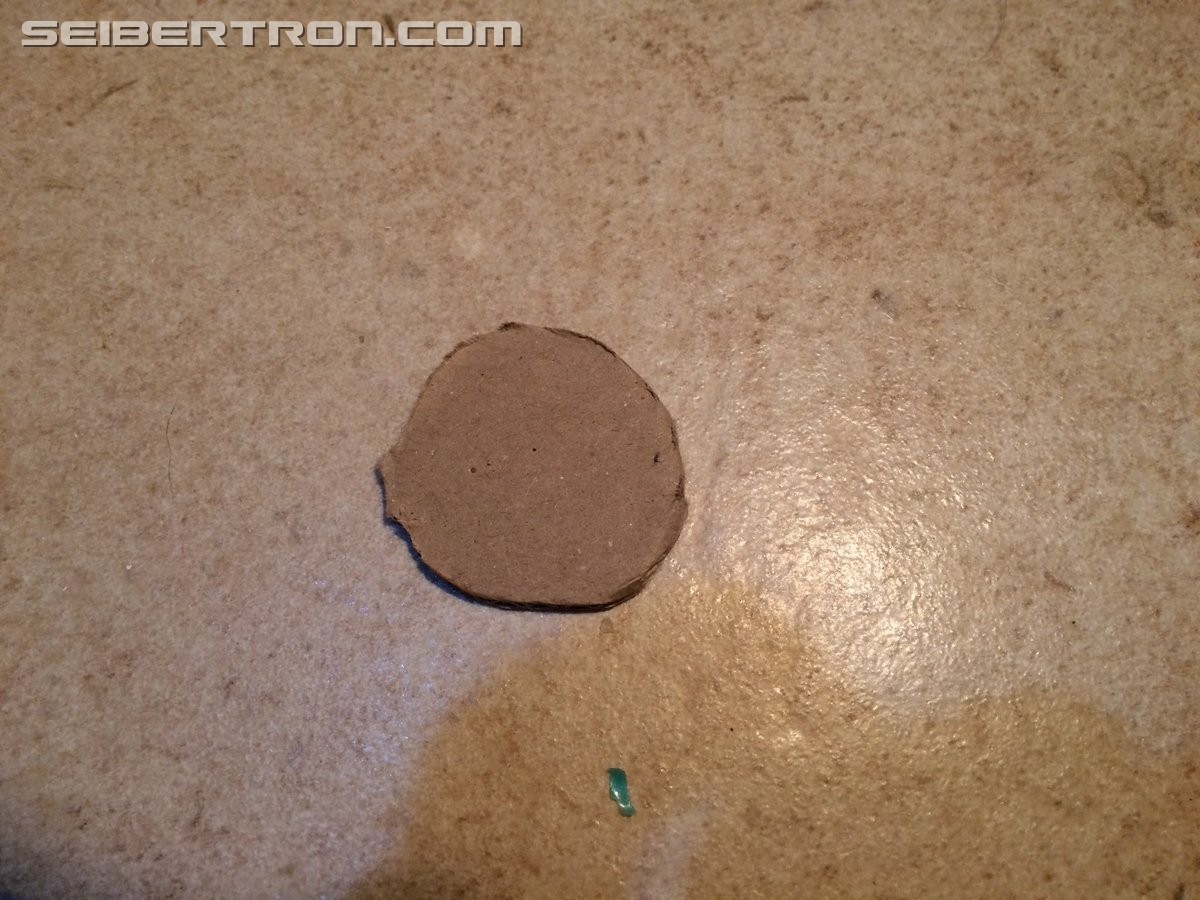
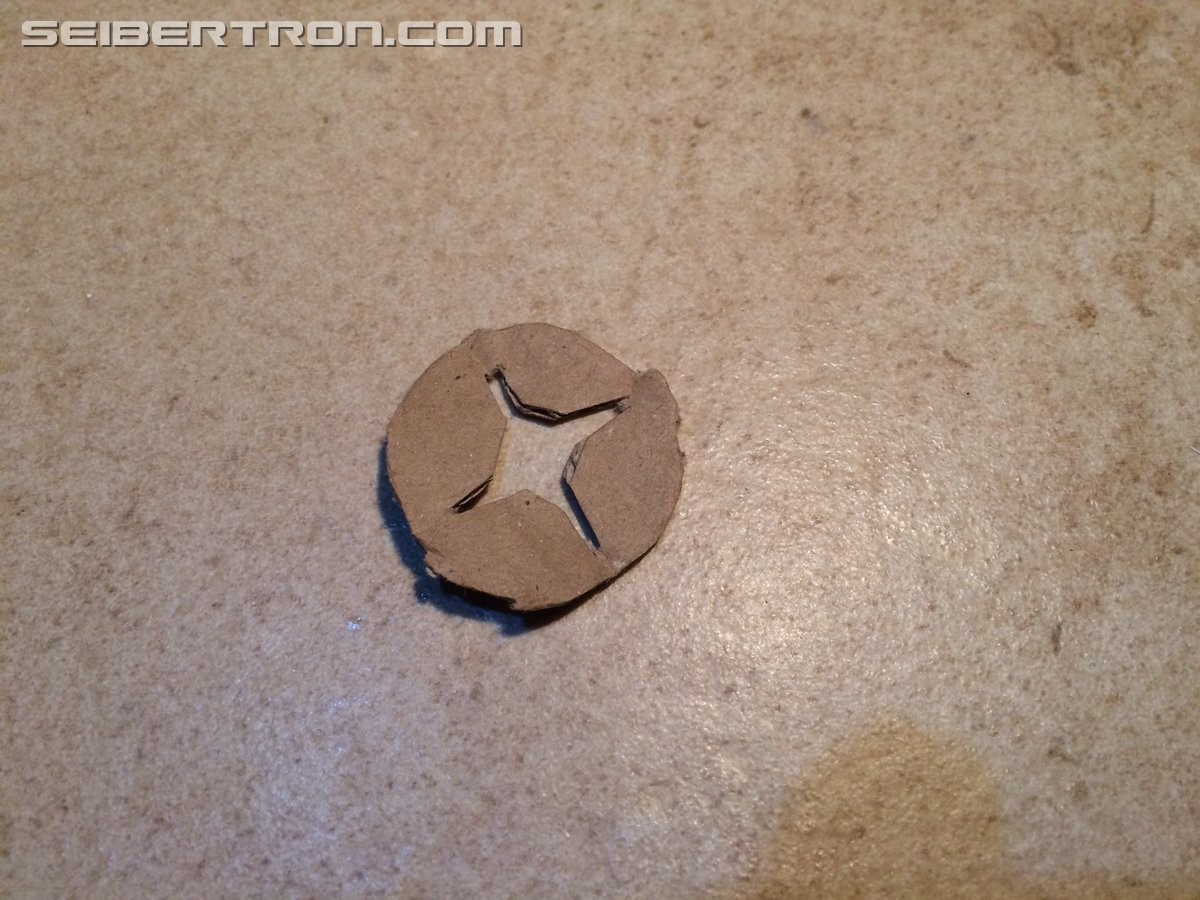
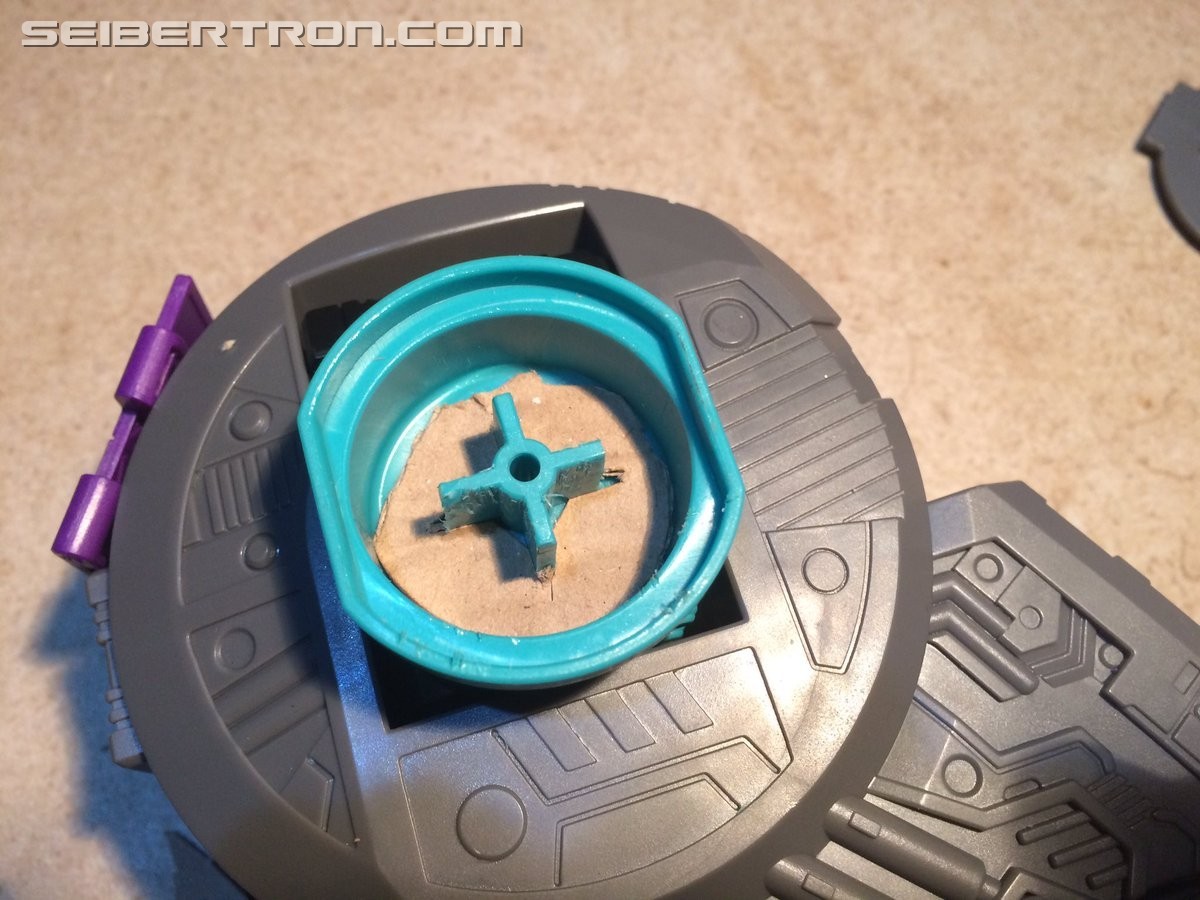
2. Add an additional layer or two under the ratchet spring. For example I took a circle of cardboard, cut some room in it for it to fit over the plastic cross in the ratchet housing, and put it in place under the spring. Theoretically it should reduce the space that the spring has to expand, strengthening it ever-so-slightly, though I've not noticed much difference with the single layer of cardboard I've been using myself. Regardless it doesn't cause a detriment, and also prevents the sharper 'cut' end of the springs from scratching the inner plastic of the housing, so I'd recommend doing this.
---
Now, back to the ratchet joint! That's right, it's time to reconstruct it.
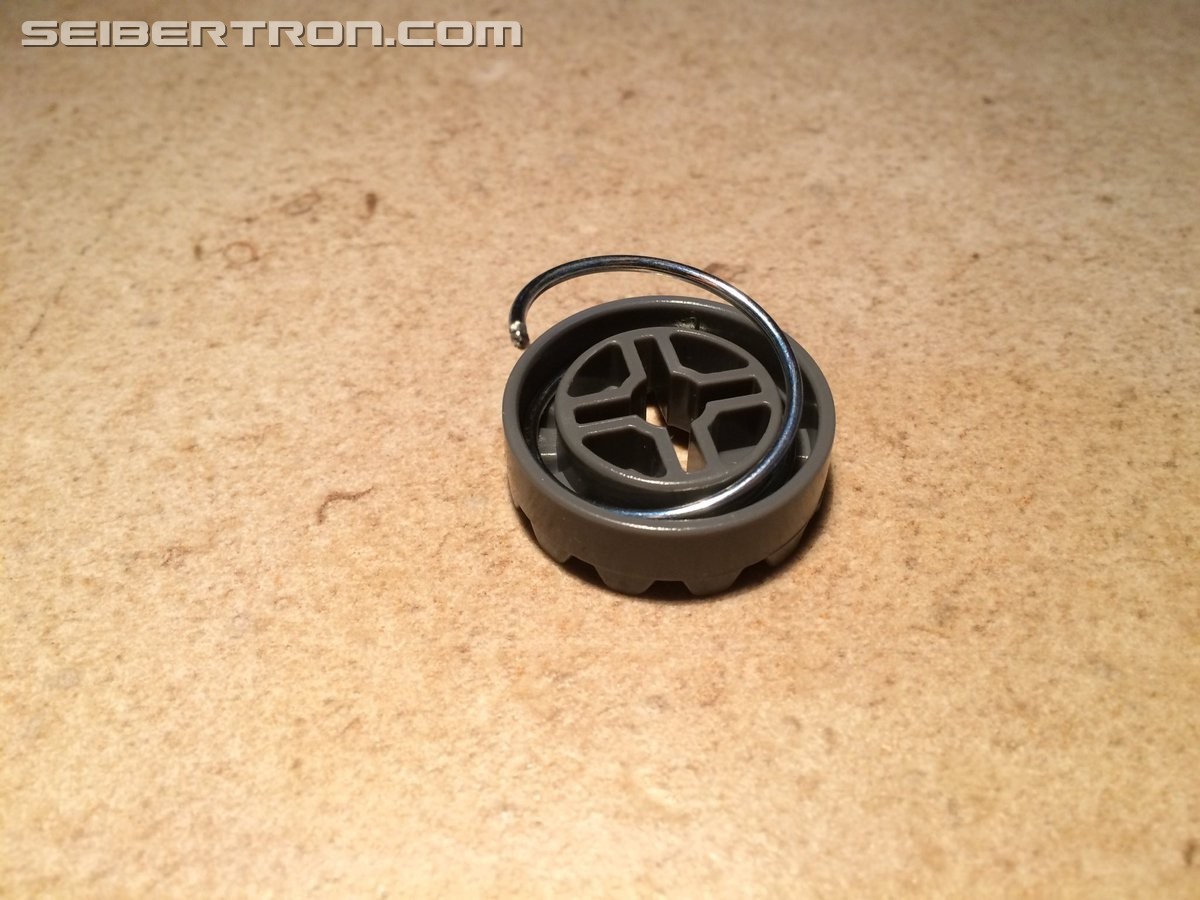
Put the half-spring back in the inner ratchet piece - personally I put the flat end of the spring inside the ratchet piece, leaving the sharper end out (where the plastic housing can be protected by a layer of cardboard, nudge nudge), but there's no real 'right' way around to put it so make your own decision.
Put the inner ratchet piece back into its housing, with the spring in between. (Ignore the electrical tape: this photo is a holdover from an earlier draft of the modifications, but the rest of it gets the point across well enough that I can't be bothered retaking).
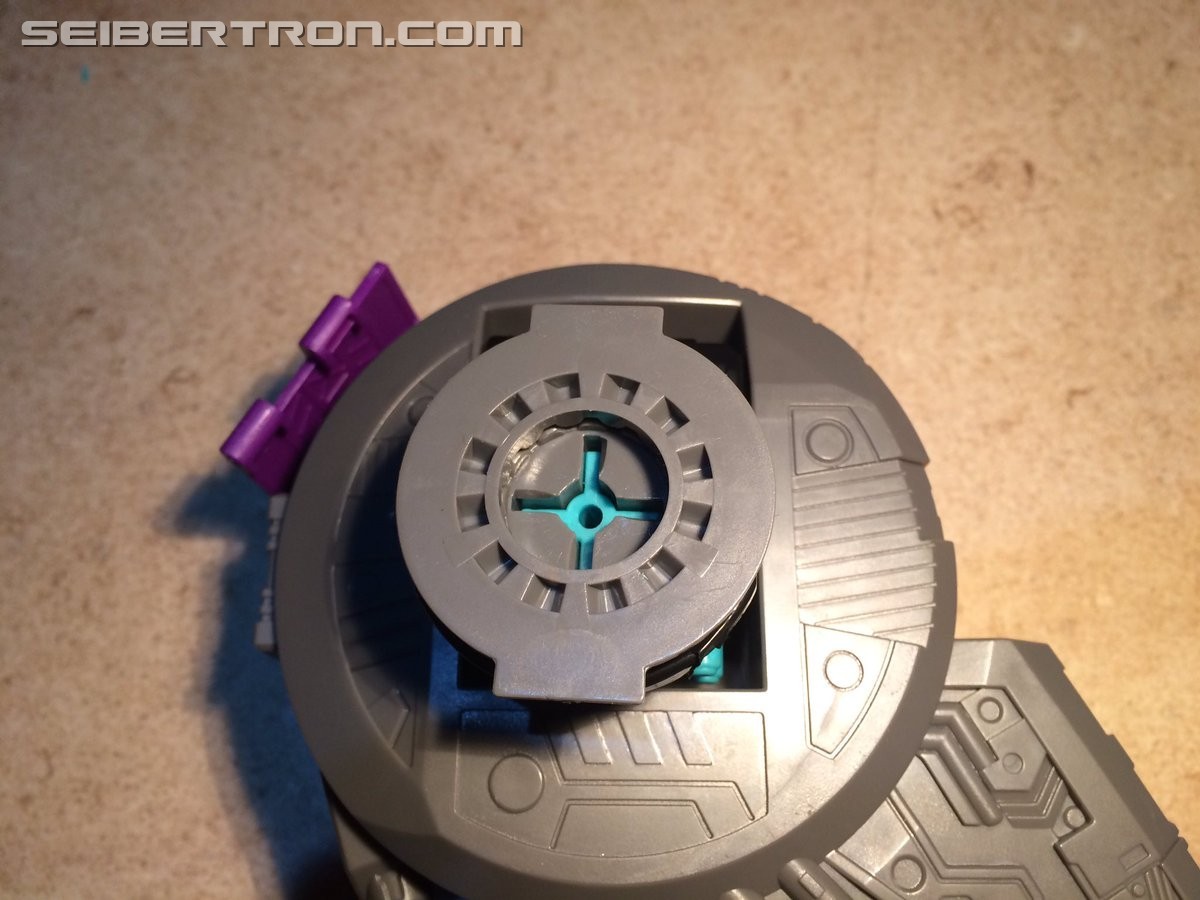
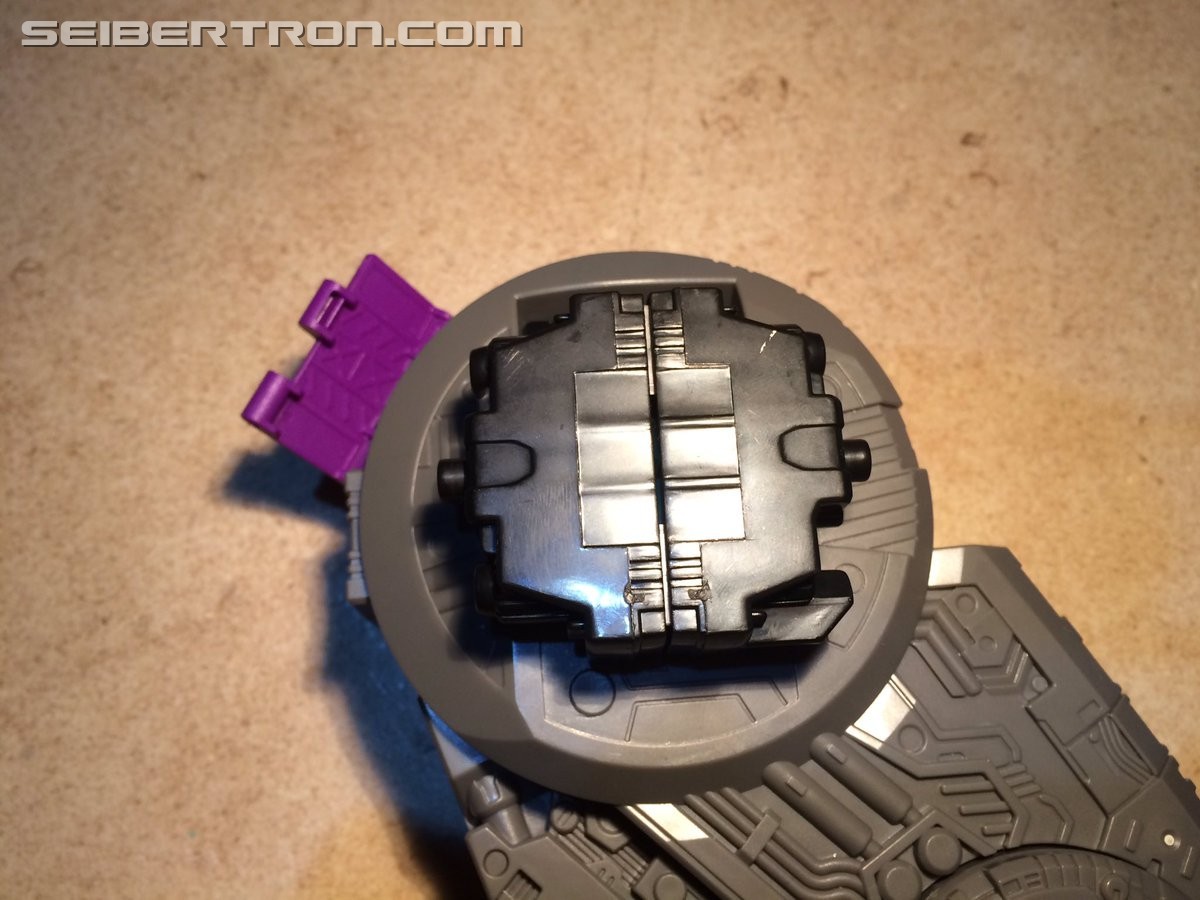
Outer ratchet piece back on. Flat parts of the piece vertical (i.e. a hypothetical line drawn between the two flat parts should be perpendicular to the soles of Trypticon's feet).
As you put the two halves of the plastic chunk back together, make sure the half with the screw-holes (as pictured) faces the back of the leg. This actually does make a structural difference, so be sure the right piece is on the right side. Screw the chunk back together. (The screws you'll need to use, if you haven't kept track, are the slightly smaller pair without the 'brim' round the edge.)
Same as the previous step, as you reconstruct the teal bracket make sure the side with the screw-hole faces the back of the leg (same direction as the screw-holes on the black chunk). Screw it back together (with the odd screw out if you need to know, it's the only one that doesn't have a pair), then put the last two screws in to hold it to the leg.
---
And there you have it! Reattach those legs to your Trypticon and enjoy your new, slightly more wobbly but still functional and significantly less prone-to-self-destruction Trypticon! Obviously there are a few steps in here that can be played with a little bit to get the ratchet strength exactly as you desire, but as a baseline, exactly half a spring in each ratchet joint (with or without a layer of cardboard) works perfectly well enough to sustain posing an transformation without endangering the ratchet joints. Best of luck, and have fun with your newly-safe-to-play-with Trypticon!
(Phew, it's now half-past-midnight by this point. I really should've just written this out tomorrow. Probably gonna come back and edit it a bit when I'm less over-tired, to make sure it makes sense, but I think it seems good enough for now. If there's anything anyone needs/wants clarified or explained further, let me know and I'll do my best to elaborate at some point tomorrow!)





 )
)


