PART TWO IS HERE!As Stated previously, part two will consist of Henkei Convoy/Classics Prime in mini form:

The parts still on the runners, notice the rather thick white parts... more on that in a bit
Also of note, a lot more sticker details than G1 Convoy on this one:

Clipped out and ready to begin work!

Now, all the trimming and filling and everything's been covered in the last review, so we'll skip ahead to the next section:
Straight AssembleRobot mode:

This guy's arms are wicked partsforming, in fact you split his arms into three pieces and swap his forearms to the other side for vehicle mode:

Still looks decent, though...
Moving right along...
PaintingHere we have parts laid out to dry, wheels painted black, legs in silver and the guns getting a silver on black treatment to make them look more like the larger versions

The waist piece, originally cast in white, all the non-sticker details on this part will have to be silvered to match my G1 Convoy's grill and stacks, so I painted the whole thing.

This turned out to be a bad idea as I also got paint all over the pegs for the legs, I'll explain why shortly...
The bumper/grill/front wheels, silver and black

The headlights, remarkably difficult to paint the underside of them, but I got it
 - DISASTER STRIKES -
 ...almost
One thing I keep trying to teach myself is that building and especially painting takes patience, and I am, by definition, an impatient man. This was almost my downfall, but fortunately, as impatient as I am, I'm also very very clever...
Just before I went to bed last night (about a half hour after my last post in this thread) I went to check on the paint, seeing how dry it was, when I noticed something very bad. Earlier, in my haste to get as much done as I could, I attached the legs to the waist piece, feeling that the paint was dry enough. Well when I got back to it I found this was not the case. I managed to move and subsequently remove one of the legs, but the other was stuck, and all my wriggling to get it free resulted in
tearing the peg right off!Now I had a leg with the peg that attaches it fused inside the hole, and a body with no peg to attach the leg to. My first attempts were to use various tools to remove the peg, when I stumbled upon a great idea.
First, I took whatever tools I had at my disposal, hobby knife, precision screwdrivers, toothpicks, whatever, to bore out the leg hole, to allow room for a new peg

The side was a bit damaged from my earlier removal attempts...
Now all I needed was a peg... good thing there were plenty of part runners left over! A quick trim of one of the thicker parts created a suitable replacement, Thicker than the previous one, but that was ok since my attempt to hollow out the leg hole resulted in a bigger hole.
To attach it, I decided to use the same drilling technique to open a gap in the waist where the new peg would go. Plus side was, it was such a snug fit I didn't even need to glue it!

The reason it was so snug? Well the wall of the pelvic area isn't solid plastic, so I actually ran the new peg straight through to the other inside wall!

Ok, Problem solved, I though. I tested the articulation of the leg, and noticed it sat a bit higher than the original. Of course I noticed this when moving the leg munched one of the stickers... oops.

So to transform, instead of moving the leg, I remove it and replace it in the proper position now... but hey, he's in one piece again!
After working that problem out, I was too wired to pass out, so I finished the painting to tire myself out, and hit the sack while it dried.
 FINISHED PRODUCT AND PHOTOSHOOT
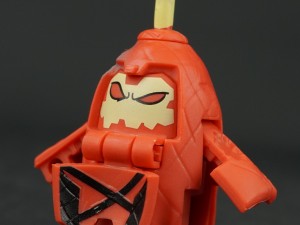
Finally, after much hardship, I had a fully built and painted to my liking mini-Henkei Convoy
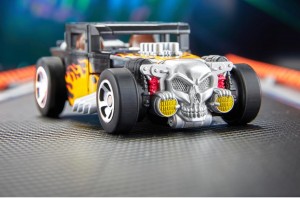
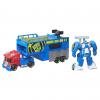
Vehicle mode:

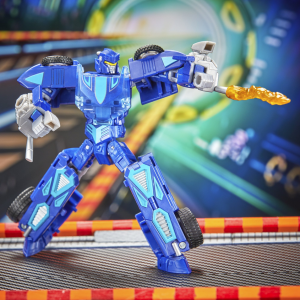
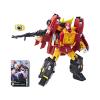
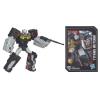
Robot Mode:

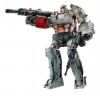
Since I don't have Henkei Convoy, my special guest for this photoshoot is my lightly customized Classics Prime!


Vehicle modes

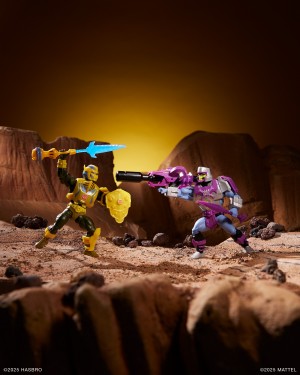
"I refuse to make a Mini-Me joke!"

Shoulder weapon mode: Check!

"Look, mine comes off!" "So does mine!"

"But can yours do this?"

"TRADESIES!" "Wait, what?"
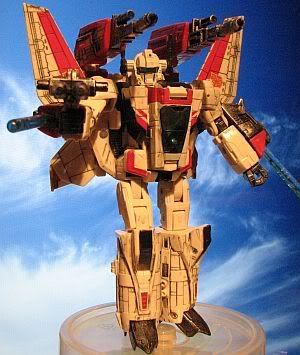
So there's part 2, all done up. Part Three: Star Saber might have to wait til tomorrow afternoon/evening or even the next day considering I work tomorrow. But keep your eyes here.
- Sam


 [ Click to attempt signal recovery... ]