The tools i have used so far are a jeweller's saw, a scalpel, and some different sized files. I needed a screwdriver to pull apart the car model as well, as it was one of those Burago display models, not a hobby kit.
I didn't make much of a plan, but i can provide one if folks are interested enough. I basically stared at the car model for about 3 days, formed an idea of sorts in my mind, and then, last Friday night, started cutting with the jewellry saw. Once i had all the basic pieces all laid out, I started in on the gundam parts, and after a lot of cutting, glueing, trimming and cursing, made some trial arms and legs, and for reference purposes, i've been using a gundam torso as a stand-in for the head, which will probably be made last.
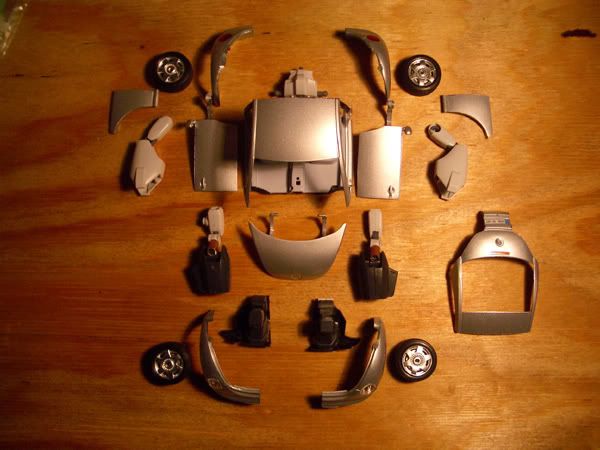
All the pieces arranged here give a rough idea of how i am putting him together...
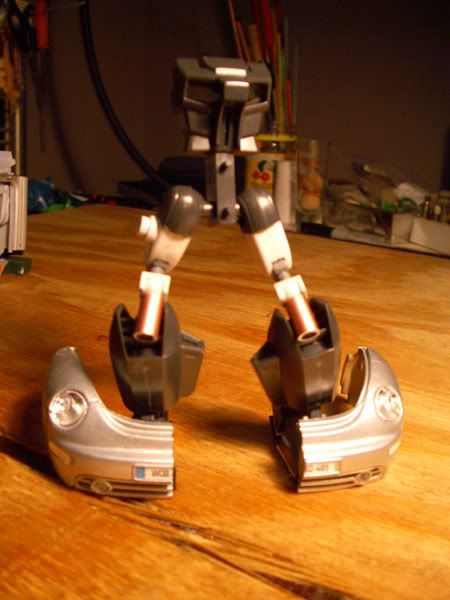
This post, i will be concentrating on the leg assembly.
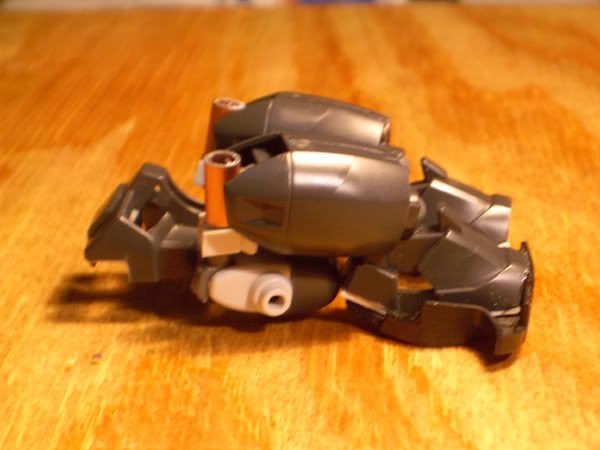
The legs are made of gundam parts from 2 kits, heavily trimmed and modified. The feet are cut down gundam ones attached to the floor of the car model, which in turn will be glued into BB's 'shoes', which are the front of the car. I was going to saw through the bonnet too, but i thought it would look better without the bonnet attached there, so it will actually pivot on the waist and hang off the back like an armoured 'skirt', a little like samurai armour or something. I originally intended to have the car doors swing down at the sides to have the skirt continued all the way round, but the torso looked a bit hollow without them attached, and it spoiled the G1 look im trying to preserve...
The knee joint needed to be quite strong, so i made it using plastic parts which have been locked in place with two short lengths of copper tubing. The tubing has been more or less filled with 2-part epoxy glue, and will act as a mount for some 'knee-pads' later on - they will probably have to be incorporated into the dashboard also!
the waist is not finished yet - as you can see, it started life as a gundam torso and lower waist, and the upper part will be trimmed extensively and made to slide out of the main passenger compartment of the car, where it will then be able to swivel. Pushing it in locks the hips to make the car mode more solid (and helps with space, because there isnt much room under that little bonnet!).
The legs have several joints made using 'polycaps' from the gundam figures - at this stage, im not sure whether they will be strong enough to hold the weight of the car - maybe someone has tried this already, and can suggest something better?
Anyway, the joints make the legs quite poseable, although i dont know how many sweet moves Bumbles will be able to pull off when fully assembled...

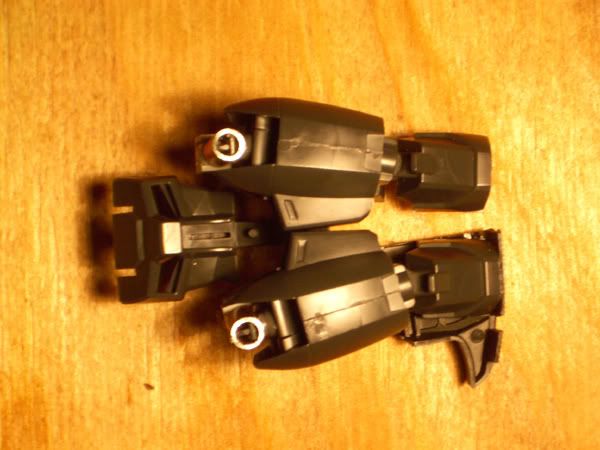
The legs fold down into the 'shoes' and the upper thighs actually wind up under the lower shins - with the hip joint in the middle. The large calves/shins are placed far enough back in ALT mode that there is still room to fit the engine top - which means i can convert it into a gun like the other ALTS. Cool!
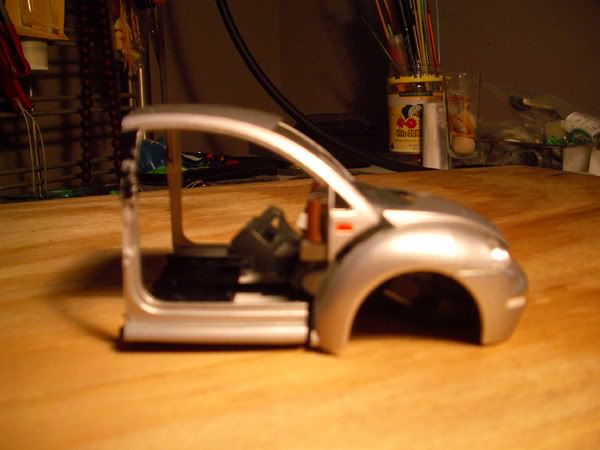
These next two shots are quite bad - i'm not very adept at using my mate's digital camera (gimme film ANY day, heh), but for the sake of illustrating how the legs fit in to the front shell, i think they are sufficient. This is a look at the side without the front wheel cowling, and with the bonnet in place. They are not attached, yet.

This is the other side, with cowling. The large lump in the driver's seat area is the gundam torso which needs cutting down. It will eventually be incorporated into the hump which runs along the length of the car, where the drive train usually goes, and which the gear stick and hand break are mounted in.
The front wheels are going to be attached to the upper thighs - so if you were thinking the upper legs are a little on the skinny side, dont worry, they will be bulked up a bit. The wheels weren't mounted there on the G1 Bumblebee figure, but i didnt want to give him 'rollerskates' by leaving them in place, nor did i really want to have them fold inwards, as there is enough going on under the hood as it is...Plus, i was worried his upper legs were too thin, and thought it was a good way to add bulk without impeding the transformation. Let me know what you think about this choice anyway.
That's about it for today - i will hopefully get more done this weekend, i hope to have the hip assembly mounted into the body at least....We'll see.
Any feedback about the design, or any other relevant aspects are welcomed and encouraged!