Motto:
"I ain't got time to bleed!"
Weapon:
Gattling Gun
OPTIMUS MAGNUS wrote:nice work El Duque! Heck yeah, I CANT WAIT to get mine in! I will post any problems I have when I build him as well. I should get my kit in middle of next week and I am literally 'taking vacation time' just to paint and build this thing. As a modeler, I have a question...would it be easier to paint some parts then assemble and follow up with details or, just paint the damn thing after the build process? (Based on complexity of the build process, scratching paint ect.)
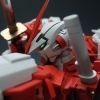
Good to see one up close and fully assembled. I will post pics of my progress as well once I start the build.
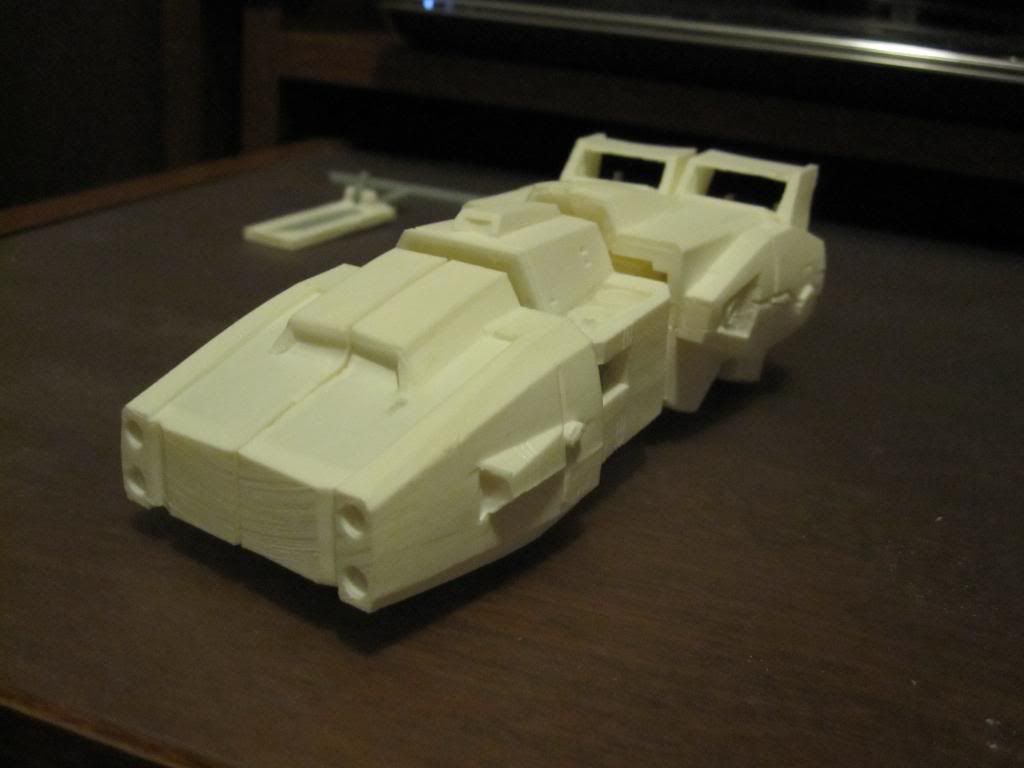
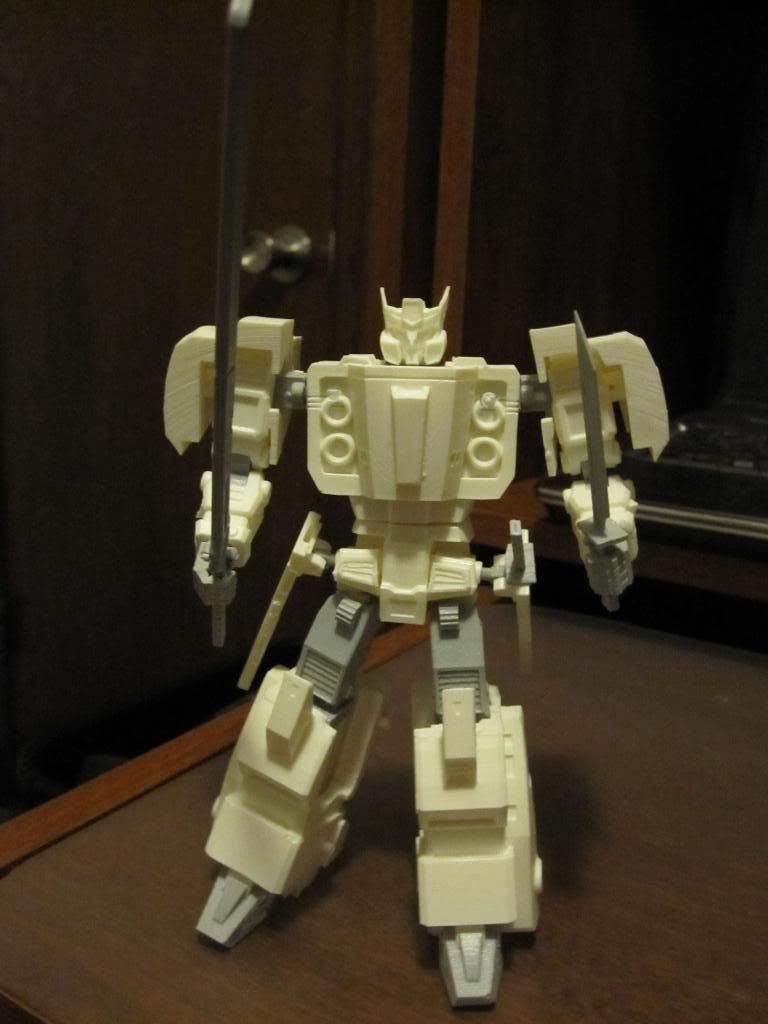
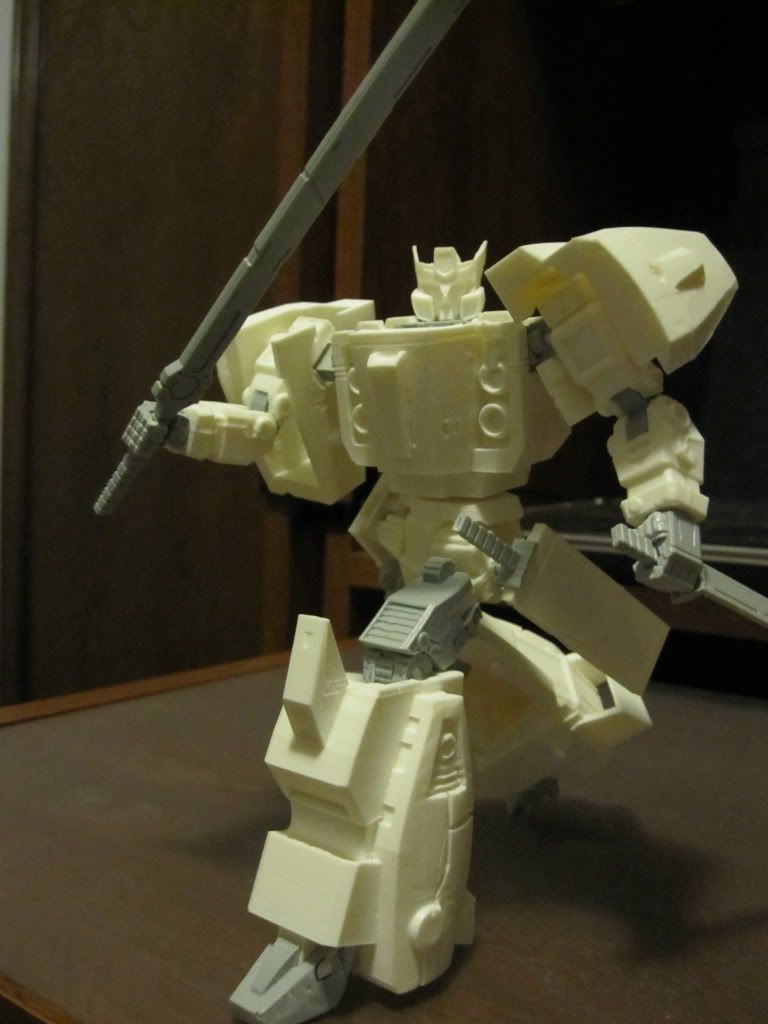
I decided to fully assemble the figure and work out the transformation before painting. I figured if I painted first the assembled any problems I ecountered would result in modifications that would have to be repainted. Once you get him figured out assembling and diassembling his easy anyway.
Here are the problems I encountered. The outside part of the right knee joint broke when I was trying to pin it. Luckily it was a clean break and superglue and resin work well together easy fix. I accidently drilled through the front of the chest when drilling out the holes for the shoulder pins. The front of the chest where the details are is extremely thin. Be careful when you drill out the shoulder hole, when you start getting close slow down and go easy. I just barely hit it and the drill went right through. I just drilled the other side out to so they would match. I've since decided I may try to repair the detail and plug the holes with some modeling epoxy. There are also some small detail pieces on the top of each side of the chest that are paper thin and when he transforms the shoulders go right over these. The first time I attempted to transform him one broke off. I was so small and thin I couldn't glue it back, I just removed them both. The legs have sliders inside that are held in place by four small tabs that fit into groves inside the leg and these are very delicate and probably longer than they need to be. I had one snap, but luckily found it and glued it back, I then shortened all of them. Lastly they didn't send enough 3mm PVC rod with mine, this is what you will use to pin most of the joints. I would recommend using the 2.5mm rod to pin the elbow joints. It works just as good and should ensure you have enough of the 3mm rod. I also added a couple of additional pegs in the lower legs to make the rear section of the alt mode more stable.