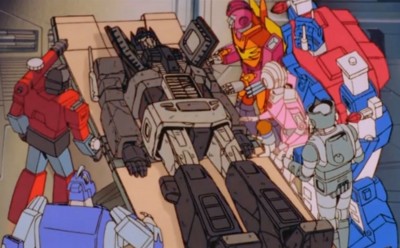
 [ Click to attempt signal recovery... ]
Transformers and More @ The Seibertron Store
NEW!
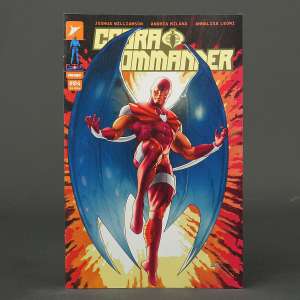
COBRA COMMANDER #4 ...
NEW!
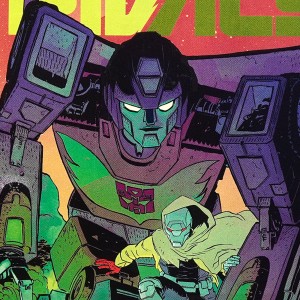
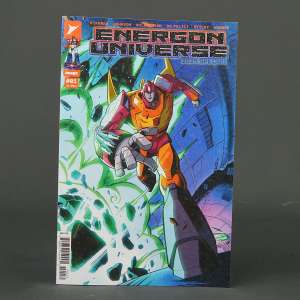
ENERGON UNIVERSE # ...
NEW!
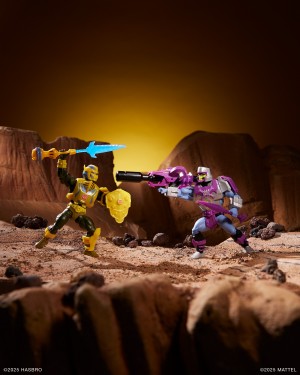
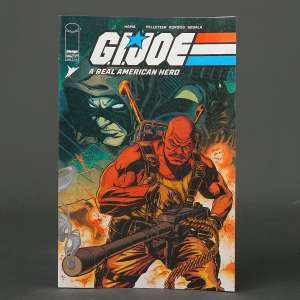
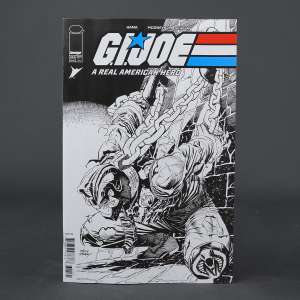
GI JOE Real Americ ...
NEW!
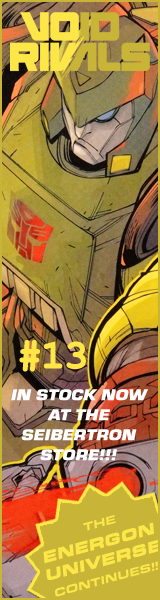
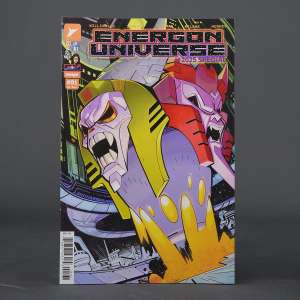
ENERGON UNIVERSE # ...
NEW!
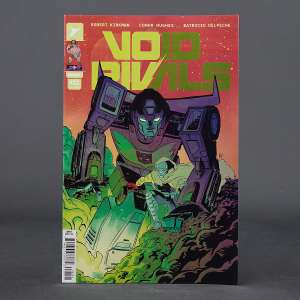
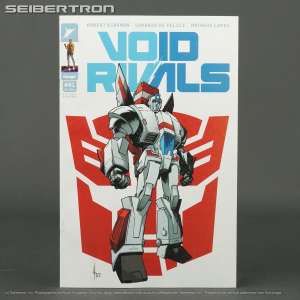
VOID RIVALS #21 Cv ...
NEW!
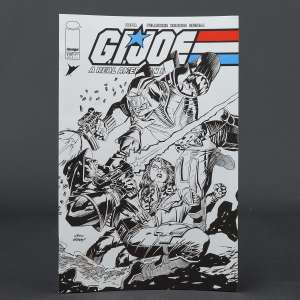
GI JOE Real Americ ...
NEW!
VOID RIVALS #1 2nd ...
NEW!
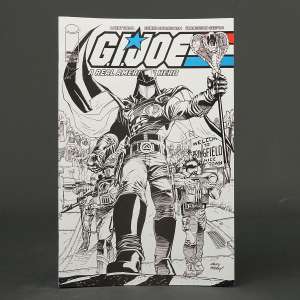
GI JOE Real Americ ...

NEW!
GI JOE Real Americ ...
NEW!
GI JOE Real Americ ...

NEW!
GI JOE Real Americ ...
NEW!
GI JOE Real Americ ...

NEW!
GI JOE Real Americ ...
NEW!
GI JOE #4 Cvr C Im ...
These are affiliate links. We may earn a commission.
Details subject to change. See listing for latest price and availability.
Details subject to change. See listing for latest price and availability.