>
shop.seibertron.com amazon.seibertron.com Facebook Twitter X YouTube Pinterest Instagram Myspace LinkedIn Patreon Podcast RSS
This page runs on affiliate links — your clicks may earn us a few Shanix. Want the full transmission? Roll out to our Affiliate Disclosure.

Mold creation-advice needed

Welcome to the General Discussion area where just about anything goes! This area is designed to discuss all matters and does not necessarily have to be Transformers related. Please keep topics relevant.

Mold creation-advice needed

Postby Hun-grrr » Wed Oct 03, 2007 7:24 am

My questions are simple.Does anyone know how to create a mold so i can reproduce plastic parts and from what material should be made to withstand melted plastic?And how do you remove the created stuff without damaging the mold so you can use it consecutively?
Hun-grrr
Mini-Con
Posts: 37
Joined: Wed Aug 22, 2007 5:33 pm

Postby DREWCIFER » Wed Oct 03, 2007 11:10 am

In art class, we used silicon for the mould. You have a square box (wood), start filling it up with silicon, place the object in the silicon.

Once cured, cut the silicone in half, create a whole to pour your material through. Hold the mould together with rubber bands or wire or string.

We made candles, so we poured hot wax, tap the mould to get the air bubbles out. Don't forget the wick, but if you're not making candles, that won't matter.

Once the wax dried, take off rubber bands and pull the item form the silicone. Shave off the lines make from the joining of the moulds.

I would assume that this would work for plastics. Cured silicone is pretty indestructible. However, I don't know the temp to melt plastic vs temp to melt silicone.

Also, this was for one large mould, I'm sure it can be scaled down for smaller parts. Just remember, that melted plastic is a carcinogen, so work in a well ventilated area and wear a breathing mask.

I've entertained making TF parts this way, but never got around to it.

:DEVIL:
Professor Go
DREWCIFER
Headmaster
Posts: 1173
Joined: Thu Dec 16, 2004 6:45 pm
Location: US
Underminded999@yahoo.com?mkcid=1&mkrid=711-53200-19255-0&siteid=0&campid=5336631220&customid=&toolid=10001&mkevt=1" target="_blank" title="Buy from DREWCIFER on eBay">Buy from DREWCIFER on eBay

Postby Malikon » Wed Oct 03, 2007 11:13 am

Yeah but TF's are made from injection molded plastic into iron molds right?

I've been thinking about experimenting with silicone molds and resin/epoxy plastic pieces.
Malikon
Headmaster Jr
Posts: 577
Joined: Mon Aug 06, 2007 1:41 pm

Postby Hun-grrr » Wed Oct 03, 2007 11:40 am

Thanks for the tip,sounds interesting-if i won't die from cancer that is :P How did you inject the wax into the silicon?I assume that the hole was small,no?
Hun-grrr
Mini-Con
Posts: 37
Joined: Wed Aug 22, 2007 5:33 pm

Postby DREWCIFER » Wed Oct 03, 2007 1:18 pm

1)
| |
| |
|______|

2)
| |
|__CD__|
|______|

3)
|______|
| CD |
|______|

4)
________
| |
| CD |
|______|

5)
___V___
| | |
|C | D |
|__|___|
V

6)
___V___
| _|_ |

|__|___|
V

7)
_______
| |
>| () |<
|______|


OK,
1. Empty mould.(Horizontal View)
2. Filling mould with silicone and placing object(CD) in.(HV)
3. CD with silicone over it(HV)
4. Mould is filled.(Top View)
5. Mould has cured, cut in half. (TV)
6. Mould cut in half, CD removed.(TV)
7. Hollow mould, ready to be filled. Hole on top to pour.(TV)

:DEVIL:

*EDIT*
It looks right in preview and as I'm writing it, but once it's up, everything get's mopved to the left?!?

:DEVIL:

*EDIT*
Maybe I got it correct this time.

:DEVIL:
Professor Go
DREWCIFER
Headmaster
Posts: 1173
Joined: Thu Dec 16, 2004 6:45 pm
Location: US
Underminded999@yahoo.com?mkcid=1&mkrid=711-53200-19255-0&siteid=0&campid=5336631220&customid=&toolid=10001&mkevt=1" target="_blank" title="Buy from DREWCIFER on eBay">Buy from DREWCIFER on eBay

Postby DREWCIFER » Wed Oct 03, 2007 1:26 pm

Nevermind. Good idea, poor follow throw.

:DEVIL:
Professor Go
DREWCIFER
Headmaster
Posts: 1173
Joined: Thu Dec 16, 2004 6:45 pm
Location: US
Underminded999@yahoo.com?mkcid=1&mkrid=711-53200-19255-0&siteid=0&campid=5336631220&customid=&toolid=10001&mkevt=1" target="_blank" title="Buy from DREWCIFER on eBay">Buy from DREWCIFER on eBay

Postby Hun-grrr » Wed Oct 03, 2007 1:28 pm

Thanks a lot :) I hope it works because the parts i want to create are roughly 1 inch big :( that's why i asked you about the hole.
Hun-grrr
Mini-Con
Posts: 37
Joined: Wed Aug 22, 2007 5:33 pm

Postby TheMuffin » Wed Oct 03, 2007 6:00 pm

Motto: "I still function!"
Weapon: Plasma Beam Rifle
It would help if we knew what you were trying to create.
Image
User avatar
TheMuffin
Faction Commander
Posts: 4531
News Credits: 38
Joined: Tue Sep 14, 2004 10:12 am
Location: Ohiooooooo
Strength: 4
Intelligence: 7
Speed: 3
Endurance: 7
Rank: 7
Courage: 5
Firepower: 8
Skill: 7

Postby Hun-grrr » Wed Oct 03, 2007 7:04 pm

pieces from strategy games miniatures
Hun-grrr
Mini-Con
Posts: 37
Joined: Wed Aug 22, 2007 5:33 pm

Postby Ramrider » Wed Oct 03, 2007 7:51 pm

I'm trying to master parts replication myself; I use liquid latex as my mould material.

I basically make a small 'box' from card (usually just old cereal packet card does the trick), consisting of four strips for the sides, and a base piece. I use hot glue to fix the pieces together, then fix the component into the box. If I just want a simple one-piece mould, I'll just hotglue the original straight into the box. Then I'll pour in thin layers of latex, letting each part-cure for a few hours before adding more. Once the last layer's sufficiently cured, I can turn out the original, but I'll leave the mould to properly for at least a day or two to be sure before I use it.

Two-part moulds are trickier, but I'm getting the hang of them. I'm basically using the same technique, but in order to get a flat surface on the first half, I'll cut a gap in the card base to accommodate the orginal, and let it sit halfway through (basically so the card runs where you want the mould line); then I'll hotglue the component in from the bottom. I'll add a couple of blobs of glue inside the card base to act as locator lugs. Then I repeat what I did for the one-piece mould.
Once the first half has cured, I'll take apart the box, but leave the original in the latex, if I can. I'll build a new wall round the mould using more card and hot glue, then brush a layer of petroleum jelly all over the exposed interior surfaces of the mould (latex sticks to itself, so the jelly acts as a release agent so you get two halves of a mould instead of one mould with an original embedded in it with no way out). After that, I'll repeat the process with the latex, adding layer after layer.

--EDIT-- By the way, if you want to see what ConDrewfus was trying to show you, hit the Quote button on his post; then you'll see the diagrams as they were typed, with the spaces where they should be.
Ramrider
Gestalt
Posts: 2691
Joined: Sun Jul 13, 2003 12:04 pm

Postby Hun-grrr » Wed Oct 03, 2007 8:32 pm

The whole process sounds more complicated than i expected...maybe i'll drop the idea :(
Thanks for the tips anyway :grin:
Hun-grrr
Mini-Con
Posts: 37
Joined: Wed Aug 22, 2007 5:33 pm

Postby Ramrider » Thu Oct 04, 2007 2:56 pm

I haven't tried silicon, but the latex moulding I described isn't actually that complicated, just time consuming (and most of the time it consumes is when you're waiting for layers of latex to cure). Put in simple terms, it's just:

1. Build a simple box or tray to form the outside of the mould.
2. Fix the original/master into the box.
3. Pour latex in thin layers, allowing each layer to part-cure before adding the next.
Ramrider
Gestalt
Posts: 2691
Joined: Sun Jul 13, 2003 12:04 pm

Postby DREWCIFER » Thu Oct 04, 2007 3:07 pm

Nevermind Ramrider, it's not any better that way either.

Also, it is easy to make a mould, you just have to wait for everything to cure before going ot the next step.

:DEVIL:
Professor Go
DREWCIFER
Headmaster
Posts: 1173
Joined: Thu Dec 16, 2004 6:45 pm
Location: US
Underminded999@yahoo.com?mkcid=1&mkrid=711-53200-19255-0&siteid=0&campid=5336631220&customid=&toolid=10001&mkevt=1" target="_blank" title="Buy from DREWCIFER on eBay">Buy from DREWCIFER on eBay

Postby Hun-grrr » Thu Oct 04, 2007 5:00 pm

The mold is easy,the proccess of melting the plastic and injecting into the mold seems difficult-especially when you want to make 100 pieces :(
Hun-grrr
Mini-Con
Posts: 37
Joined: Wed Aug 22, 2007 5:33 pm

Postby Ramrider » Fri Oct 05, 2007 12:40 pm

Ah, right, you want to reproduce large numbers of parts. Frankly, I don't think there's going to be any quick way of doing that on a kitchen-table scale, much as I'd also love it to be the case...
Ramrider
Gestalt
Posts: 2691
Joined: Sun Jul 13, 2003 12:04 pm


Return to General Discussion


[ Incoming message. Source unknown. ] No Signal - Please Stand By [ Click to attempt signal recovery... ]


Transformers and More @ The Seibertron Store

Visit shop.seibertron.com to buy "AMAZING SPIDER-MAN #252 Facsimile Marvel Comics 2024 ptg OCT230970 (A/CA) Frenz"
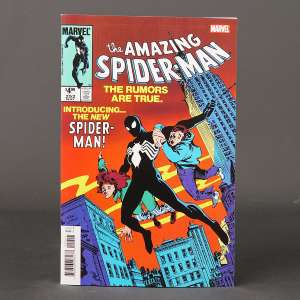
AMAZING SPIDER-MAN ...
Visit shop.seibertron.com to buy "SHE-HULK #14 var 1:50 Marvel Comics 2023 APR230842 (CA) Chew (W) Rowell 230711A"
SHE-HULK #14 var 1 ...
Visit shop.seibertron.com to buy "SHE-HULK #10 var Marvel Comics 2023 OCT221161 (CA) Talaski (W) Rowell"
NEW!
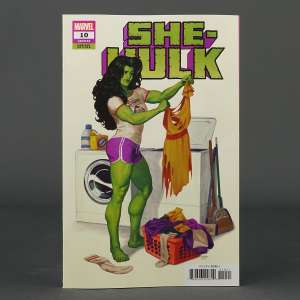
SHE-HULK #10 var M ...
Visit shop.seibertron.com to buy "SHE-HULK #1 var 1:100 virgin Marvel Comics 2022 NOV210847 (CA) Artgerm (W)Rowell"
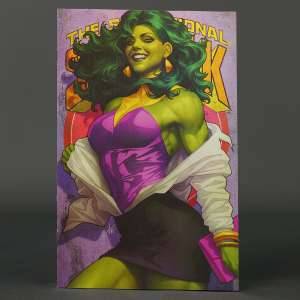
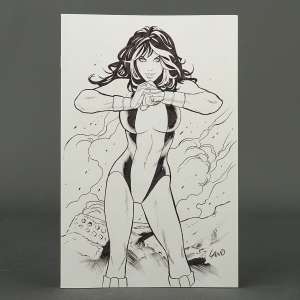
SHE-HULK #1 var 1: ...
Visit shop.seibertron.com to buy "HULK #13 var 1:25 Marvel Comics JAN230951 (W/A) Ottley (CA) Momoko"
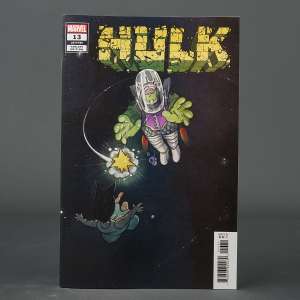
HULK #13 var 1:25 ...
Visit shop.seibertron.com to buy "SHE-HULK #15 var 1:100 Marvel Comics 2023 MAY230921 (CA) Perez (W) Rowell"
SHE-HULK #15 var 1 ...
Visit shop.seibertron.com to buy "RED HULK #1 3D Edition Marvel Comics 2025 0425PG652 (A/CA) McGuiness (W) Loeb"
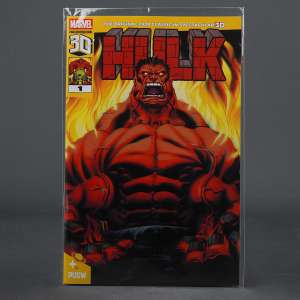
RED HULK #1 3D Edi ...
Visit shop.seibertron.com to buy "DC VERSUS MARVEL Omnibus Hardcover Comics 2024 Superman Spider-Man (CA) Perez"
DC VERSUS MARVEL O ...
Visit shop.seibertron.com to buy "IMMORTAL HULK #50 var 1:25 Marvel Comics 2021 AUG211050 (CA) Hitch"
IMMORTAL HULK #50 ...
Visit shop.seibertron.com to buy "SHE-HULK #13 var 1:50 Marvel Comics 2023 MAR230861 (CA) Land (W) Rowell"
SHE-HULK #13 var 1 ...
Visit shop.seibertron.com to buy "INCREDIBLE HULK #340 3D Edition Marvel Comics 2025 Pan-Universal Galactic New"
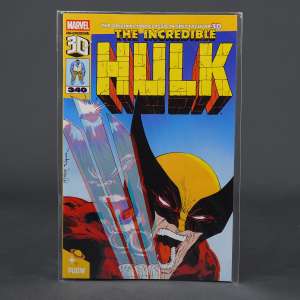
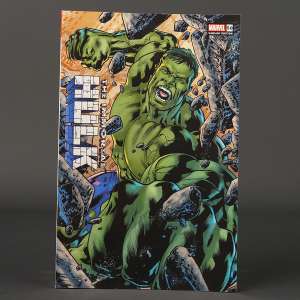
INCREDIBLE HULK #3 ...
Visit shop.seibertron.com to buy "HULK #3 var 1:25 Marvel Comics 2022 NOV210879 (CA) Moore (A) Ottley (W) Cates"
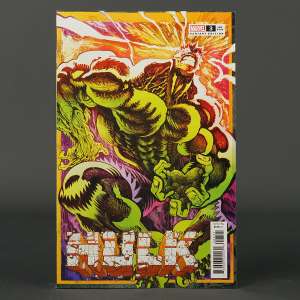
HULK #3 var 1:25 M ...
Visit shop.seibertron.com to buy "Hulk GRAND DESIGN MONSTER #1 var Marvel Comics 2022 JAN220936 (CA) Piskor"
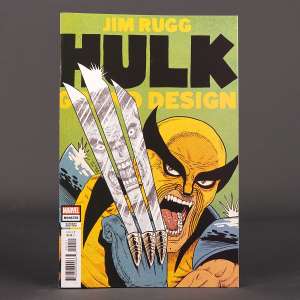
Hulk GRAND DESIGN ...
Visit shop.seibertron.com to buy "HULK #7 var 1:25 Marvel Comics 2022 MAR220887 (CA) Lubera (W) Cates (A) Coccolo"
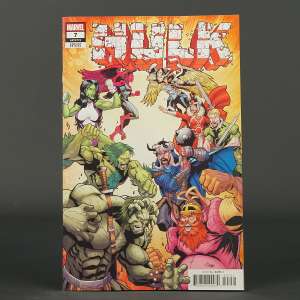
HULK #7 var 1:25 M ...
These are affiliate links. We may earn a commission.
Details subject to change. See listing for latest price and availability.

Featured Products on Amazon.com

Buy "Transformers: Generations Power of The Primes Legends Class Battleslash" on AMAZON
Buy "Transformers Generations Exclusive Cyber Battalion Class Shockwave Figure" on AMAZON
Buy "Transformers: Generations Power of The Primes Deluxe Class Dinobot Swoop" on AMAZON
Buy "Transformers: Generations Power of The Primes Deluxe Class Dinobot Sludge" on AMAZON
Buy "Transformers: Generations Power of the Primes Titan Class Predaking" on AMAZON
Buy "Transformers Generations Titans Return Deluxe Windblade and Scorchfire" on AMAZON
Buy "Transformers: Bumblebee -- Energon Igniters Nitro Series Optimus Prime" on AMAZON
Buy "Transformers Power of the Primes Punch-Counterpunch and Prima Prime" on AMAZON
Buy "Transformers Generations Voyager Class Roadbuster Figure" on AMAZON
Buy "Transformers Robots in Disguise Warriors Class Autobot Jazz Figure" on AMAZON
Buy "Transformers Soundwave Action Figure" on AMAZON
Buy "Transformers Studio Series 06 Voyager Class Movie 1 Starscream" on AMAZON
These are affiliate links. We may earn a commission.
Details subject to change. See listing for latest price and availability.