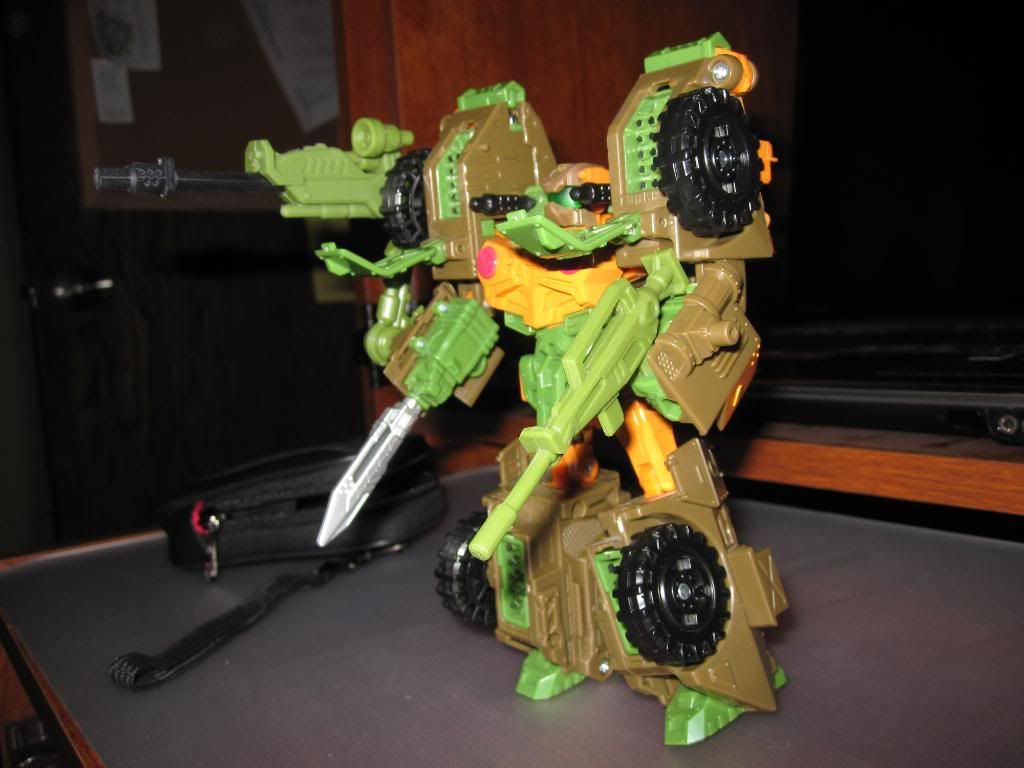
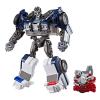
Order page hereThe package showed up today after 2 weeks in the mail (CAN/US shipping, what can ya do?). I must say that overall I was quite impressed despite a few small glitches which were rectified, below is how the whole thing came together.
I had ordered one full set. That means the new head bits, the normal gun and the shoulder cannon. The parts came in a sealed plastic bag. No instructions were included though, it seems that they expect you to use their site for step-by-steps, which is fine by me.
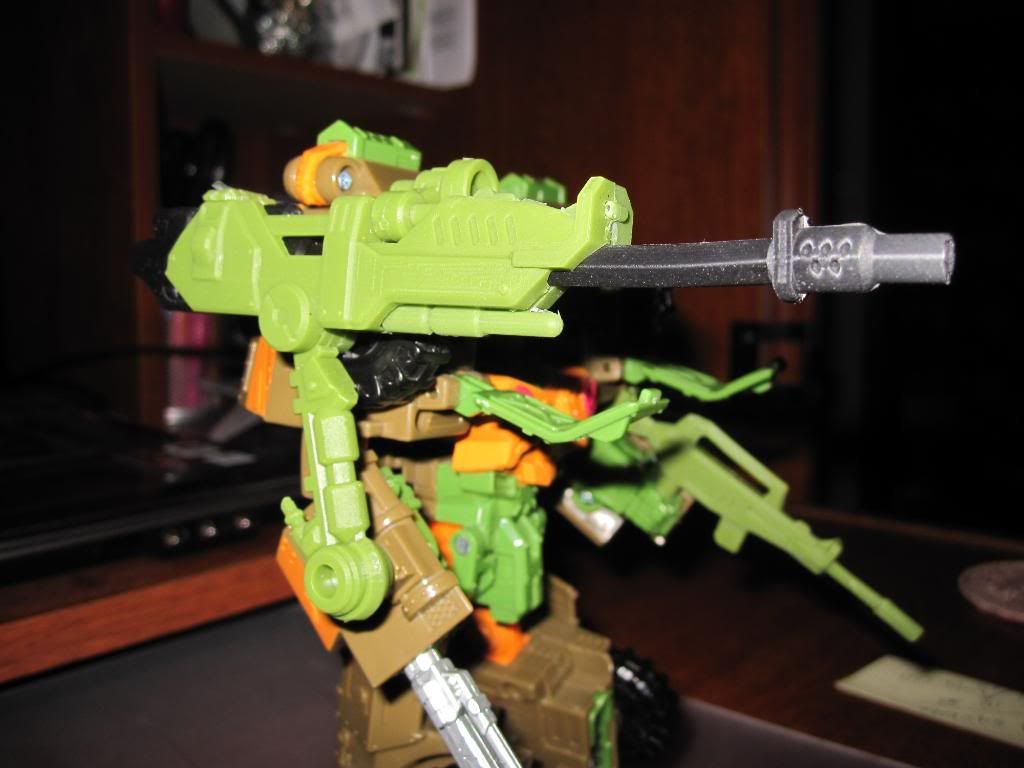
Immediately after removing the bits from the bag I got a detailed look of the mechanism of the shoulder cannon. This surprise treat was due to the cannon's simple construction, which fell apart immediately. It is easy to reassemble though so don't worry.
There are 5 pieces to this cannon - the central black barrel, the arm that attaches the cannon very snugly to the minicon powerlink port, the scope and 2 halves of the outer casing which neatly sandwiches all those pieces together. The black barrel slides back and forth, simulating the reload and recoil. It's ingeniously simple really. It's a shame Hasbro/Takara decide to use intricate spring loaded missile firing contraptions when this would work just as well for weapon action. Once everything is fully assembled, you can tell that the most attention went into this piece. It is awesome. I didn't want the gun falling apart on me again, so I glued the casing shut. A word of warning though, if you choose to glue, keep moving the gun barrel in and out until the glue hardens, otherwise the barrel will become fixed and the most awesome part of this kit won't work
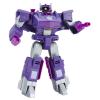
The normal handgun is simple enough. It has some detailings; not as many as an official TF gun would, but if you're expecting a newly minted 3rd party to reach Has/Tak quality on the first go, then there's no pleasing you is there?
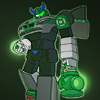
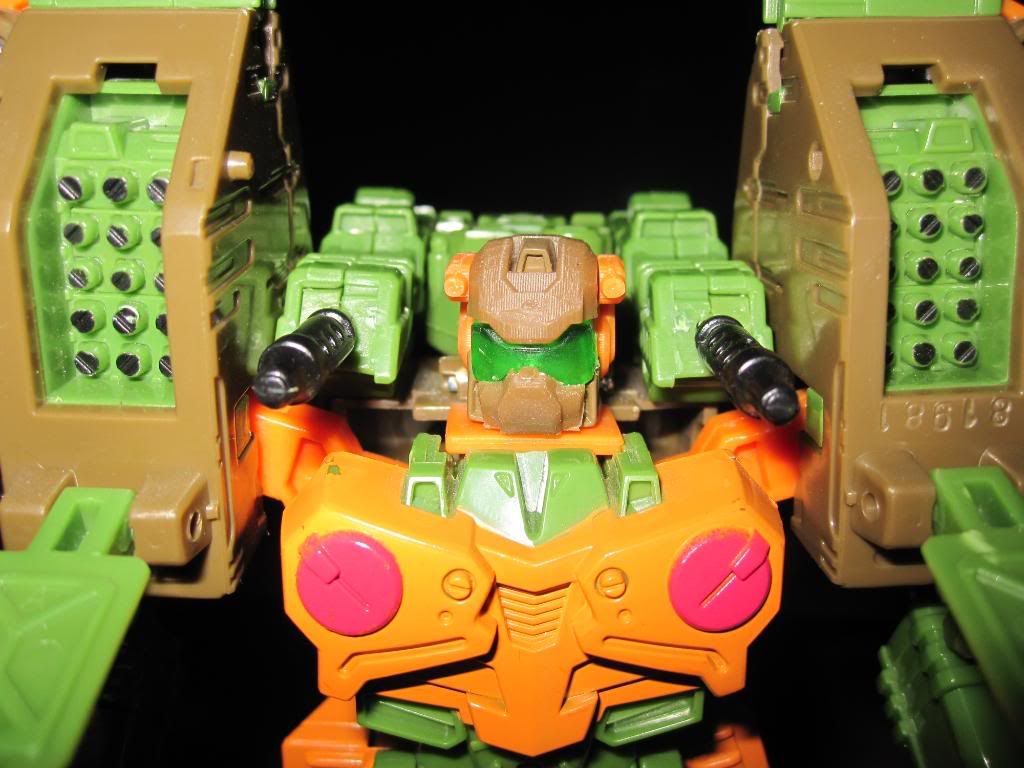
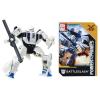
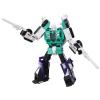
Moving on to the most intricate part of the kit: the head parts. There are three parts to the head (5 actually, but we'll get to that in a little bit). There's the back of the head, there's the visor and there's the top clip that joins everything together.
Taking apart the original head was a piece of cake if you have the right sized screwdriver. You remove the screw, take off the back of the head, then remove the top half of the front of Roadbuster. His face stays on and the helmet fits on overtop.
Before I go on, I confess very limited modding experience. Thus those with more than I would probably have a better time assembling the head than I did. Balancing the visor was easy, it comes with a little round plastic knob that sits it snugly in the screw hole. The back of the helmet however has some minor issues. As soon as I thought I had it in place, I heard a small pop and the side antennae fell out. Muttering curses I noticed that even with the top clip in place, the antennae weren't going to stay as their friction fit, or light adhesive I couldn't tell which had worn out. Thus I got my own strong adhesive Placed the antennae back where they belonged and made sure they stayed put. After aligning every thing again, I fit the top clip over and after a little bit of finessing, got the head looking like a head again.
Once again, the head isn't as detailed as a Has/Tak fig, nor does it look as detailed as some of the pics on Nato-bot's site. But I'm pleased with it, and I'm happy to report that it survives transformation well.
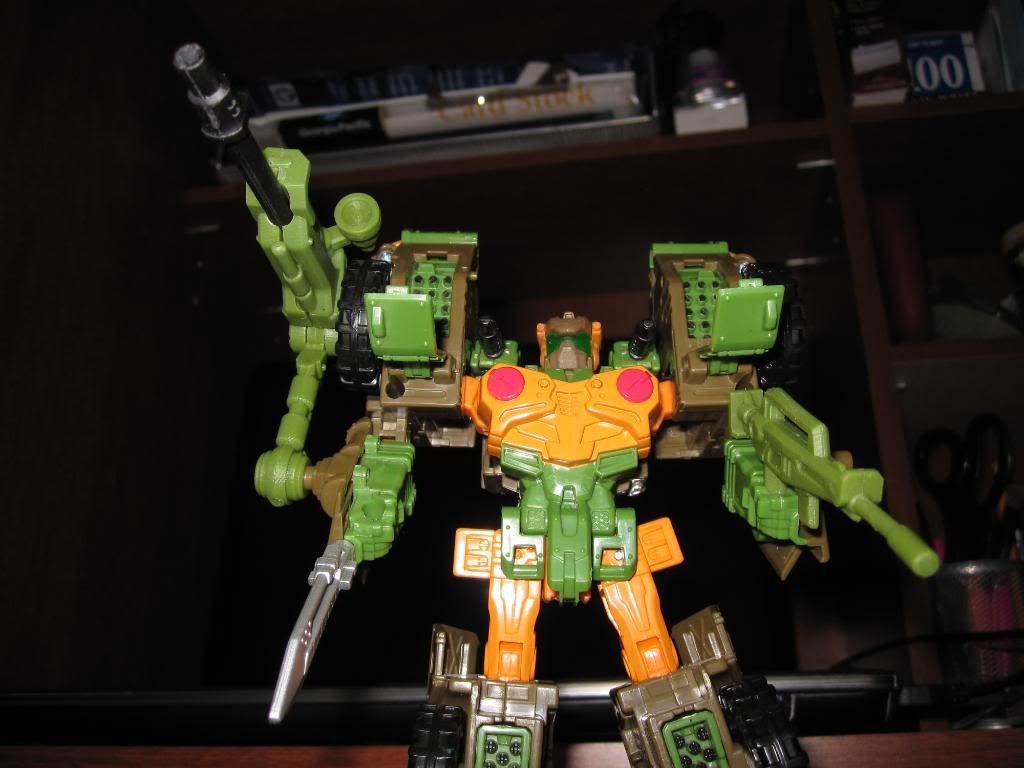
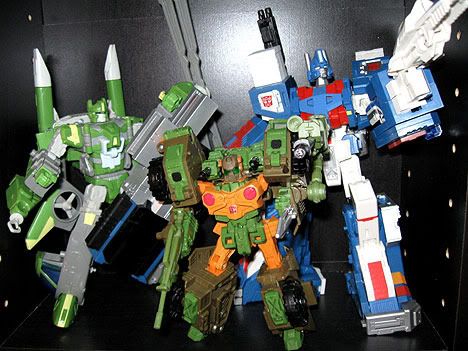
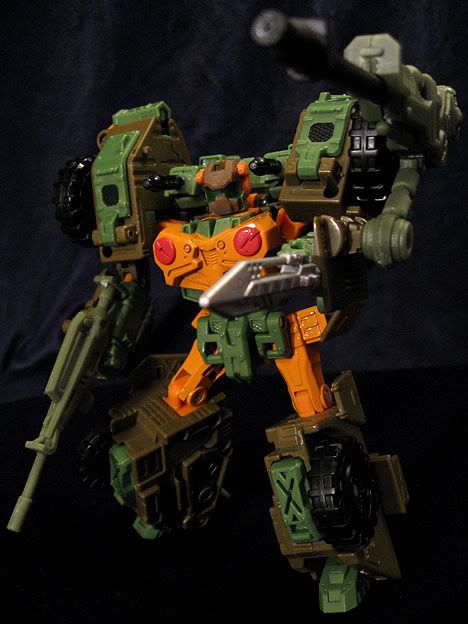
Final thoughts: Nato-Bot has produced something here that no other company had thought of, and they did a marvellous job of it too. The colours match perfectly, and everything fits together seamlessly. If they do any other Universe figure upgrades, I'll be sure to buy from them again