Transformers and More @ The Seibertron Store







william-james88 wrote:Hey, can anyone tell me which finger nail products work for tightening joints? I used crazy glue once but it gave disastrous effects since it got stuck and the peice broke.
Kyleor wrote:william-james88 wrote:Hey, can anyone tell me which finger nail products work for tightening joints? I used crazy glue once but it gave disastrous effects since it got stuck and the peice broke.
It looks like clear finger nail polish, any brand, is recommended, however that can flake/rub off over time.
Also I saw "Pledge with Future Shine" recommended a lot to tighten joints and to protect chromed parts, without the possible damage from using nail polish or glue.
leakin' lubricant wrote:Delta Magnus wrote:Look up "rubber care stick". It's actually for cars but it works just as well on toy rubber.
Would this do the trick Delta? How often would you say I would need to apply it?
http://www.ebay.co.uk/itm/361192957337?redirect=mobile
william-james88 wrote:Kyleor wrote:william-james88 wrote:Hey, can anyone tell me which finger nail products work for tightening joints? I used crazy glue once but it gave disastrous effects since it got stuck and the peice broke.
It looks like clear finger nail polish, any brand, is recommended, however that can flake/rub off over time.
Also I saw "Pledge with Future Shine" recommended a lot to tighten joints and to protect chromed parts, without the possible damage from using nail polish or glue.
Thanks!
NuclearConvoy wrote:Anyone have any idea what to do to tighten joints that use pins to hold them together?
I have just tried some clear nailpolish on my Crosscut because he had super loose arm and ankle ball joints, and it seems to be producing good effects. I anticipate that I will have to reapply it if I play heavily with it, but I can't see how it would damage it so, cool. I also mostly display things in one mode for a long time, maybe reorganize it once in a while.


jprime69 wrote:To all experts in repairs, I had posted years ago seeking advice in regards to repairing a broken Fansproject Blesser I had received. The legs are separated from the crotch piece, with the breaks occurring at the pegs that contain the ball joints. Never got around to attempting to fix it other than trying unsuccessfully to glue it together.
Is there a way to repair this and be able to maintain the articulation from the ball joints on both legs? Any advice will be appreciated. Thanks in advance.
Kyleor wrote:jprime69 wrote:To all experts in repairs, I had posted years ago seeking advice in regards to repairing a broken Fansproject Blesser I had received. The legs are separated from the crotch piece, with the breaks occurring at the pegs that contain the ball joints. Never got around to attempting to fix it other than trying unsuccessfully to glue it together.
Is there a way to repair this and be able to maintain the articulation from the ball joints on both legs? Any advice will be appreciated. Thanks in advance.
Do you have/can you take better pictures? It's hard to see where/what the damaged areas are.


Kyleor wrote:You could do a pin repair. You cut a short piece of paper clip or thinner wire then drill a matching hole in both plastic pieces and glue them together with the pin inside. It's hard to drill a hole in the same spot for both sides but it makes a strong joint. You could use a different type of glue, a little bit of plastic compatable epoxy would be stronger than super glue. Or what used to be called 'airplane glue', glue meant for use on plastic models, not the 'non-toxic' stuff, the real kind that you need a window open to use so you don't get high while using it. The good stuff bonds/melts the plastic together so only use a little.
jprime69 wrote:Kyleor wrote:You could do a pin repair. You cut a short piece of paper clip or thinner wire then drill a matching hole in both plastic pieces and glue them together with the pin inside. It's hard to drill a hole in the same spot for both sides but it makes a strong joint. You could use a different type of glue, a little bit of plastic compatible epoxy would be stronger than super glue. Or what used to be called 'airplane glue', glue meant for use on plastic models, not the 'non-toxic' stuff, the real kind that you need a window open to use so you don't get high while using it. The good stuff bonds/melts the plastic together so only use a little.
Thanks for the advice. Sounds simple enough.
Hypothetically, will that allow for complete and independent movement of the legs?
Kyleor wrote:jprime69 wrote:Kyleor wrote:You could do a pin repair. You cut a short piece of paper clip or thinner wire then drill a matching hole in both plastic pieces and glue them together with the pin inside. It's hard to drill a hole in the same spot for both sides but it makes a strong joint. You could use a different type of glue, a little bit of plastic compatible epoxy would be stronger than super glue. Or what used to be called 'airplane glue', glue meant for use on plastic models, not the 'non-toxic' stuff, the real kind that you need a window open to use so you don't get high while using it. The good stuff bonds/melts the plastic together so only use a little.
Thanks for the advice. Sounds simple enough.
Hypothetically, will that allow for complete and independent movement of the legs?
I kept meaning to draw this (it's busy season at work). If I'm understanding the break correctly it's the blue area in the picture. If you can get the ball part out of the socket then the 'long pin fix' should give you better repair strength, just be sure to make the pins flush to the ball surface or inset a tiny bit and cover them with glue then sand flush & smooth.

jprime69 wrote:Kyleor wrote:jprime69 wrote:Kyleor wrote:You could do a pin repair. You cut a short piece of paper clip or thinner wire then drill a matching hole in both plastic pieces and glue them together with the pin inside. It's hard to drill a hole in the same spot for both sides but it makes a strong joint. You could use a different type of glue, a little bit of plastic compatible epoxy would be stronger than super glue. Or what used to be called 'airplane glue', glue meant for use on plastic models, not the 'non-toxic' stuff, the real kind that you need a window open to use so you don't get high while using it. The good stuff bonds/melts the plastic together so only use a little.
Thanks for the advice. Sounds simple enough.
Hypothetically, will that allow for complete and independent movement of the legs?
I kept meaning to draw this (it's busy season at work). If I'm understanding the break correctly it's the blue area in the picture. If you can get the ball part out of the socket then the 'long pin fix' should give you better repair strength, just be sure to make the pins flush to the ball surface or inset a tiny bit and cover them with glue then sand flush & smooth.
Thanks Kyleor, your detailed diagram makes me wish the breakage was the ball joint instead of what it really is.
In actuality, the damage looks like this.
I have been doing research on two part epoxy and it would seem that I can just glue the disc at the end of the ball joint to the center crotch piece and pray that it bonds secure enough so that the ball joint itself will have full range of motion without dislodging the disc. Feel free to add your opinion. I'm hoping to have the materials soon so that I may attempt the fix this weekend.
Thanks again.
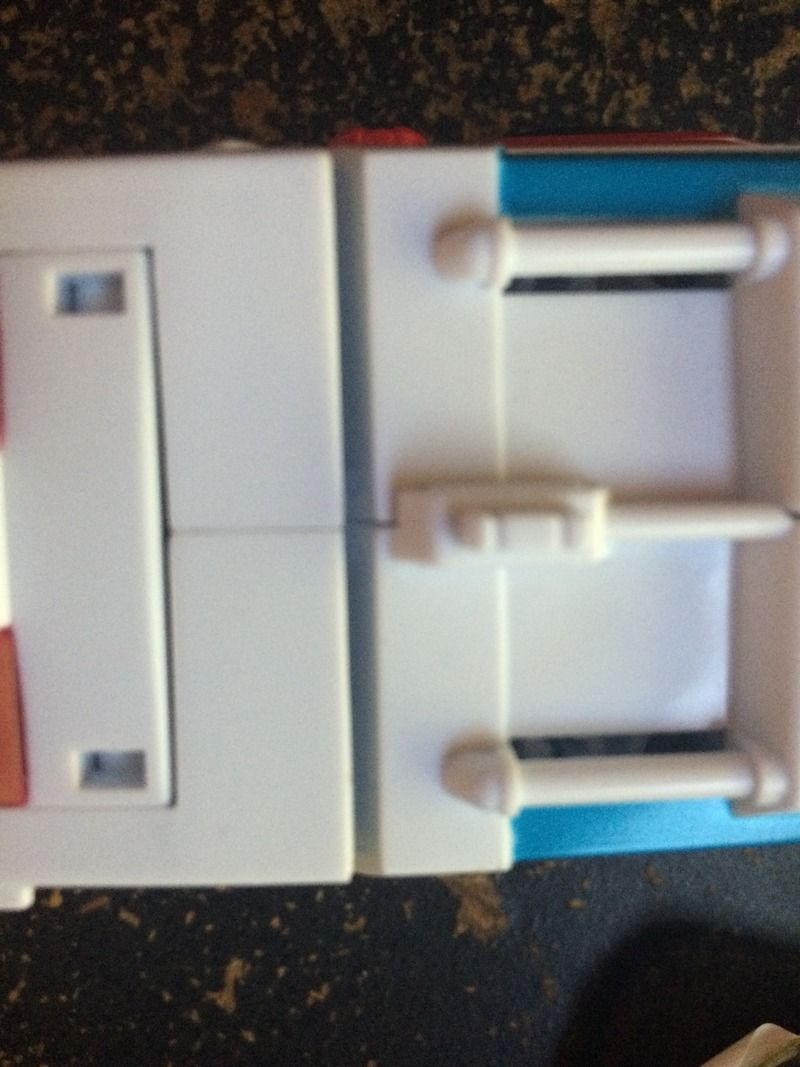
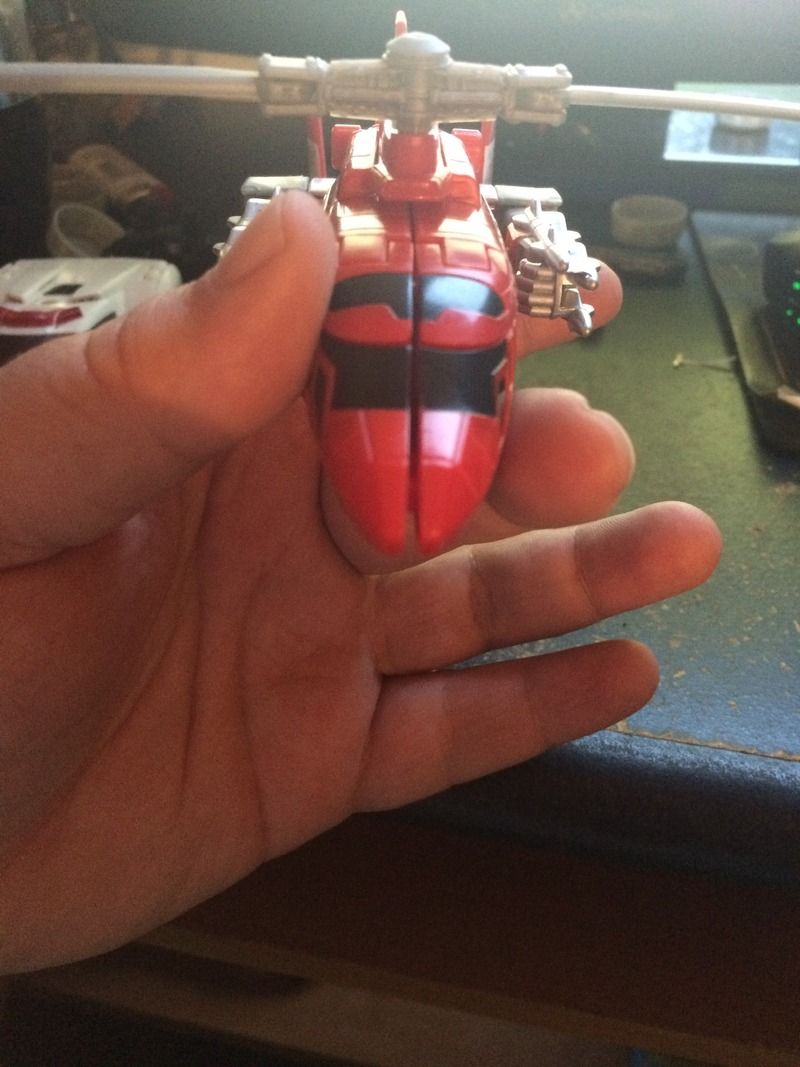
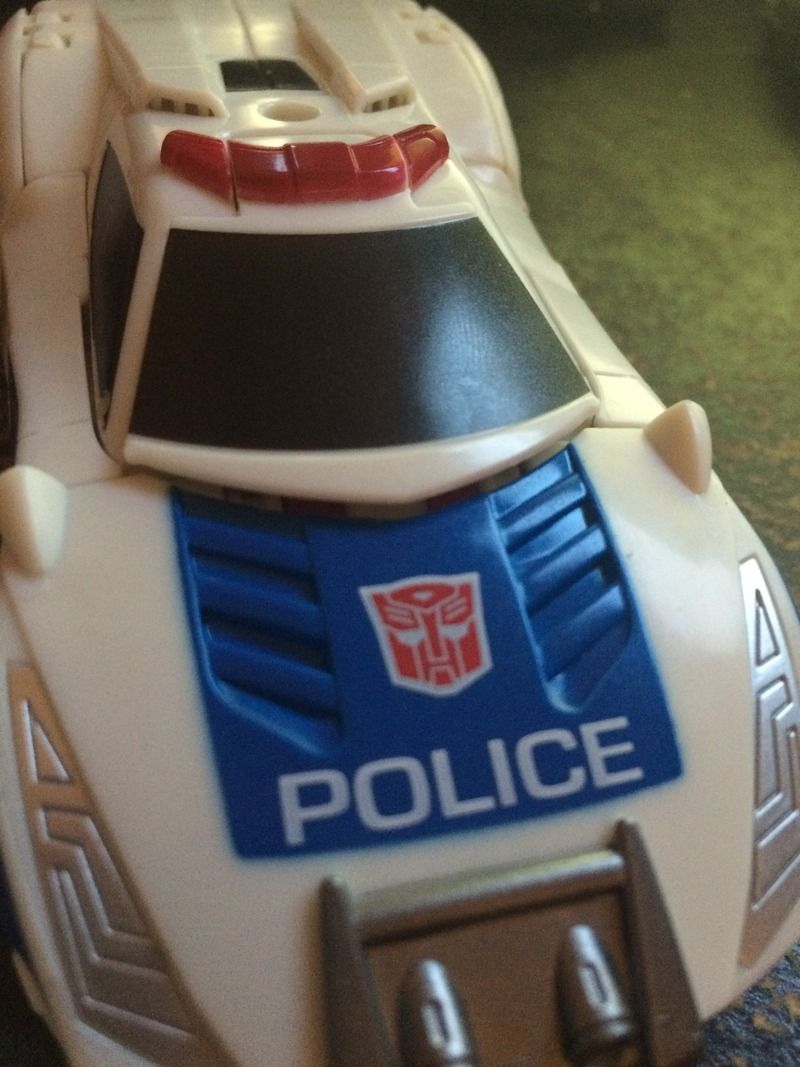
ClearlySane88 wrote:So, I just got my Protectobots today and, unfortunately, all except Rook seem to have little problems with their tabs in certain spots.
First Aid's legs won't tab in correctly.
Picture
Blade's front end won't close all the way. Also, his legs are really hard to tab into his upper body correctly, though it's doable.
Picture
And Street Wise's windshield won't clamp down all the way.
Picture
Can anyone give me an idea on what I should do? Also, please excuse the messy desk, kind of a spur of the moment picture taking.
MelRains wrote:I ordered the Generations versions of Inferno and Grapple from ebay. They were loose but seem to be in excellent condition except, Grapple's head won't flip up. It's stuck in its vehicle mode configuration.
From what I can tell, it seems like maybe the little plastic lip that holds his head panel down is too long.. making it impossible for it to slip past.
I also have the Hotspot version of this mold and neither he nor Inferno have this problem at all. And let me tell you Grapple's head is stuuuuuck. I put A LOT of pressure on that panel; far more than I'm usually willing to put on a toy.
Any one have any ideas? or has anyone run into this on any version of this mold?
Flipping up the head manually is not what you're supposed to do. Rather, you need to pull on the left side light on the roof, as that's the trigger for the catch holding the head.

MelRains wrote:How long has it been like this? Always? ..okay...
Still weird that Hotspot and Inferno always flipped over so easily and I couldn't for the life of me budge Grapple. Oh well..
Spotter5 wrote:I picked up a universe (reveal the shield) Cyclonus from Auto Assembly and i've been meaning to look into this for a while now.
Anyway, his left leg (looking at him face on)ball joint seems too big for the socket as when rotating the leg it begins to work itself off, on top of that both of the legs sockets are showing stress marks. is there anything I can do do remedy this? the ball joints seem quite shiny so i'm thinking it may gave had a coat of klear or nail varnish, which could be the reason why the leg doesnt want to stay on/causing stress marks due to increased ball joint size?
SW's SilverHammer wrote:Eat my ass funpub.
Burn wrote:And this is for taking Nemesis Maximo seriously.
*high fives Silly in the face*
carytheone wrote:I can't be assed to do any better right now.
Return to Transformers Toys Discussion
Registered users: Bing [Bot], BLIX007, Gauntlet101010, Google [Bot], Google Adsense [Bot], Majestic-12 [Bot], Nemesis Primal, william-james88


