Transformers and More @ The Seibertron Store


Details subject to change. See listing for latest price and availability.
BeastProwl wrote:Battle Blades OP's Matrix of Leadership is easy as a drunken piss to lose!It's been almost a year since I dropped it in the living room, and still no luck.If I ever find it, GLUE!
Dark Optimum Supreme wrote:BeastProwl wrote:Battle Blades OP's Matrix of Leadership is easy as a drunken piss to lose!It's been almost a year since I dropped it in the living room, and still no luck.If I ever find it, GLUE!
Oh wow, that is so annoying how it just falls out like that. I keep worrying I'm gonna lose mine every time I transform OP.
gavinfuzzy wrote:I'm still missing Movie 1 Blackout's front wheel... Oh well, not that it's noticeable in either mode.
BeastProwl wrote:Anyway, DOTM roadbuster's hands can hold any mechtech weapon if the handle is long enough. line up the hands and you'll see the 5mm peg holes.
Silverwing wrote:Also, I feel compelled to give the obligatory:![]()
![]()
![]()
![]()
![]()
![]()
![]()
![]()
![]()
![]()
One for each year of the Movieverse's decade strong tenure. Here's to a few more explosive years!
Mykltron wrote:Is it my imagination or are there a lot of people who seem unable to grasp the concept of standard 5mmm pegs and holes?
Va'al wrote:As I started typing this, I checked the gallery, and realised it's already known.
But I want to type something anyway.
RtS/United G2 Optimus Prime has a matrix molded on the inside panels which end up behind the windscreen in robot mode. I thought it was a really nice touch!
JelZe GoldRabbit wrote:Mykltron wrote:Is it my imagination or are there a lot of people who seem unable to grasp the concept of standard 5mmm pegs and holes?
And they've been standard (for the most part) for 10 years!
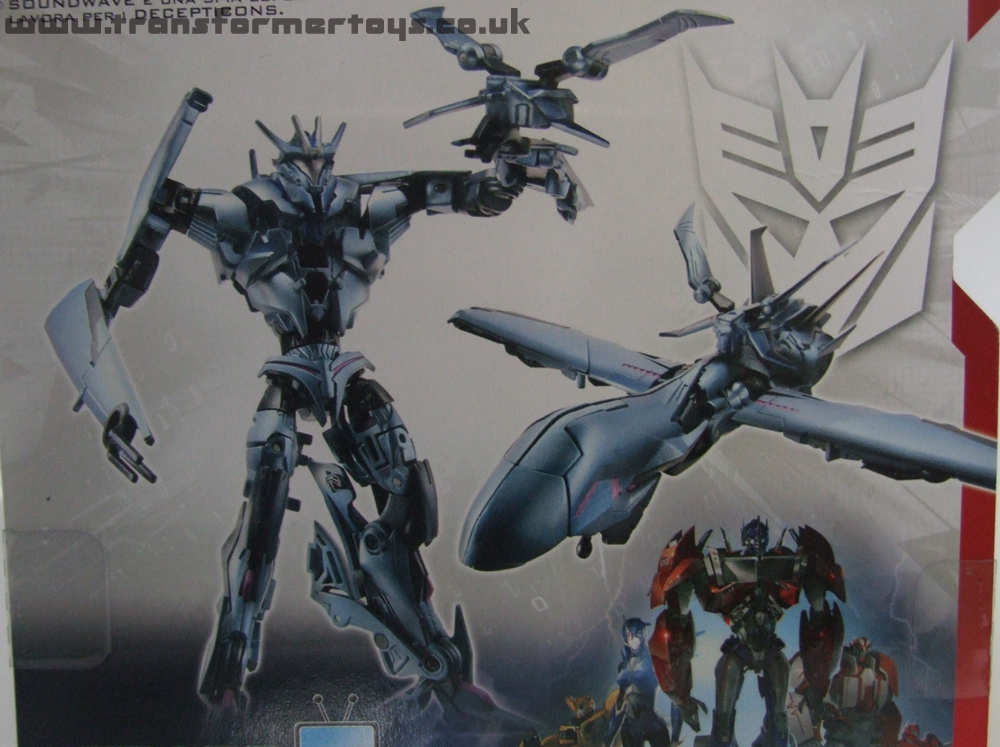
MINDVVIPE wrote:So I haven't see any pics of this being done online, but on Prime: Soundwave, the feet seems to bother a lot of people, and the best solution until now, for me, has been to make the tip of the drone mode form a second contact point as support for the ankle. But instead of making the tip the contact point, you can rotate the uav hood piece upwards as far as it will go, and then bring the whole assembly arm rotated down so that the support contact point is flat (much flatter anyway than before) and you actually have kibble that isn't atrocious. Just looks like he has a large footprint and therefore a player.
Mykltron wrote:MINDVVIPE wrote:So I haven't see any pics of this being done online, but on Prime: Soundwave, the feet seems to bother a lot of people, and the best solution until now, for me, has been to make the tip of the drone mode form a second contact point as support for the ankle. But instead of making the tip the contact point, you can rotate the uav hood piece upwards as far as it will go, and then bring the whole assembly arm rotated down so that the support contact point is flat (much flatter anyway than before) and you actually have kibble that isn't atrocious. Just looks like he has a large footprint and therefore a player.
I don't follow. Any chance of a photo?
MINDVVIPE wrote:Mykltron wrote:MINDVVIPE wrote:So I haven't see any pics of this being done online, but on Prime: Soundwave, the feet seems to bother a lot of people, and the best solution until now, for me, has been to make the tip of the drone mode form a second contact point as support for the ankle. But instead of making the tip the contact point, you can rotate the uav hood piece upwards as far as it will go, and then bring the whole assembly arm rotated down so that the support contact point is flat (much flatter anyway than before) and you actually have kibble that isn't atrocious. Just looks like he has a large footprint and therefore a player.
I don't follow. Any chance of a photo?
you got it.... in about a few hours. hehe.
In the meantime, this is the first part of changing:
Once in that position on the feet, just rotate the connecting back piece down. See how the front of the drone has a bottom flat side? thats the side you want making contact with the ground.
You'll need(you'll need twice the described ammount if you intend to use this on more than one 2007 jet voyager class starscream mold)
2x of this piece
4x of these black pegs
and lastly 2 of these angle connectors(they are needed to lock the pieces in place to your Seeker infantry as instructed)
MINDVVIPE wrote:
Godzillabot Primal wrote:I found a way for you utilize your Crossfire Flameblast and Warcry figure with the combined form
The recipie for the Battle Gaia combination
1 Movie Reverb (For those of you lucky enough to have one)
1 Classics Brawl
1 Energon Barricade
1 Crossfire CA-02 Flameblast
1 Crossfire CA-01 Warcry
1 Crossfire 02B Combat Unit Munitioner set minus main figure.
Assemble the toy as would normally and you'll have yourself a third party Battle Gaia.
RAcast wrote:Godzillabot Primal wrote:I found a way for you utilize your Crossfire Flameblast and Warcry figure with the combined form
The recipie for the Battle Gaia combination
1 Movie Reverb (For those of you lucky enough to have one)
1 Classics Brawl
1 Energon Barricade
1 Crossfire CA-02 Flameblast
1 Crossfire CA-01 Warcry
1 Crossfire 02B Combat Unit Munitioner set minus main figure.
Assemble the toy as would normally and you'll have yourself a third party Battle Gaia.
I'm...not seeing it. Pictures?
Return to Transformers Toys Discussion
Registered users: Bing [Bot], Emerje, Glyph, Google [Bot], Google Adsense [Bot], MSN [Bot], threeonetwo, Yahoo [Bot]