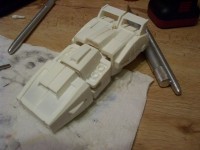
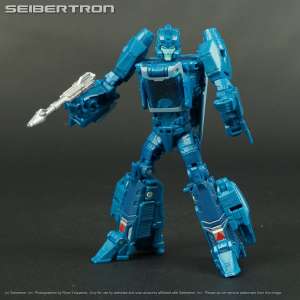
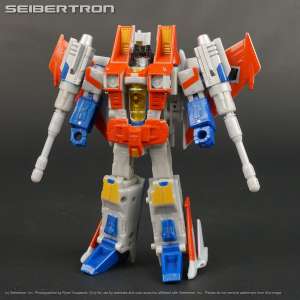
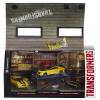
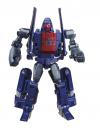
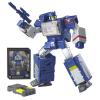
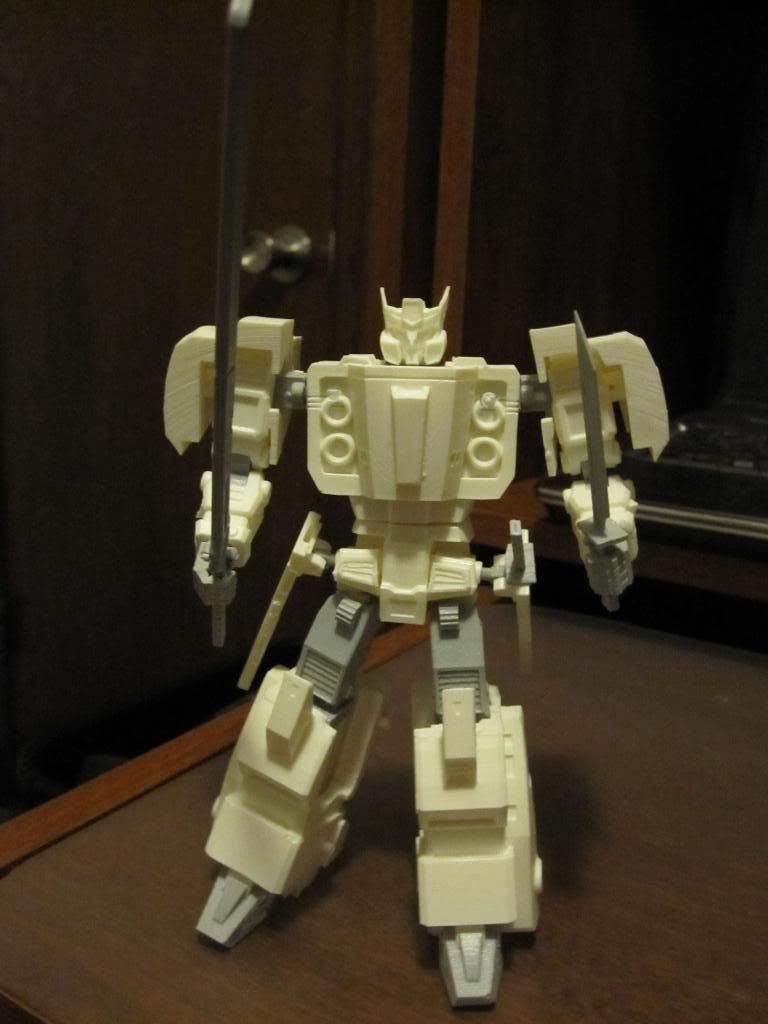
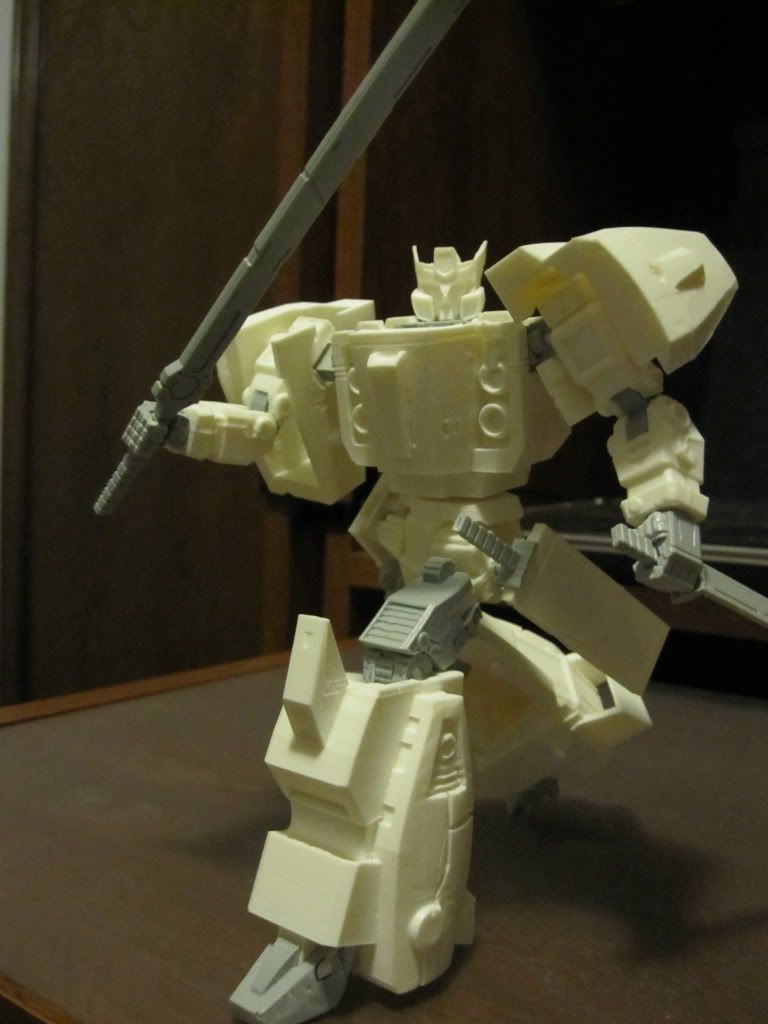
More pics of SGC DFT-01 Drift assembled
Sunday, July 26th, 2009 1:50PM CDT
Categories: Toy News, Site ArticlesPosted by: First Gen Views: 15,610
Topic Options: View Discussion · Sign in or Join to reply


Zodconvoy stated that he will update with more pics of the figure once the decals have been added.
Keep your optics locked right here at Seibertron.com your Ultimate Transformers Resource!
News Search
Got Transformers News? Let us know here!
Most Popular Transformers News
ROTB Optimus Prime Lead Designer Discusses Why the Face Looks Similar to the 2007 Movie
56,827 viewsMost Recent Transformers News
Posted by OPTIMUS MAGNUS on July 26th, 2009 @ 11:00pm CDT
Posted by El Duque on July 26th, 2009 @ 11:28pm CDT
Posted by soundwave13c on July 27th, 2009 @ 11:48am CDT
Posted by El Duque on July 27th, 2009 @ 2:29pm CDT
soundwave13c wrote:thats really cool! How much does this cost again
The pre-order was for $100.00 shipped. I picked mine up from the post office today, mine's labeled 79 of 100. Have to admit I'm a little intimidated by this kit. Not so much by the difficulty but the price, and knowing that if I screw up I can't just run down to the store and pick up another. The assembly looks easy enough, but a lot of the parts are going to require quite a bit of clean up before assembly. Also there are a lot of small parts that look very fragile. One of my spoilers was broken in the package, I think it will be an easy fix though. I'm going to start sanding, cutting pegs, drilling holes, and dry fitting parts tonight.
Posted by zodconvoy on July 27th, 2009 @ 4:38pm CDT
El Duque wrote:soundwave13c wrote:thats really cool! How much does this cost again
The pre-order was for $100.00 shipped. I picked mine up from the post office today, mine's labeled 79 of 100. Have to admit I'm a little intimidated by this kit. Not so much by the difficulty but the price, and knowing that if I screw up I can't just run down to the store and pick up another. The assembly looks easy enough, but a lot of the parts are going to require quite a bit of clean up before assembly. Also there are a lot of small parts that look very fragile. One of my spoilers was broken in the package, I think it will be an easy fix though. I'm going to start sanding, cutting pegs, drilling holes, and dry fitting parts tonight.
Good luck, Duque! Just be careful with trimming off the extra bits. Not all of them are extra and you won't realize it until assembly! And check your sticker sheet, mine was cut off center making most of the useless. Another detail I didn't notice at the start. If you finish before me, feel free to post pics. I won't bitch, promise.
Posted by El Duque on July 27th, 2009 @ 5:41pm CDT
zodconvoy wrote:El Duque wrote:soundwave13c wrote:thats really cool! How much does this cost again
The pre-order was for $100.00 shipped. I picked mine up from the post office today, mine's labeled 79 of 100. Have to admit I'm a little intimidated by this kit. Not so much by the difficulty but the price, and knowing that if I screw up I can't just run down to the store and pick up another. The assembly looks easy enough, but a lot of the parts are going to require quite a bit of clean up before assembly. Also there are a lot of small parts that look very fragile. One of my spoilers was broken in the package, I think it will be an easy fix though. I'm going to start sanding, cutting pegs, drilling holes, and dry fitting parts tonight.
Good luck, Duque! Just be careful with trimming off the extra bits. Not all of them are extra and you won't realize it until assembly! And check your sticker sheet, mine was cut off center making most of the useless. Another detail I didn't notice at the start. If you finish before me, feel free to post pics. I won't bitch, promise.
Thanks, I have a feeling I'm going to need. I'm a little concerned about the little grey sliders that go in the lower legs. Those four little pegs on the corners look delicate, in fact one of them had the tip broke off in package. It still fits and stays in place okay so I guess it will be fine.
I'm not expierienced with resin kits. What kind of paint will be best, I was considering Krylon fusion for the white.
Posted by zodconvoy on July 27th, 2009 @ 7:58pm CDT
El Duque wrote:I'm a little concerned about the little grey sliders that go in the lower legs. Those four little pegs on the corners look delicate, in fact one of them had the tip broke off in package. It still fits and stays in place okay so I guess it will be fine.
I'm not expierienced with resin kits. What kind of paint will be best, I was considering Krylon fusion for the white.
Those four pegs were twice as long as needed on mine so I had to cut all eight of them to fit the slots.
I'm just using my standard craft acrylics. Putting it on in thin layers, the paint really highlights any molding defects like bubbles.
Posted by El Duque on July 28th, 2009 @ 1:06am CDT
Posted by Heinrad Prime on July 29th, 2009 @ 6:56pm CDT
I'll be constructing him fairly loose at the moment - i think the arms and legs are easiest transformed away from the body and reattached with the 2.5mm joints.
Been good to hear/see from others putting him together - very helpful, thanks!
Posted by El Duque on July 29th, 2009 @ 8:39pm CDT


Posted by GreenLantern of Cybertron on July 29th, 2009 @ 9:01pm CDT
Don't hate me for my next comment, but..
I wish they would pull a Fansproject and release a new awesome version for everyone.
Posted by OPTIMUS MAGNUS on July 29th, 2009 @ 11:36pm CDT
Good to see one up close and fully assembled. I will post pics of my progress as well once I start the build.
Posted by El Duque on July 29th, 2009 @ 11:56pm CDT
OPTIMUS MAGNUS wrote:nice work El Duque! Heck yeah, I CANT WAIT to get mine in! I will post any problems I have when I build him as well. I should get my kit in middle of next week and I am literally 'taking vacation time' just to paint and build this thing. As a modeler, I have a question...would it be easier to paint some parts then assemble and follow up with details or, just paint the damn thing after the build process? (Based on complexity of the build process, scratching paint ect.)
Good to see one up close and fully assembled. I will post pics of my progress as well once I start the build.
I decided to fully assemble the figure and work out the transformation before painting. I figured if I painted first the assembled any problems I ecountered would result in modifications that would have to be repainted. Once you get him figured out assembling and diassembling his easy anyway.
Here are the problems I encountered. The outside part of the right knee joint broke when I was trying to pin it. Luckily it was a clean break and superglue and resin work well together easy fix. I accidently drilled through the front of the chest when drilling out the holes for the shoulder pins. The front of the chest where the details are is extremely thin. Be careful when you drill out the shoulder hole, when you start getting close slow down and go easy. I just barely hit it and the drill went right through. I just drilled the other side out to so they would match. I've since decided I may try to repair the detail and plug the holes with some modeling epoxy. There are also some small detail pieces on the top of each side of the chest that are paper thin and when he transforms the shoulders go right over these. The first time I attempted to transform him one broke off. I was so small and thin I couldn't glue it back, I just removed them both. The legs have sliders inside that are held in place by four small tabs that fit into groves inside the leg and these are very delicate and probably longer than they need to be. I had one snap, but luckily found it and glued it back, I then shortened all of them. Lastly they didn't send enough 3mm PVC rod with mine, this is what you will use to pin most of the joints. I would recommend using the 2.5mm rod to pin the elbow joints. It works just as good and should ensure you have enough of the 3mm rod. I also added a couple of additional pegs in the lower legs to make the rear section of the alt mode more stable.
Posted by OPTIMUS MAGNUS on July 30th, 2009 @ 12:04am CDT
El Duque wrote:OPTIMUS MAGNUS wrote:nice work El Duque! Heck yeah, I CANT WAIT to get mine in! I will post any problems I have when I build him as well. I should get my kit in middle of next week and I am literally 'taking vacation time' just to paint and build this thing. As a modeler, I have a question...would it be easier to paint some parts then assemble and follow up with details or, just paint the damn thing after the build process? (Based on complexity of the build process, scratching paint ect.)
Good to see one up close and fully assembled. I will post pics of my progress as well once I start the build.
I decided to fully assemble the figure and work out the transformation before painting. I figured if I painted first the assembled any problems I ecountered would result in modifications that would have to be repainted. Once you get him figured out assembling and diassembling his easy anyway.
Here are the problems I encountered. The outside part of the right knee joint broke when I was trying to pin it. Luckily it was a clean break and superglue and resin work well together easy fix. I accidently drilled through the front of the chest when drilling out the holes for the shoulder pins. The front of the chest where the details are is extremely thin. Be careful when you drill out the shoulder hole, when you start getting close slow down and go easy. I just barely hit it and the drill went right through. I just drilled the other side out to so they would match. I've since decided I may try to repair the detail and plug the holes with some modeling epoxy. There are also some small detail pieces on the top of each side of the chest that are paper thin and when he transforms the shoulders go right over these. The first time I attempted to transform him one broke off. I was so small and thin I couldn't glue it back, I just removed them both. The legs have sliders inside that are held in place by four small tabs that fit into groves inside the leg and these are very delicate and probably longer than they need to be. I had one snap, but luckily found it and glued it back, I then shortened all of them. Lastly they didn't send enough 3mm PVC rod with mine, this is what you will use to pin most of the joints. I would recommend using the 2.5mm rod to pin the elbow joints. It works just as good and should ensure you have enough of the 3mm rod. I also added a couple of additional pegs in the lower legs to make the rear section of the alt mode more stable.
VERY useful info, thank you so much! I am sure I will be referring back to this thread while building him. It is sad to hear that so many pieces snapped so easily though.
Posted by El Duque on July 30th, 2009 @ 12:17am CDT
Posted by OPTIMUS MAGNUS on July 30th, 2009 @ 12:35am CDT
Posted by OPTIMUS MAGNUS on July 30th, 2009 @ 10:22pm CDT
Posted by El Duque on July 30th, 2009 @ 10:49pm CDT
Posted by OPTIMUS MAGNUS on July 31st, 2009 @ 9:33am CDT
I had a similar problem as you when re-painting the Classics/ TFU seekers with the nose cone. That thing would NEVER dry! It is still tacky 6 months later! I am not sure if it was because of the rubber surface...(I sanded and prepped it too..)It has been an ongoing pain in the arse. I am not sure why parts won't dry though...I don't think it could be the resin since we have already seen this kit fully painted. (Pics from the toy carnival.)
Posted by El Duque on July 31st, 2009 @ 10:02am CDT
Posted by OPTIMUS MAGNUS on July 31st, 2009 @ 10:10am CDT
Posted by capellamusic on July 31st, 2009 @ 10:22am CDT
http://www.gremlins.com/jim_bertges/first.html
They say that:
"Resin kits accept nearly any kind of paint you'd use on a styrene kit; enamels, acrylics, lacquers or oils, or any combination. On the other hand, vinyl kits can be very picky about paint and it's best to stick with the water-based acrylics since enamels and oils won't fully dry on a vinyl surface. Once your figure is primed, you can test nearly every painting technique you know."
I have acrylics to paint my 2 Mashin Eiyuden Wataru resin kits, but since I haven't started them yet I have no idea if it dries well or not...
Posted by El Duque on July 31st, 2009 @ 5:57pm CDT
capellamusic wrote:Try this link:
http://www.gremlins.com/jim_bertges/first.html
They say that:
"Resin kits accept nearly any kind of paint you'd use on a styrene kit; enamels, acrylics, lacquers or oils, or any combination. On the other hand, vinyl kits can be very picky about paint and it's best to stick with the water-based acrylics since enamels and oils won't fully dry on a vinyl surface. Once your figure is primed, you can test nearly every painting technique you know."
I have acrylics to paint my 2 Mashin Eiyuden Wataru resin kits, but since I haven't started them yet I have no idea if it dries well or not...
I have actually already been to that site, but thanks.
OPTIMUS MAGNUS wrote:Did you clean and do a light sanding and then a cleaning with dish soap? That works sometimes. So does Bulldog Adhesion promoter. (On plastic anyways...don't know what it would do to resin. May have to try on a scrap piece first.) other than that, I am not sure. I have used Krylon Fusion on plastic with pretty good results...then again...SGC Drift is resin. I have always used Testors on resin and it worked fine....I don't know...I am stumped...someone who knows whats up come help us!!! lol...
No, I didn't actaully clean the parts with soap and water or anything like that. They seemed pretty clean already, and the first piece that I painted with testors that I ended up removing the paint from I used testors paint thinner. I would think the the thinner would have removed any release agents left on the piece, but when I painted it the second time with Krylon I had the same problem. The parts have been drying for 24 hours and are still gooey. I think I may stop while I'm ahead and send this off to a professional, or at least see if I can find someone who will entertain the idea. I would really like this to turn out nice.
Posted by OPTIMUS MAGNUS on August 4th, 2009 @ 3:04pm CDT
Posted by El Duque on August 4th, 2009 @ 11:10pm CDT
Posted by Convotron on August 5th, 2009 @ 6:56pm CDT
El Duque wrote:I actually found a guy in my local area that does customs and from what I've seen does a great job. I've handed Drift over to him. He seems to think he won't have any problems getting him painted. He's also going to repair the chest where I accidentally drilled through, sand out all the seams and ridges in the resin, fill in any air bubbles he finds, and just overhaul him in general. He wants to put the head on a ball joint and improve the way the torso connects to the waist so it doesn't want to pull apart during transformation. Can't wait to get him back, I'll be sure to post pics.
I for one eagerly await the pics of the finished figure!
Posted by El Duque on August 7th, 2009 @ 12:13am CDT
Convotron wrote:El Duque wrote:I actually found a guy in my local area that does customs and from what I've seen does a great job. I've handed Drift over to him. He seems to think he won't have any problems getting him painted. He's also going to repair the chest where I accidentally drilled through, sand out all the seams and ridges in the resin, fill in any air bubbles he finds, and just overhaul him in general. He wants to put the head on a ball joint and improve the way the torso connects to the waist so it doesn't want to pull apart during transformation. Can't wait to get him back, I'll be sure to post pics.
I for one eagerly await the pics of the finished figure!
As soon as I get him back I'll take a bunch of pics and post them. For that matter if he sends me WIP pics I'll post those as well. Hopefully this will turn out good considering the initial price of the figure plus what I'm paying this guy for his work.


